Manage Account Contacts #
It is the place where the admin user can manage the Account Contacts. Here you have the power to add,edit, and remove the Account Contacts.
Methods of Adding Account Contacts #
There are 6 different methods of efficiently adding the Account Contacts to Successful Channels:
- Through API
- Through SAML SSO
- Through Excel Upload Template
- Through Salesforce
- Through Admin
- Through Account Contact Interface
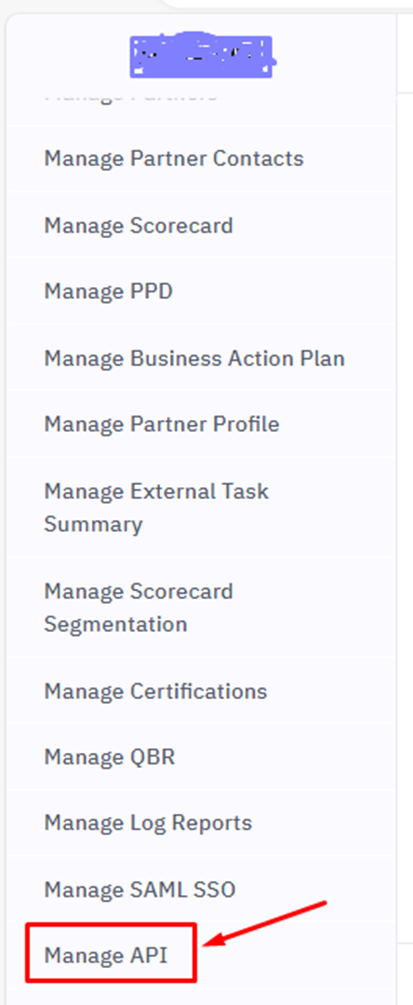
Through API #
For adding Account Contact through API refer the below document:
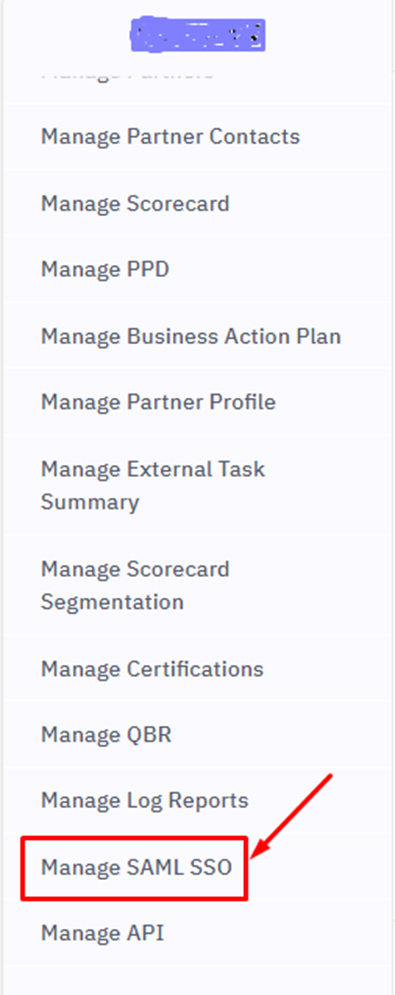
Through SAML SSO #
For adding Account Contact through SAML SSO refer the below document:
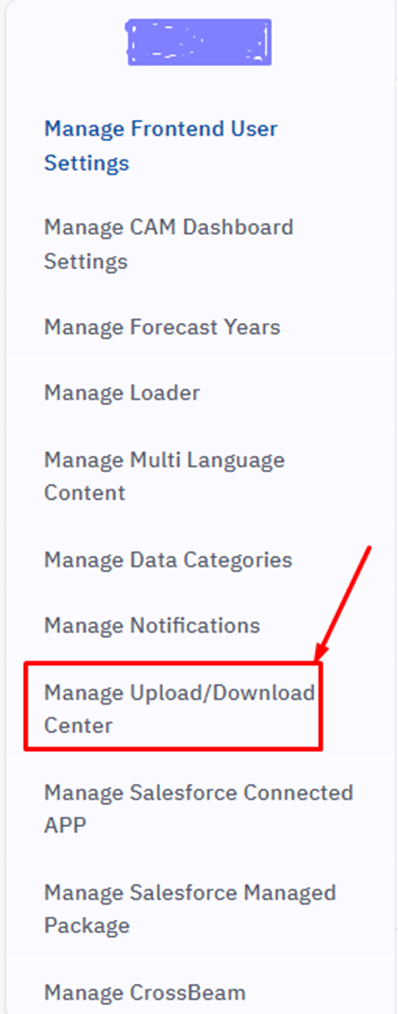
Through Excel Upload Template #
For adding Account Contact through Excel Upload Template refer the below document:
Through Salesforce #
For adding Account Contact through Salesforce refer the below documents:
Through Admin #
Account Contacts can be added via the admin interface. Subsequently, this document elaborates on two aspects: Account Contacts Listing and the procedure to Add an Account Contact from the Admin panel.
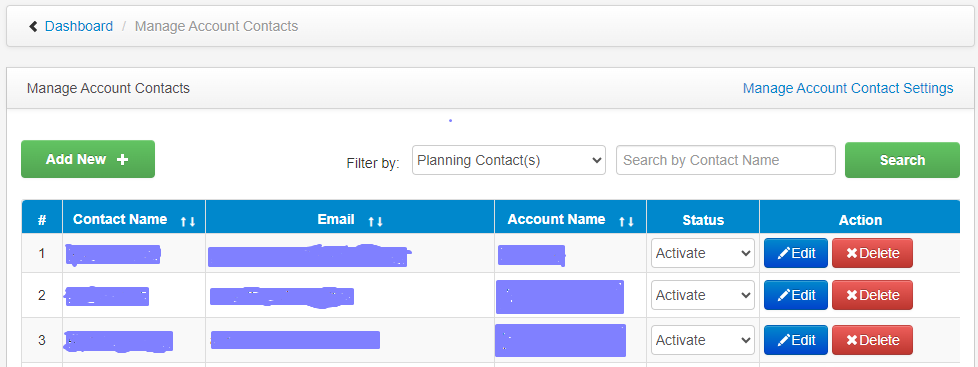
Account Contacts Listing #
This view displays a comprehensive list of all Accounts. It includes the names, emails and Account Assignments. Additionally, it indicates whether each Account Contact is activated for login or not.
Add Account Contacts from Admin #
Here are the steps for adding an Account Contacts:
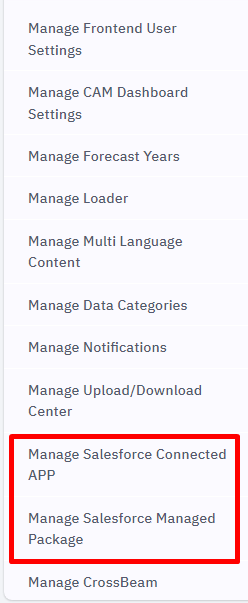
- In the left navigation, click on Manage Accounts and then on Manage Account Contacts.

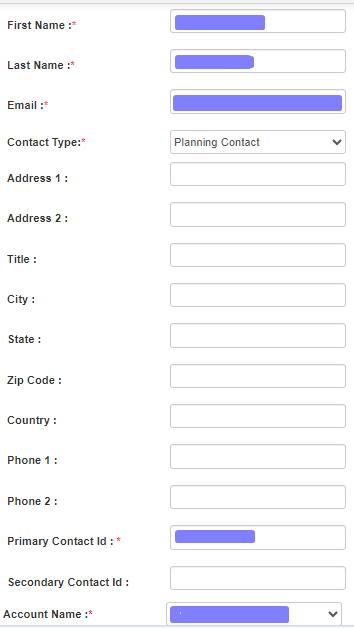
2. Click on the Add New button to begin adding an Account Contact. This action will redirect you to the designated page where you can fill out the required information in the following form fields:
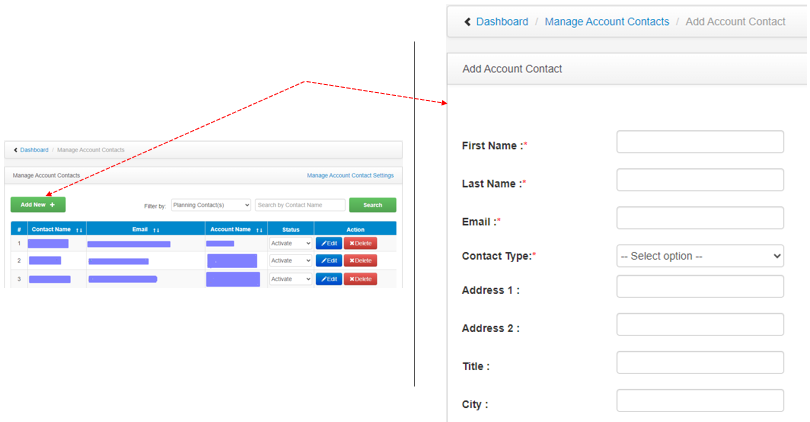
- First Name: The given or first name of the Account Contact. This field typically contains the person’s personal name, such as “John” or “Jane.

- Last Name: The family name or surname of the Account Contact. This field typically contains the person’s last name, such as “Doe” or “Smith.”

- Email: The email address of the Account Contact. This field should contain the unique email address associated with the person, such as “john.doe@example.com.”

- Contact Type: There are two options for Contact Type: Planning Contact and Non-Planning Contact.
When this is set to Planning Contact, it allows Account Contacts to view and edit the plans.
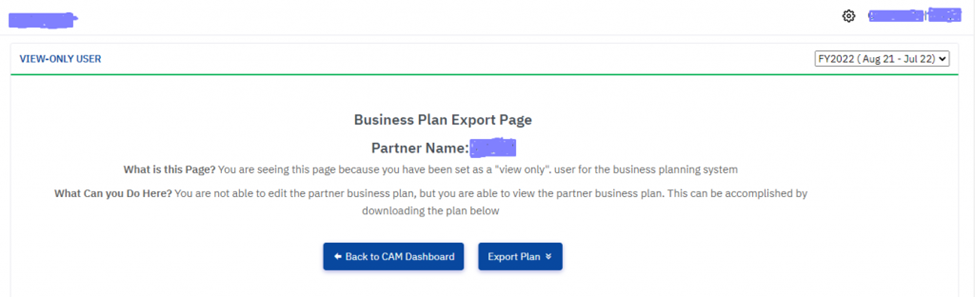
When this is set to Non-Planning Contact, they can only view and export the Account Plan, without editing privileges.
- Primary Contact ID: This field includes the unique identification number associated with the Account Contact. It may comprise the Salesforce ID or any other unique identifier specific to the team member within the system.

- Account Name: This field contains a selection of Account Names. You have to identify the appropriate Account Name under which the Partner Contact should be allocated. Simply browse through the list and select the Account Name that corresponds to the Partner Contact you wish to assign.

- Send Password Notification: When this is enabled then the password for the Account Contact is sent in the inbox of the email that is provided at the time of registring the Account Contact.

Through Account Contact Interface #
You can also add an Account Contact through the Account Contact Interface. Here are the instructions to guide you through the process.
Steps to add Account Contact #
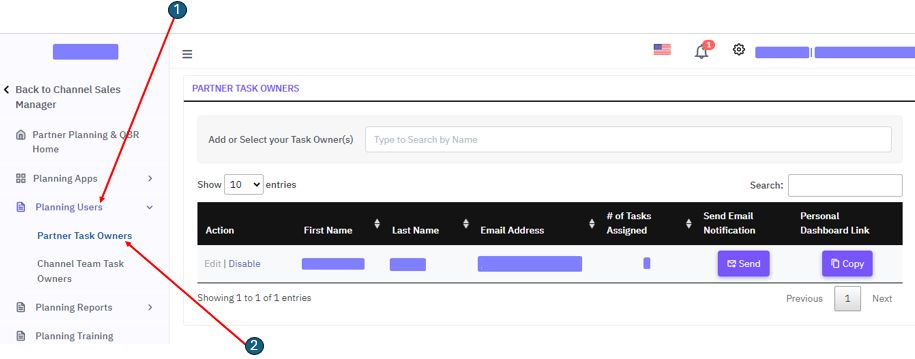
Step 1: Access Partner Contact and navigate to “Planning Users.” From there, click on the “Partner Task Owner” link.
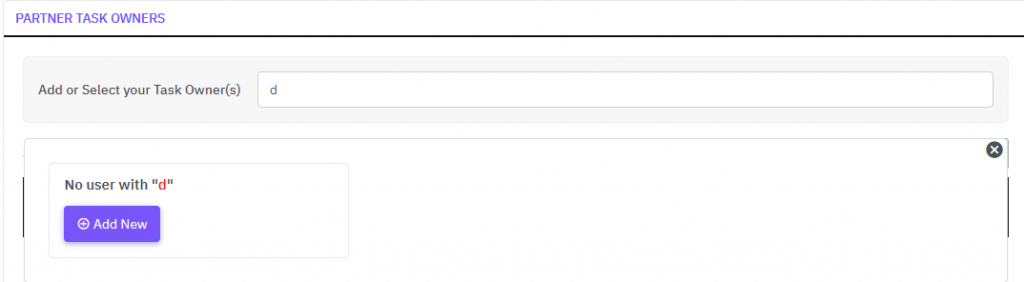
Step 2: Enter any letter in the Type to Search by Name box, then proceed to click on the Add New button.
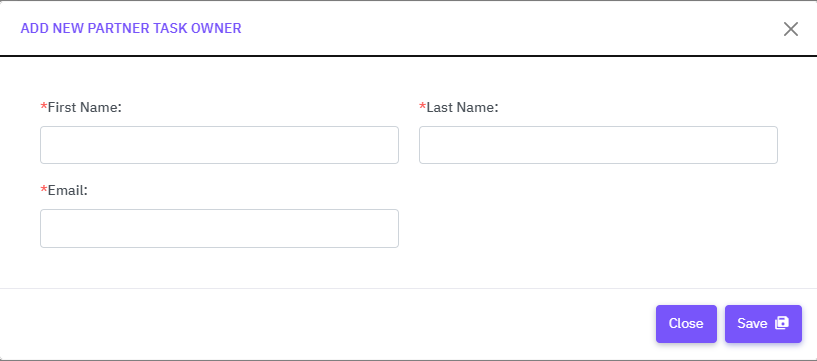
Step 3: Clicking the “Add New” button will prompt a pop-up window to appear, allowing you to add the Account Contacts. Input the First Name, Last Name, and Email, then proceed to click on the Save button. This action will create the Account Contact.
The newly added Account Contact will be displayed on the Partner Task Owners page.
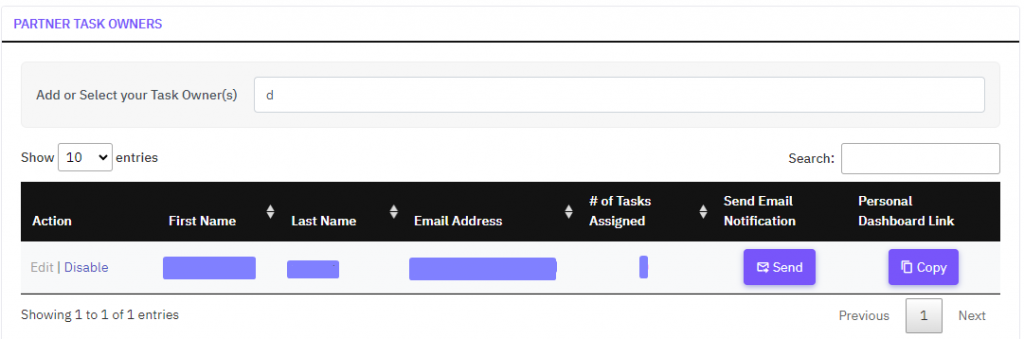
Account Contact created from Account Contact Interface in Admin
When an Account Contact is generated through the Account Contact Interface, it’s automatically linked to the Partner it originates from. Additionally, it receives a randomly generated Primary Contact ID and is classified with a Contact Type labeled “Planning Contact.