| How it Works |
- Add an Activity Type:
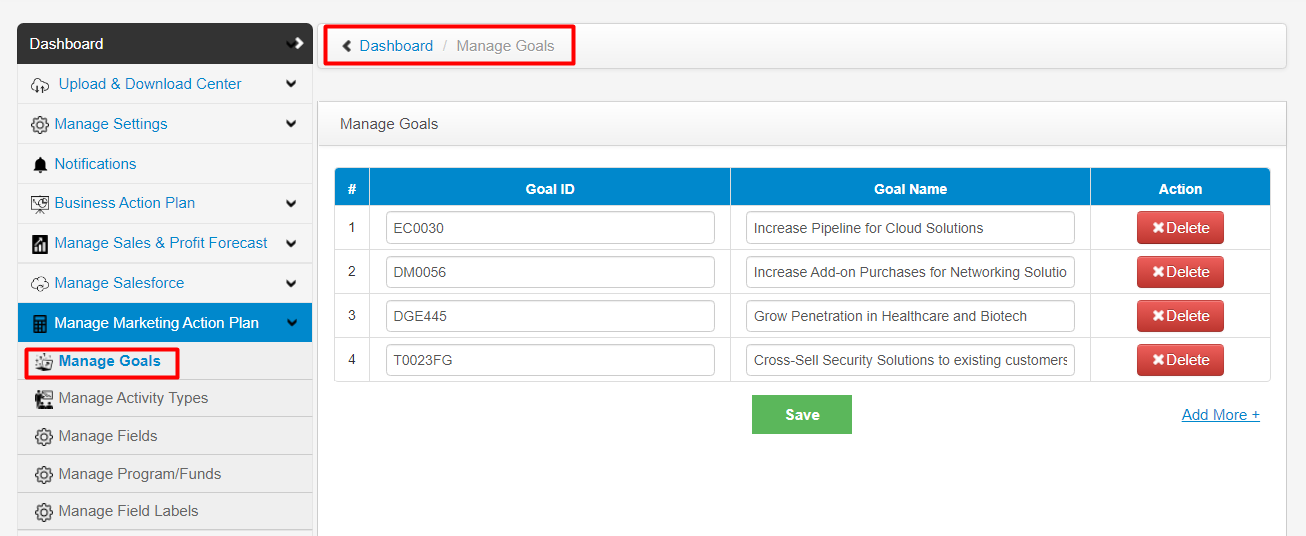
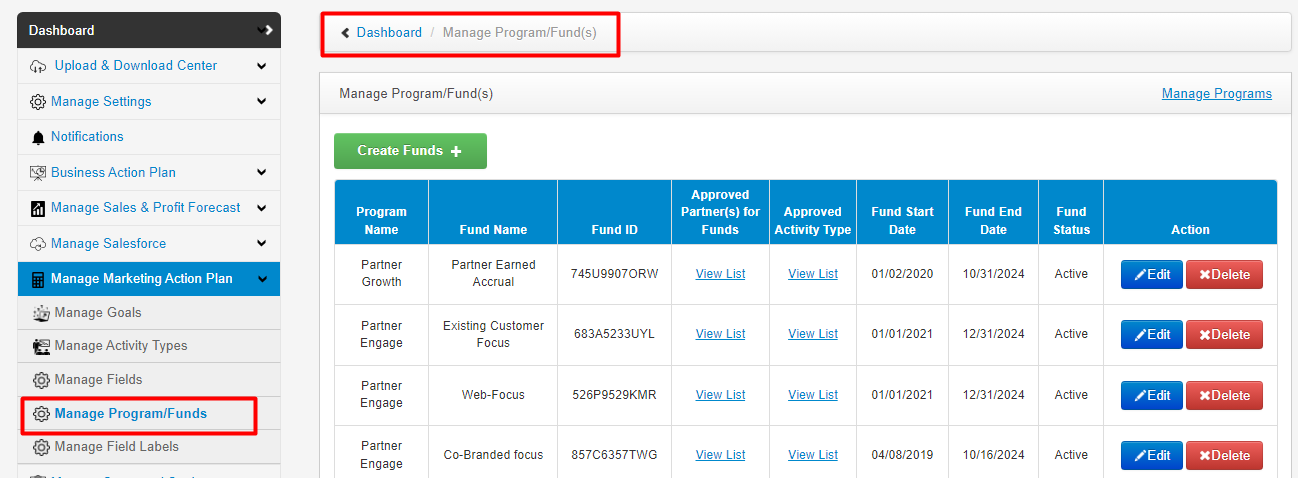
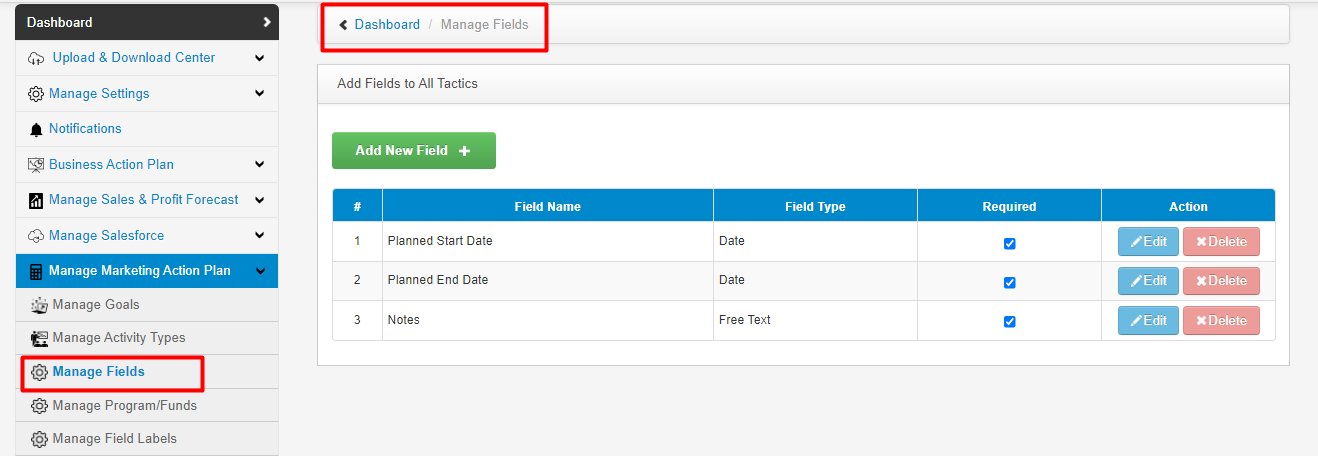
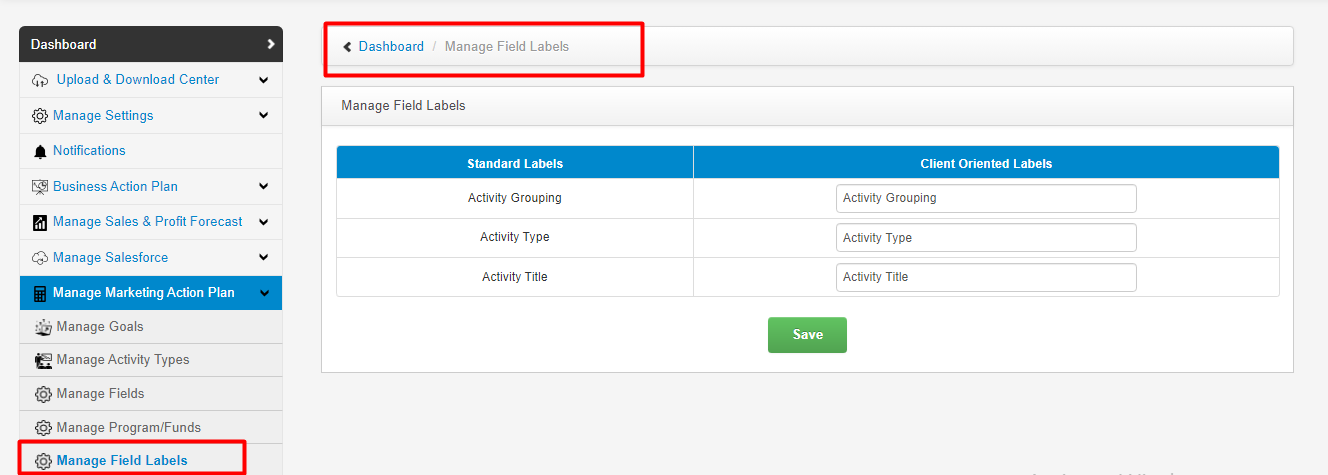
- In the left navigation, click on Manage Marketing Action Plan > Manage Activity Types.
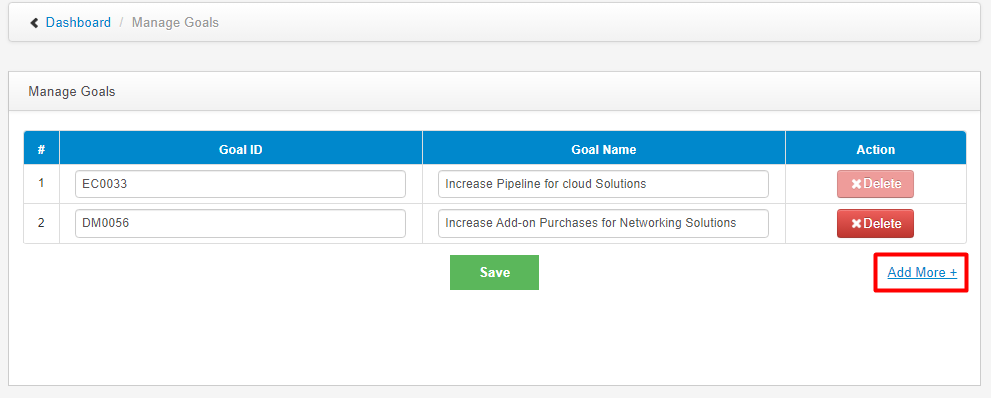
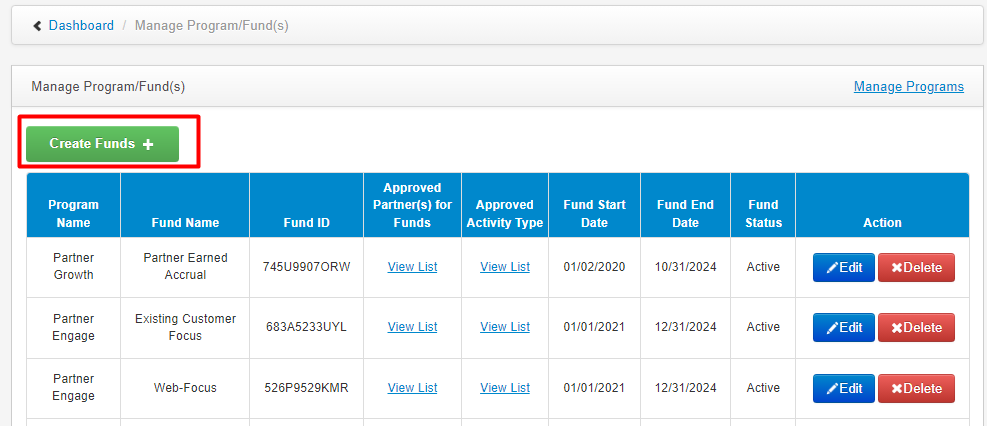
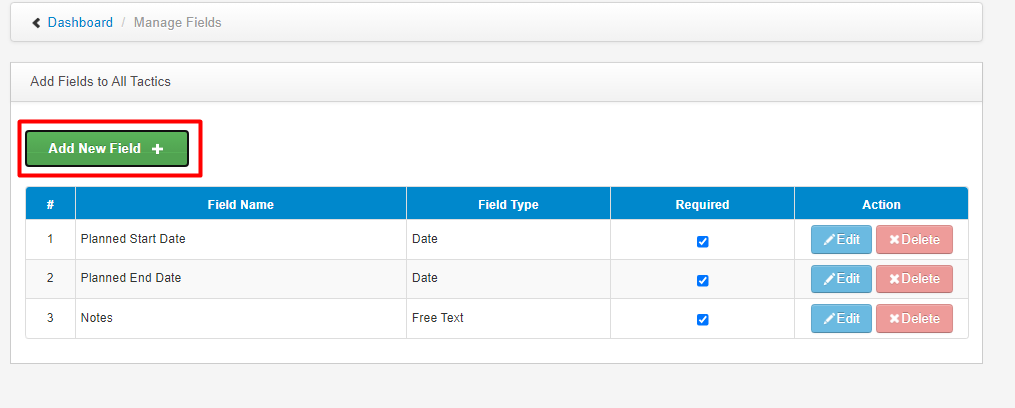
- Click on Add New Activity Type+ link.
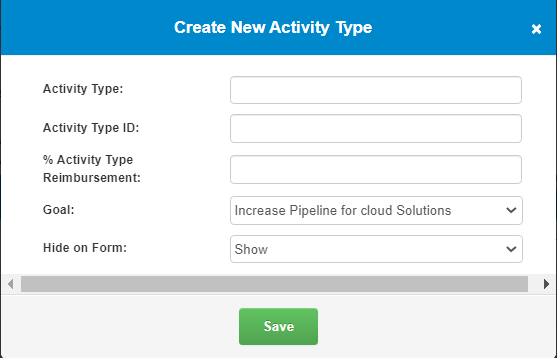
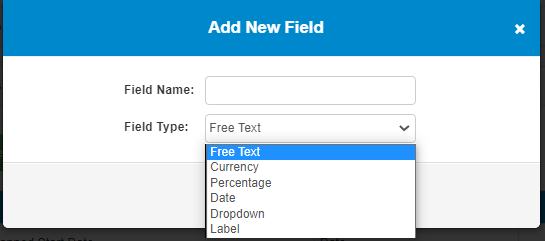
- After clicking on the “Add new activity type+” link admin user gets a pop-up window with some fields.
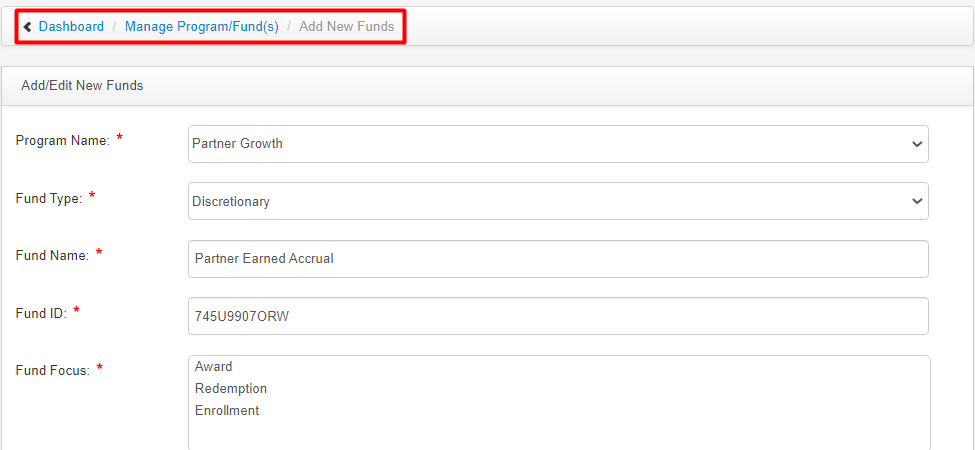
- In the first textbox, enter an activity type name.
- In the second textbox, assign a unique activity type ID.
- % Activity Type Reimbursement can be defined by an example:- Suppose a partner works on an activity with a capital investment of 1000$, partner asks for 80% part (800$) of this investment from the client. The client says I can provide you 50% for what you are asking for. i.e. 50% of (80%=800$)= 400 $ that 50% of 80 % is defined as % Activity Type Reimbursement.
- It is also set up by the admin user.
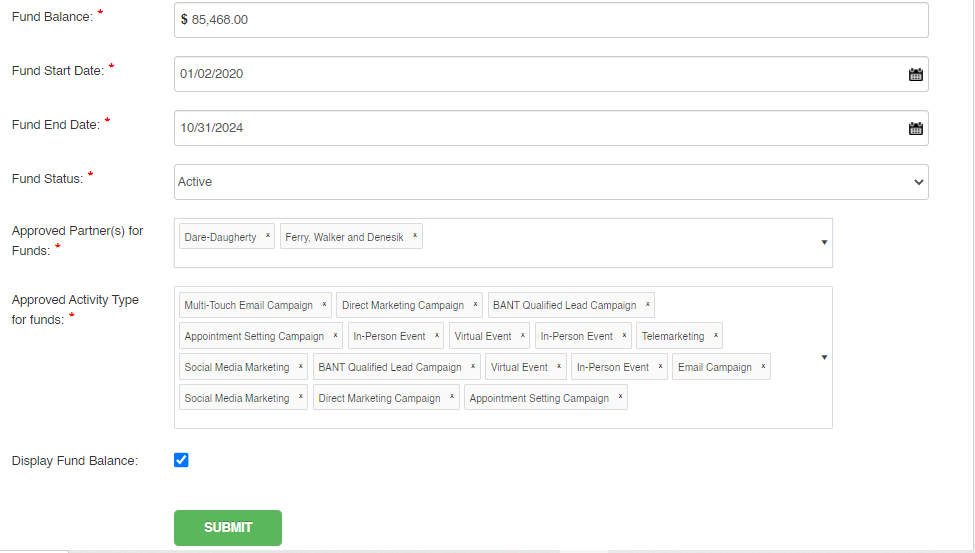
- Admin user will select a goal from the dropdown, it shows all the goals defined by the admin user in “manage goals”.
- Admin user can hide/show the type.
- Click on the Save button.
- Edit an Activity Type:
- In the left navigation, click on Manage Marketing Action Plan > Manage Activity Types.
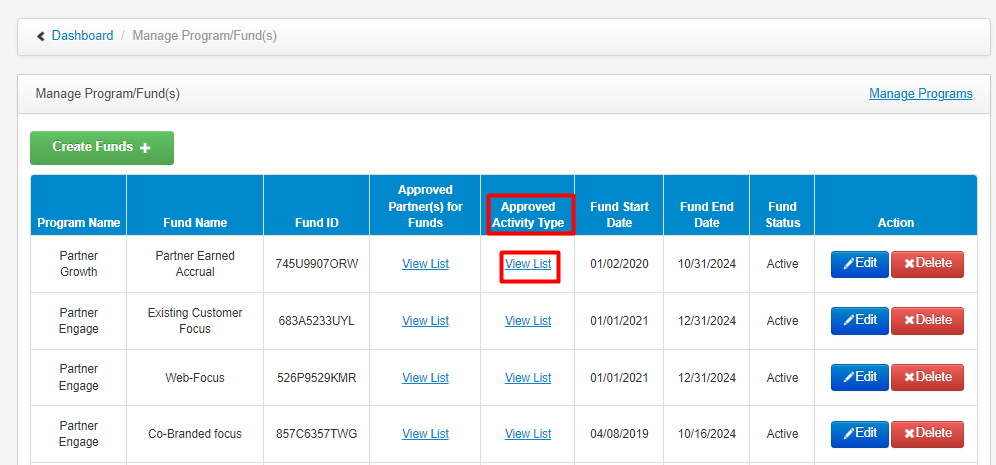
- Click on the Edit button in the Action column for editing the activity type.
- Make the desired changes that the admin user wants.
- Hit the Save button.
- Delete an Activity Type:
- In the left navigation, click on Manage Marketing Action Plan > Manage Activity Types.
- Click on the Delete button in the last column of the Manage Activity Type table.
- Delete (Enabled): Delete one or more activity types that are not associated with any active/inactive partner(s) plans.
- Delete (Disabled): Delete button is disabled for the activity types that are associated with one or more active/inactive partner(s) plans.
|


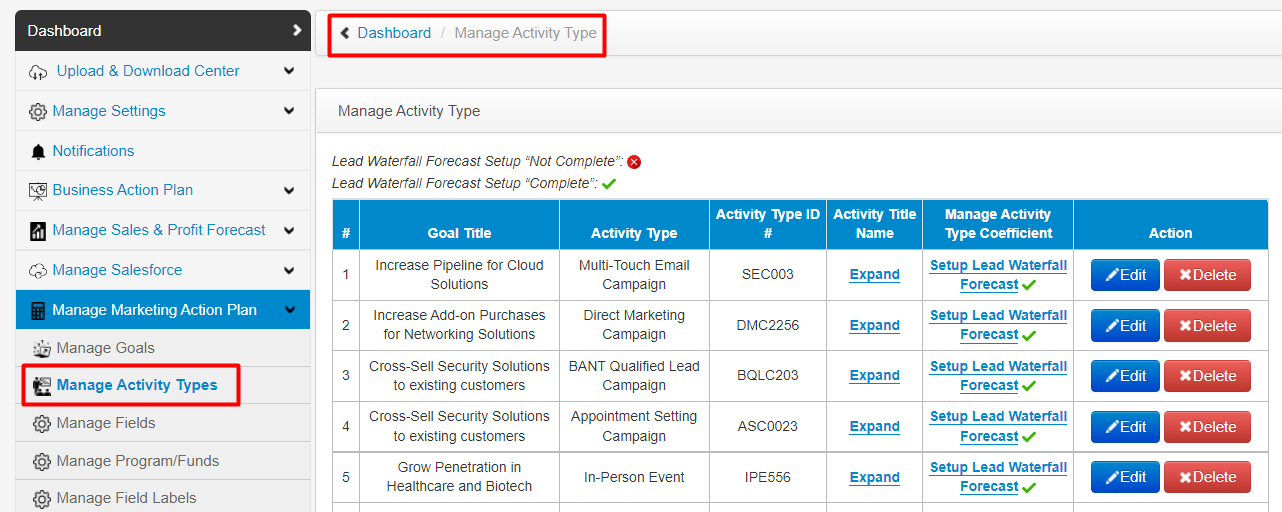
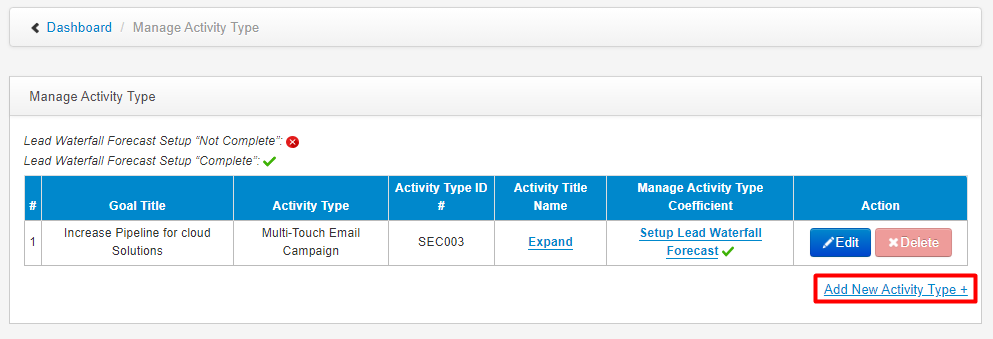
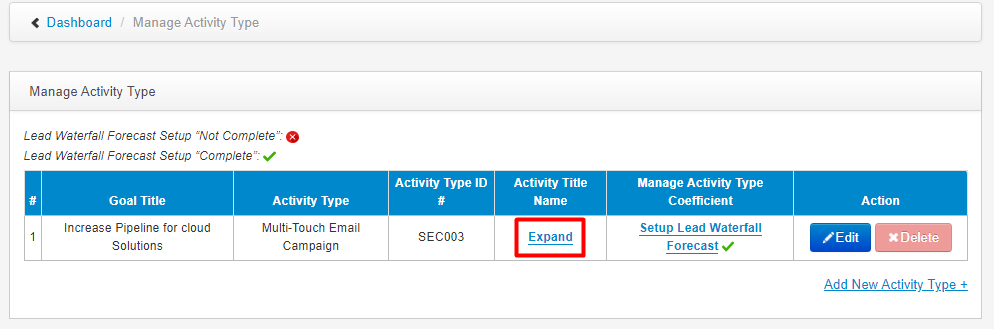
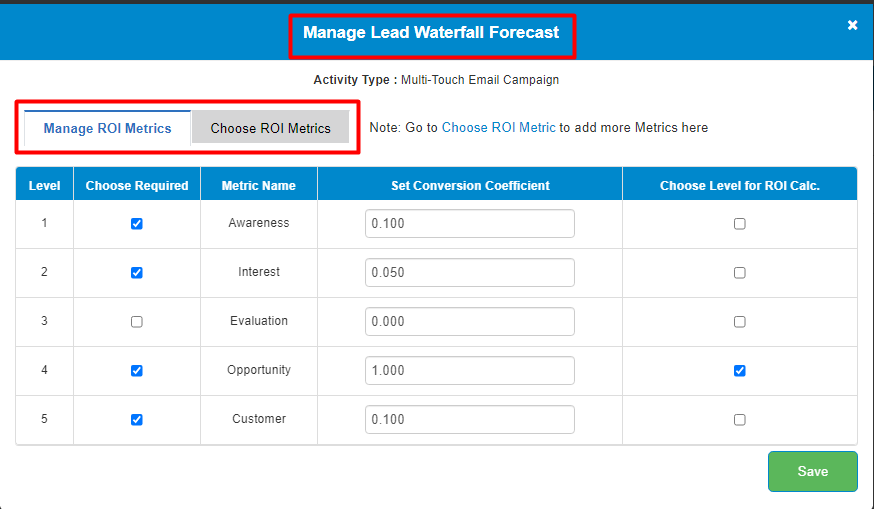

 shows Lead Waterfall Forecast Setup “Not Complete”
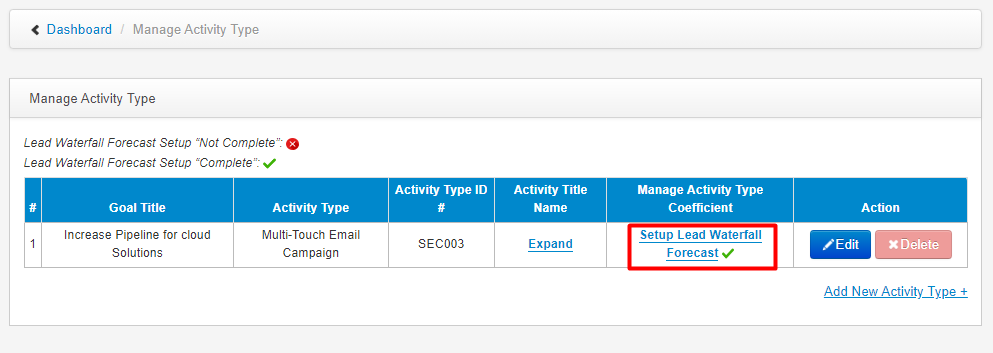
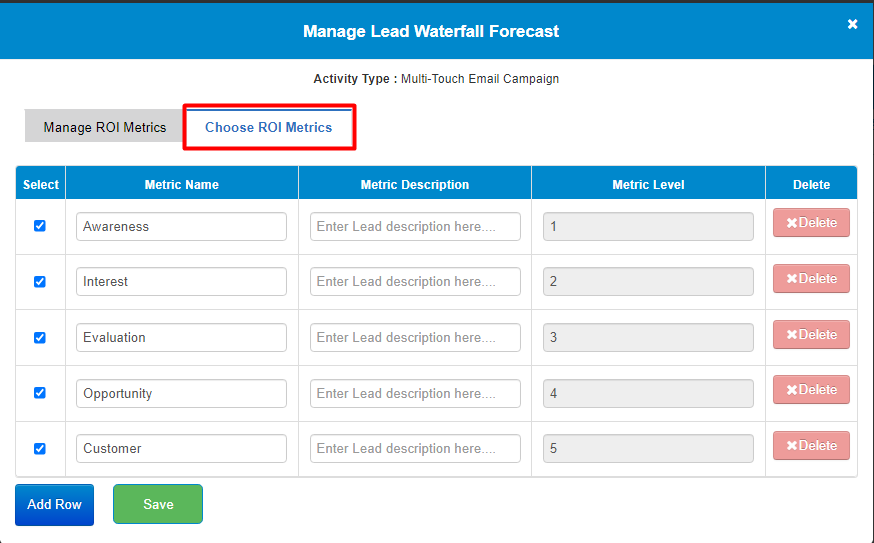
 shows Lead Waterfall Forecast Setup “Complete”
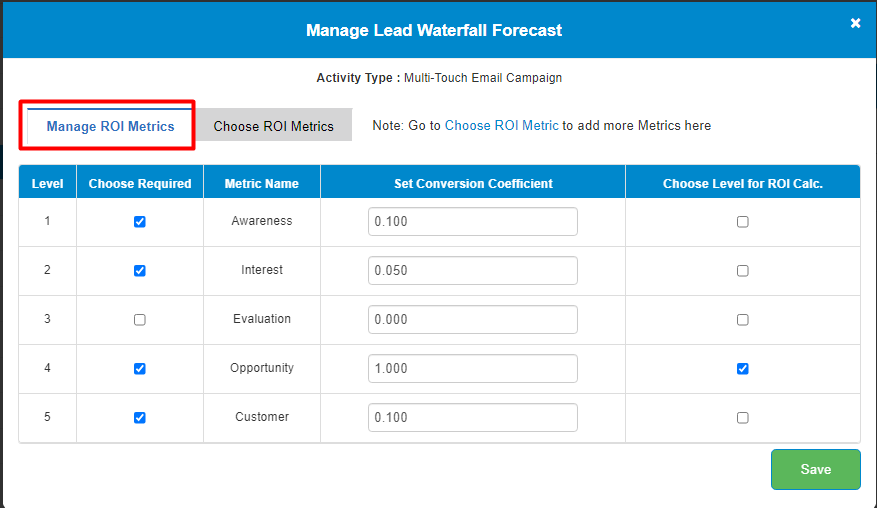