
Call us @ +1 508-737-1615
Call us @ +1 508-737-1615


| Manage Categories | 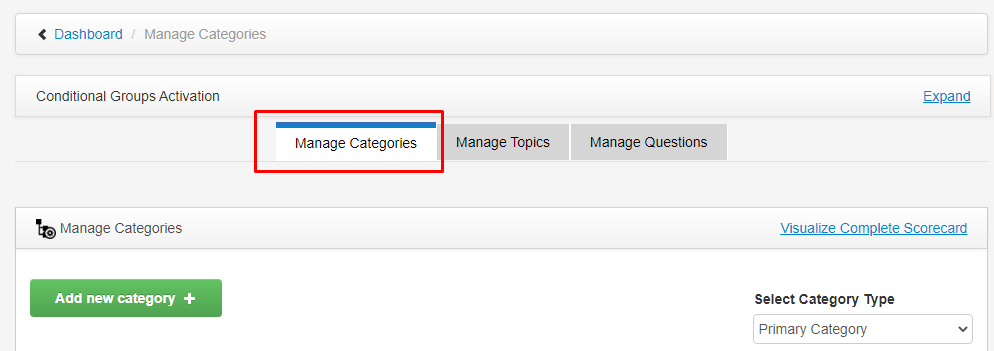 |
| What | On Manage Categories tab it shows the list of all the Categories that are added in admin. Categories are always displayed on the basis of selection of type e.g. Primary Category and Internal category. Category completion step is compoulsary for adding topics under categories.. |
| How |
|
| Add New Category | 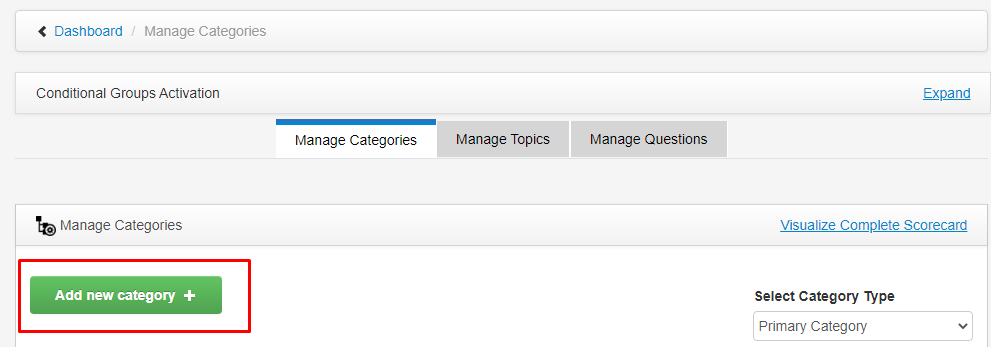 |
| How |
|
| After clicking Add new category | 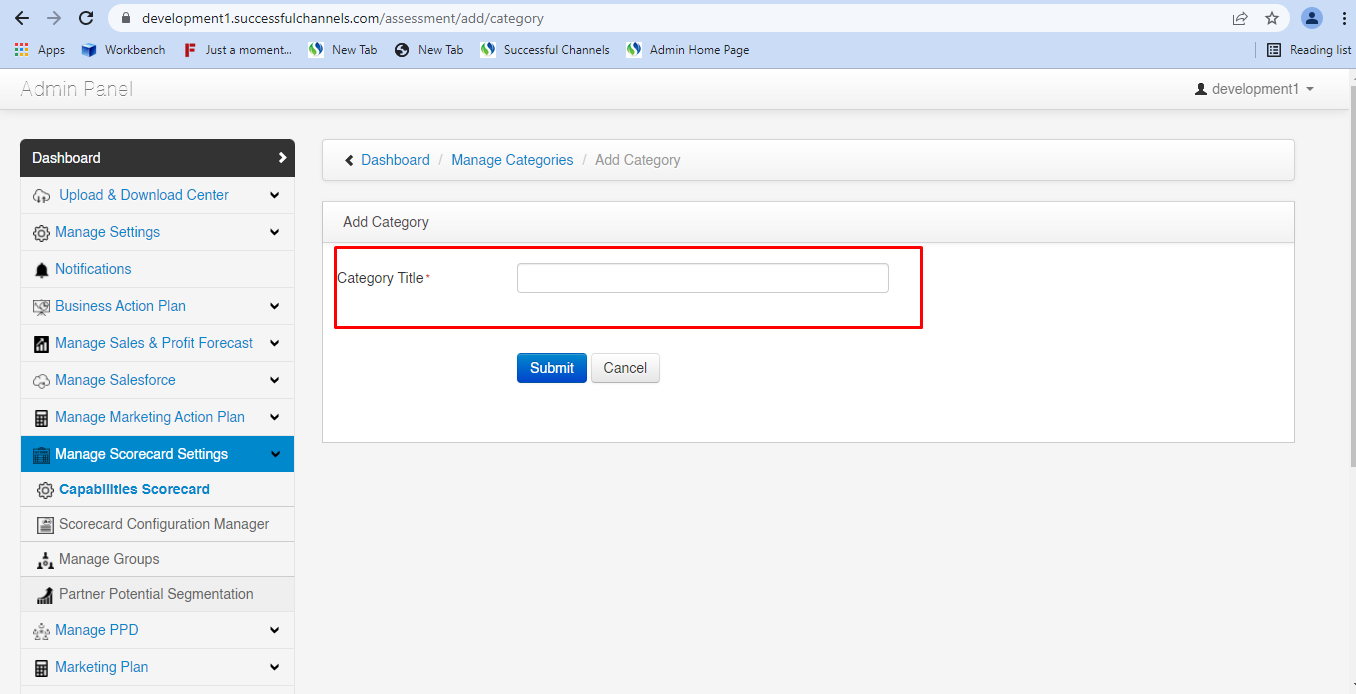 |
| How |
|
| Submit Button | 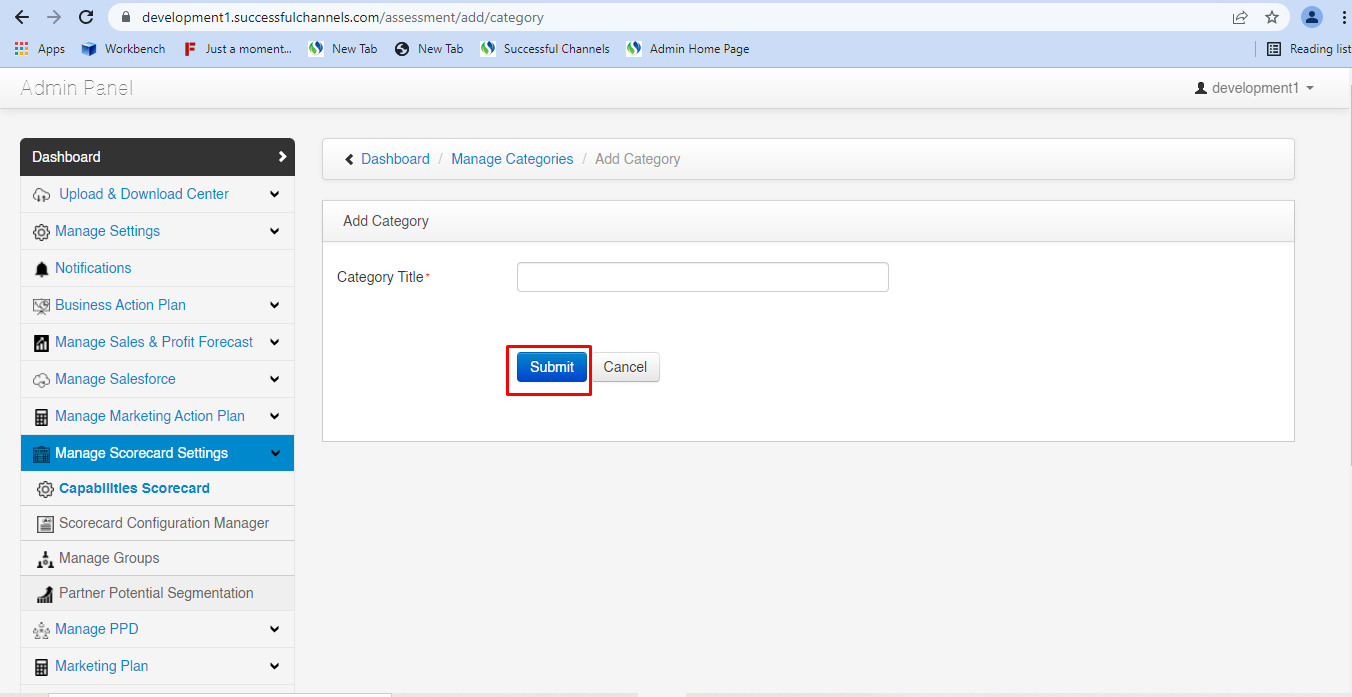 |
| How |
|
| Cancel Button |  |
| How |
|
| View Topics button | 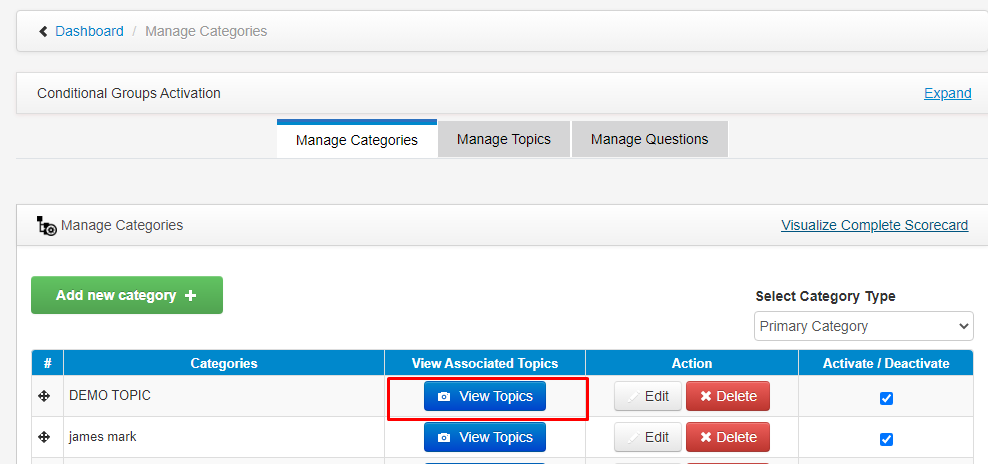 |
| How |
|
| Edit and Delete button | 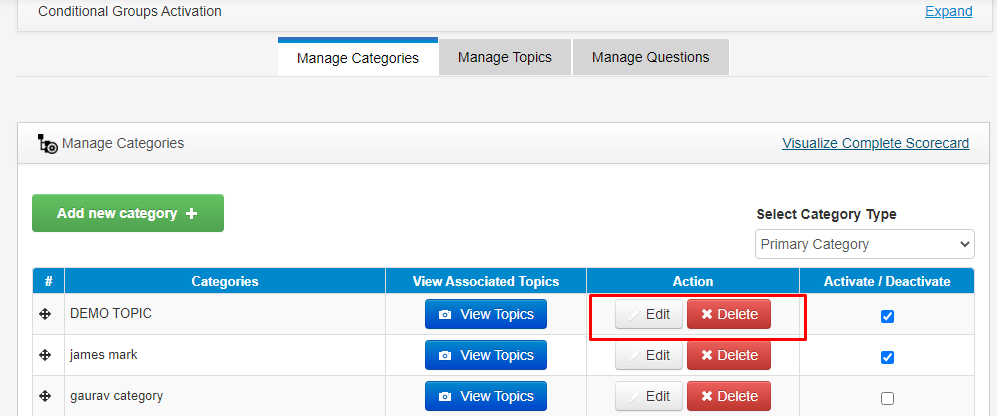 |
| How |
|
| Activate/ Deactivate check box | 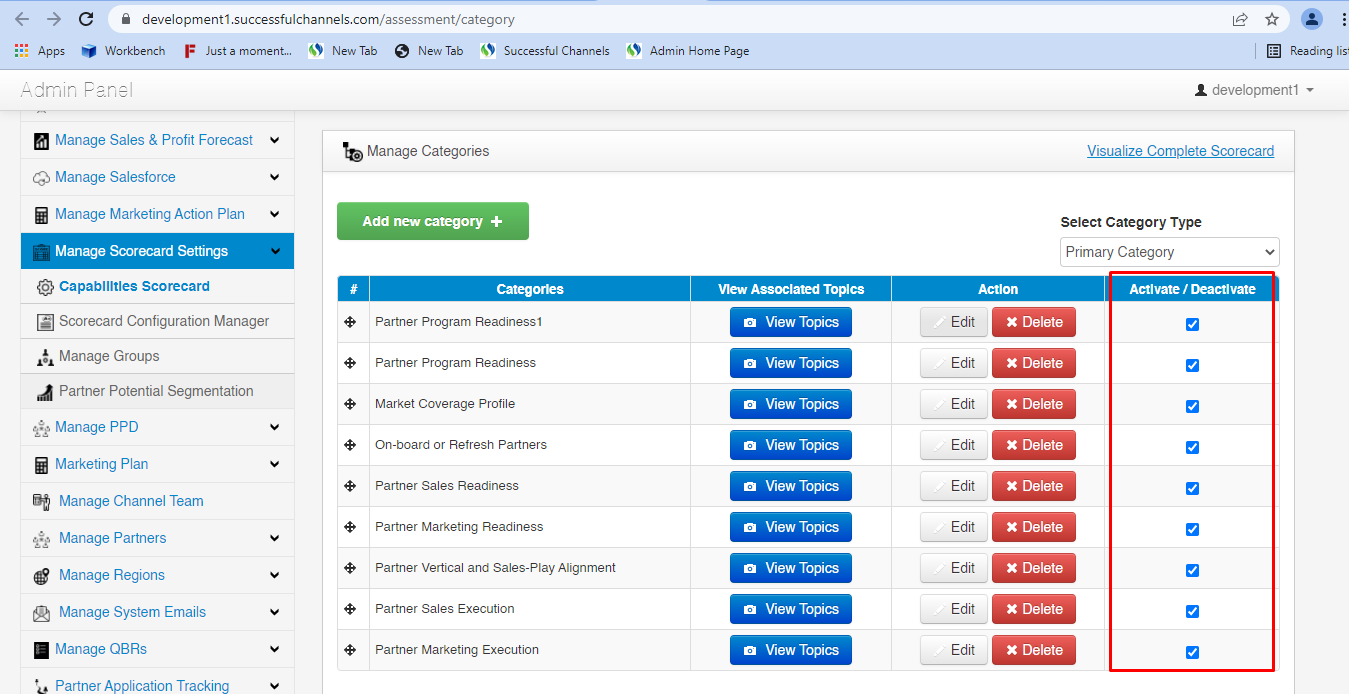 |
| How |
|
| Category type dropdown (Primary Category) | 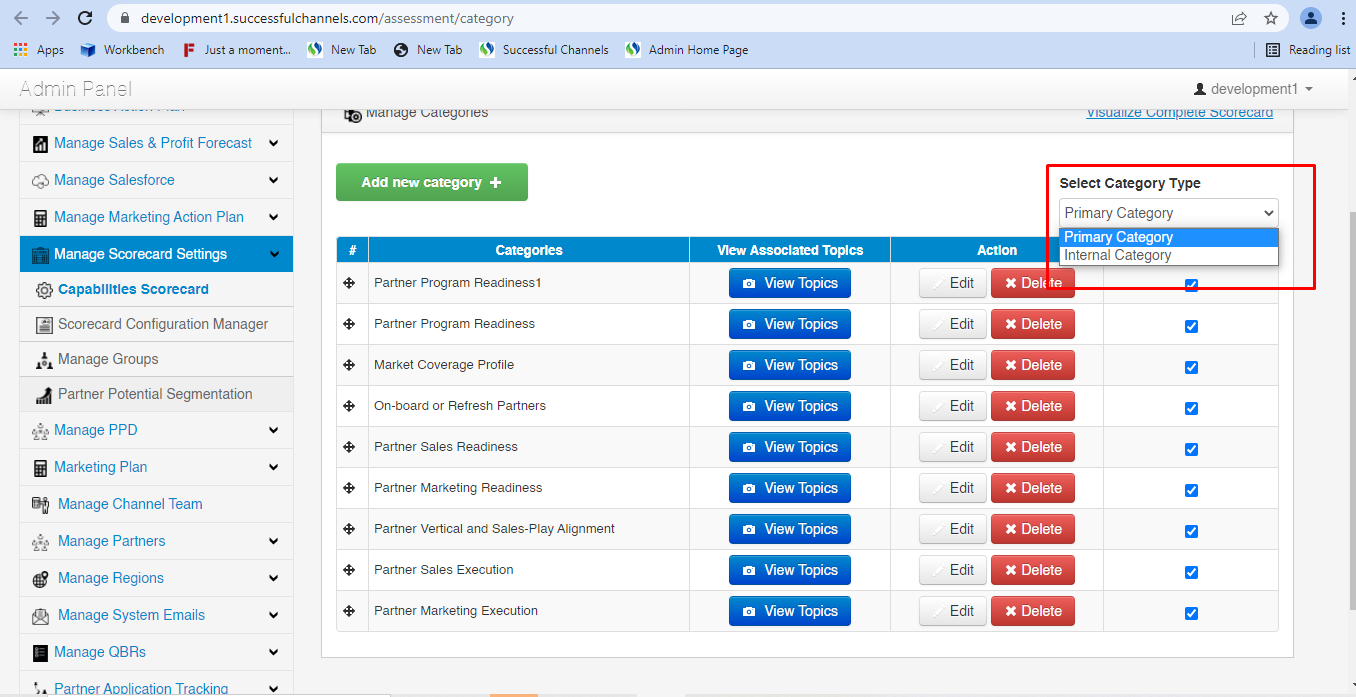 |
| How |
|
| Category type dropdown (Internal Category) | 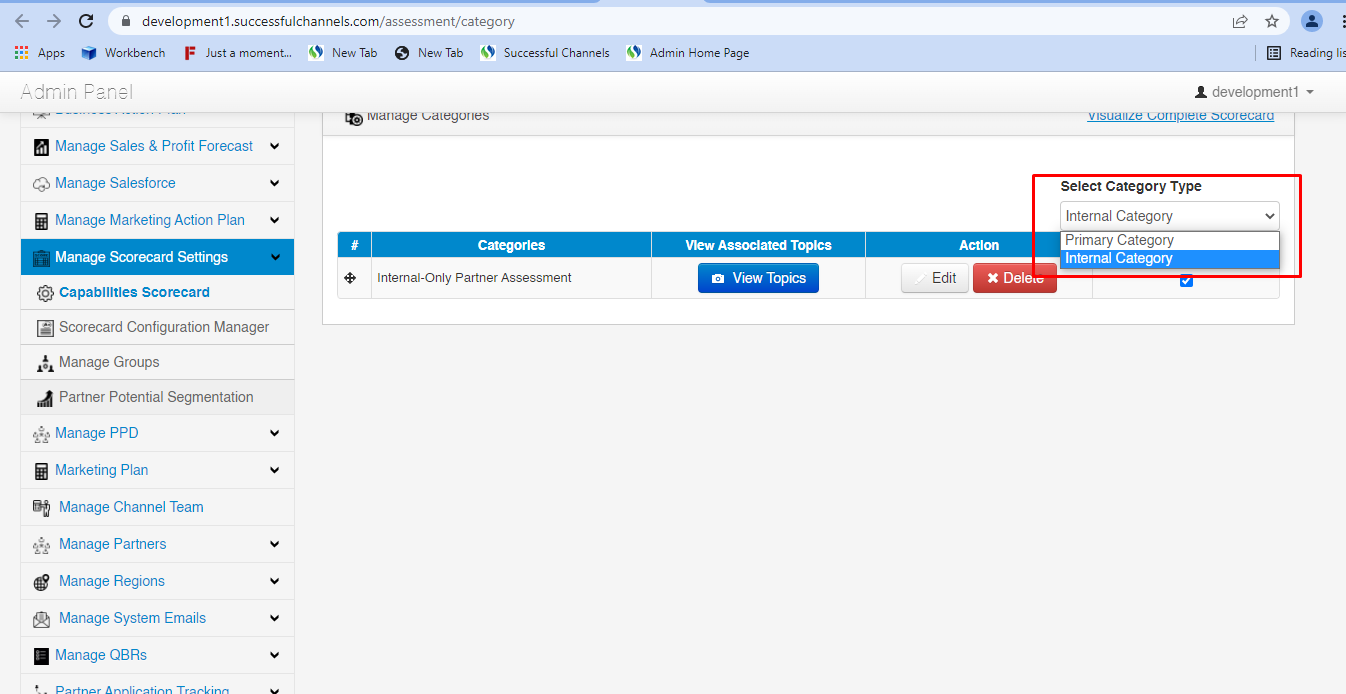 |
| How |
|
| Manage Topics | 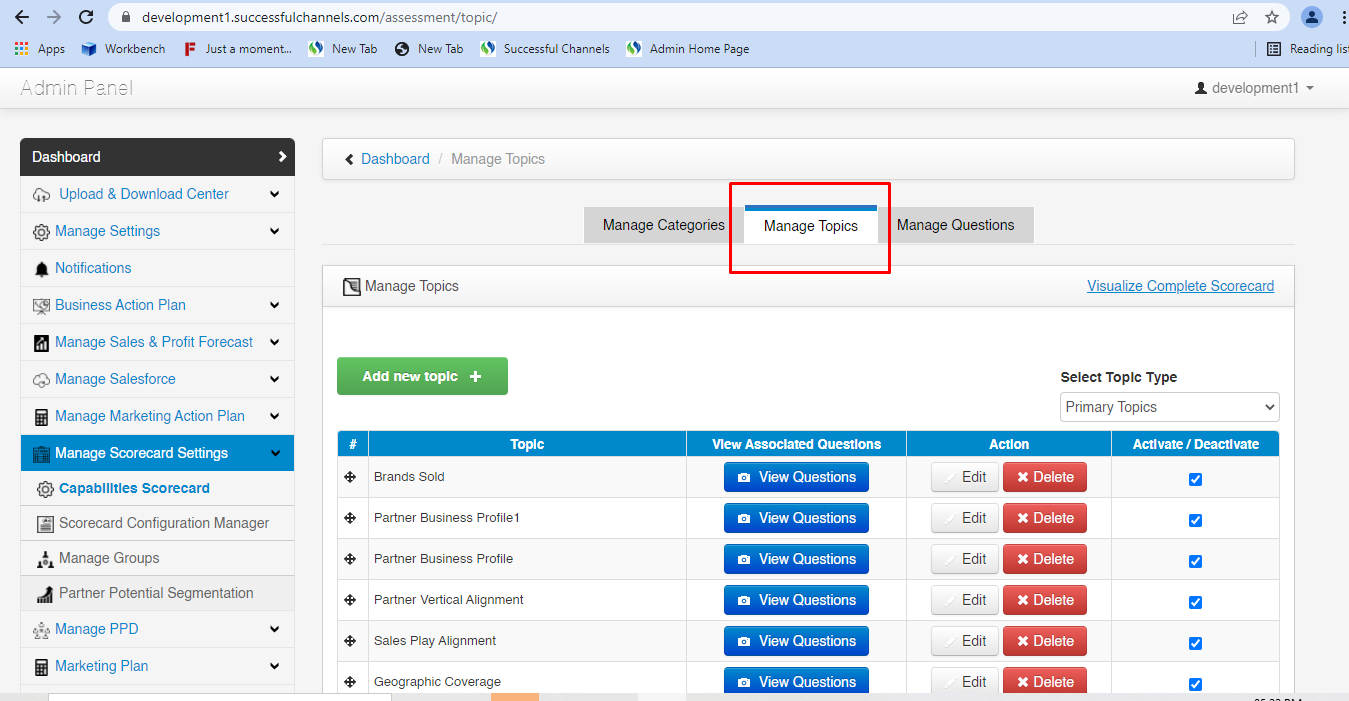 |
| What | On Manage Topics tab it shows the list of all the topics that are added in admin. Topics are always displayed on the basis of selection of type e.g. Primary Topics and Internal Topics . Topics completion step is compoulsary for adding questions under topics. |
| How it Works |
|
| Add New Topic button | 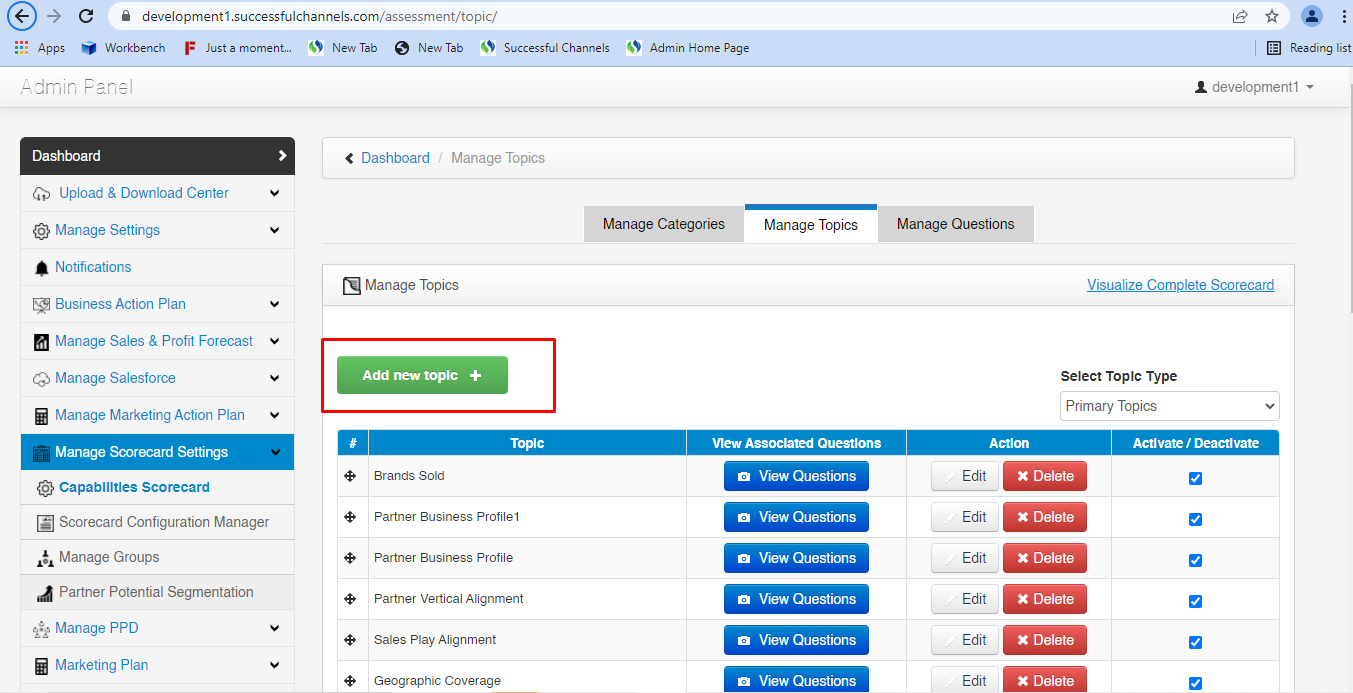 |
| How |
|
| After click add new topic button | 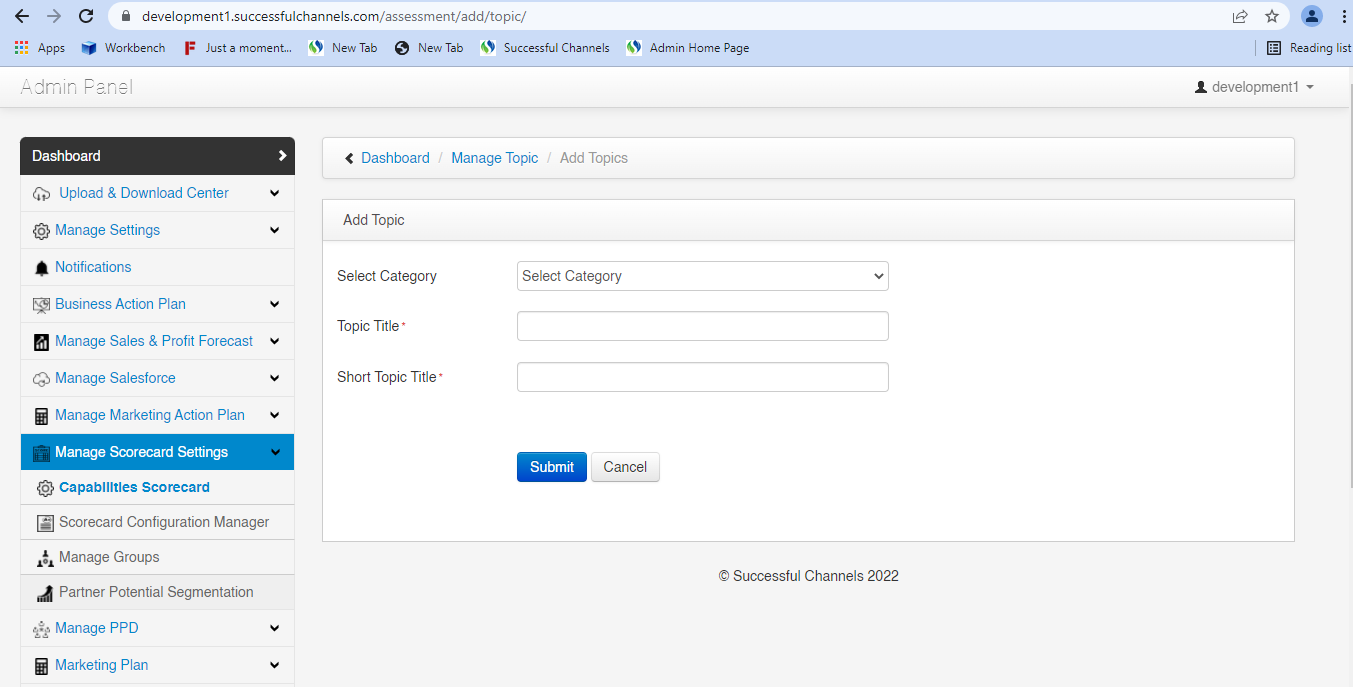 |
| How |
|
| Select Category Dropdown | 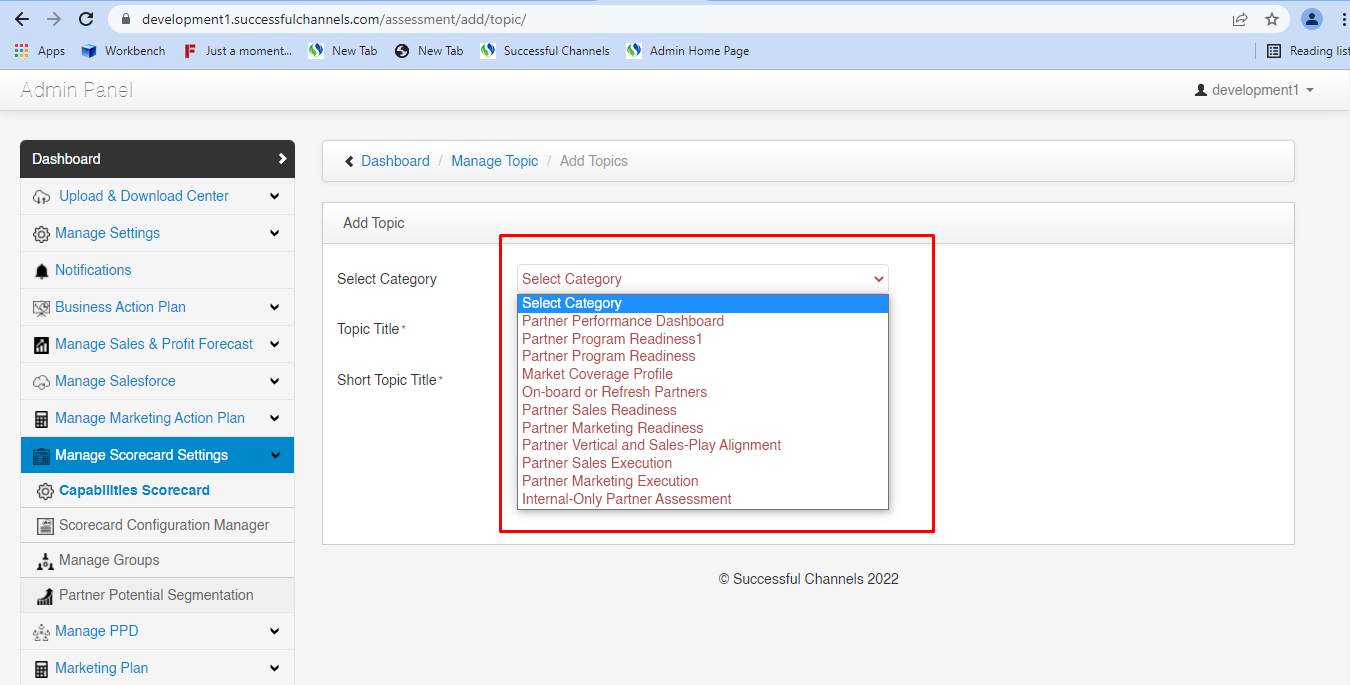 |
| How |
|
| Topic Title Textbox | 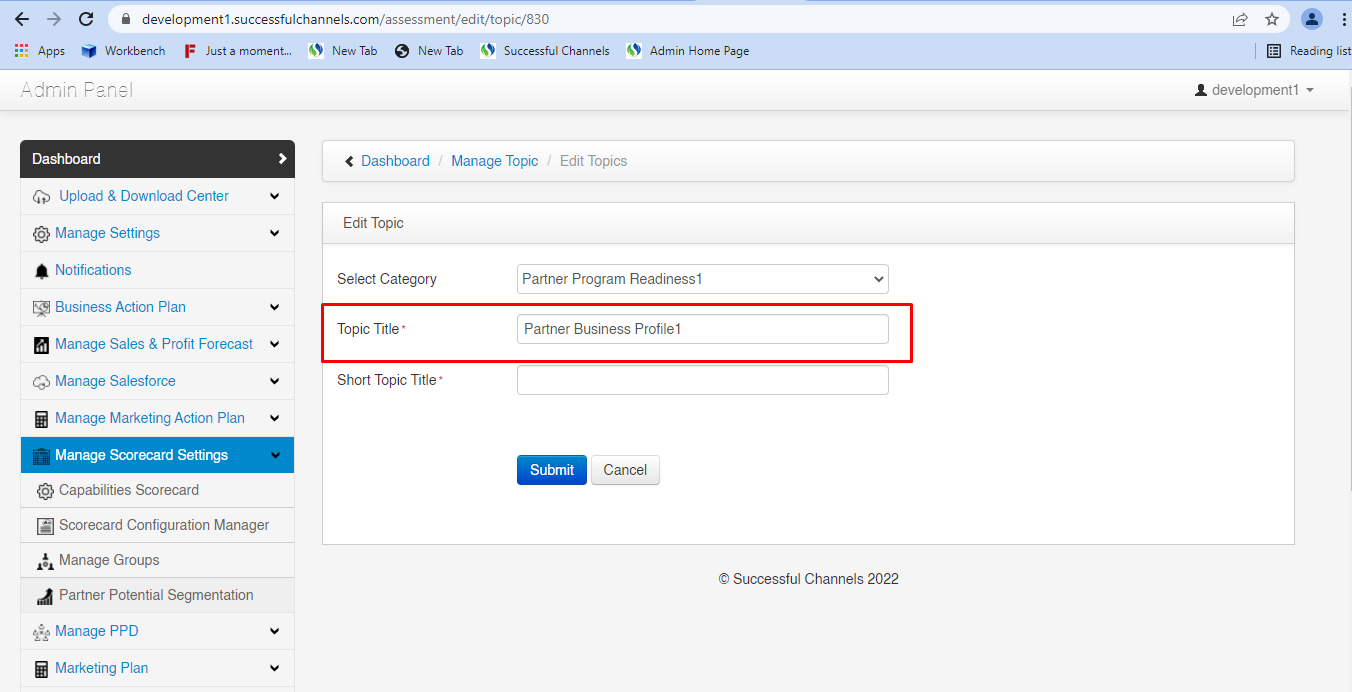 |
| How |
|
| Short Topic title text box | 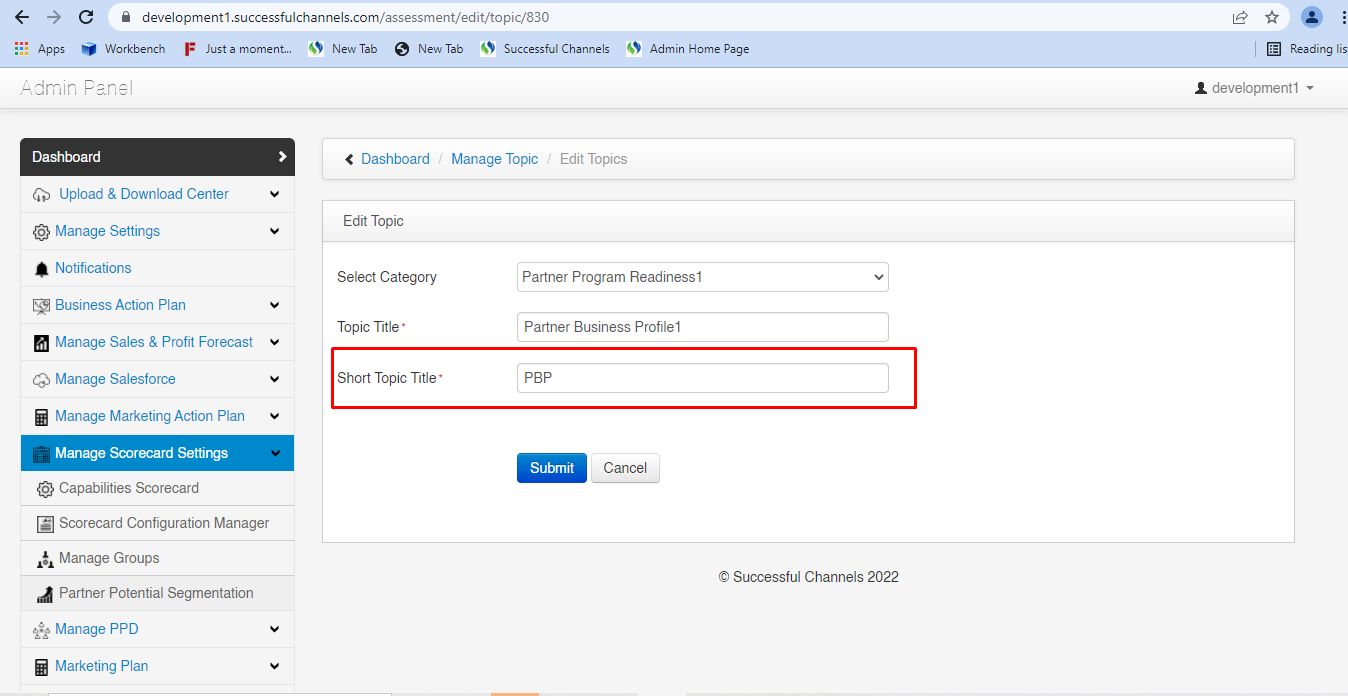 |
| Why | To display the topic title shortly in the CAM Dashboard |
| How |
|
| Submit Button | 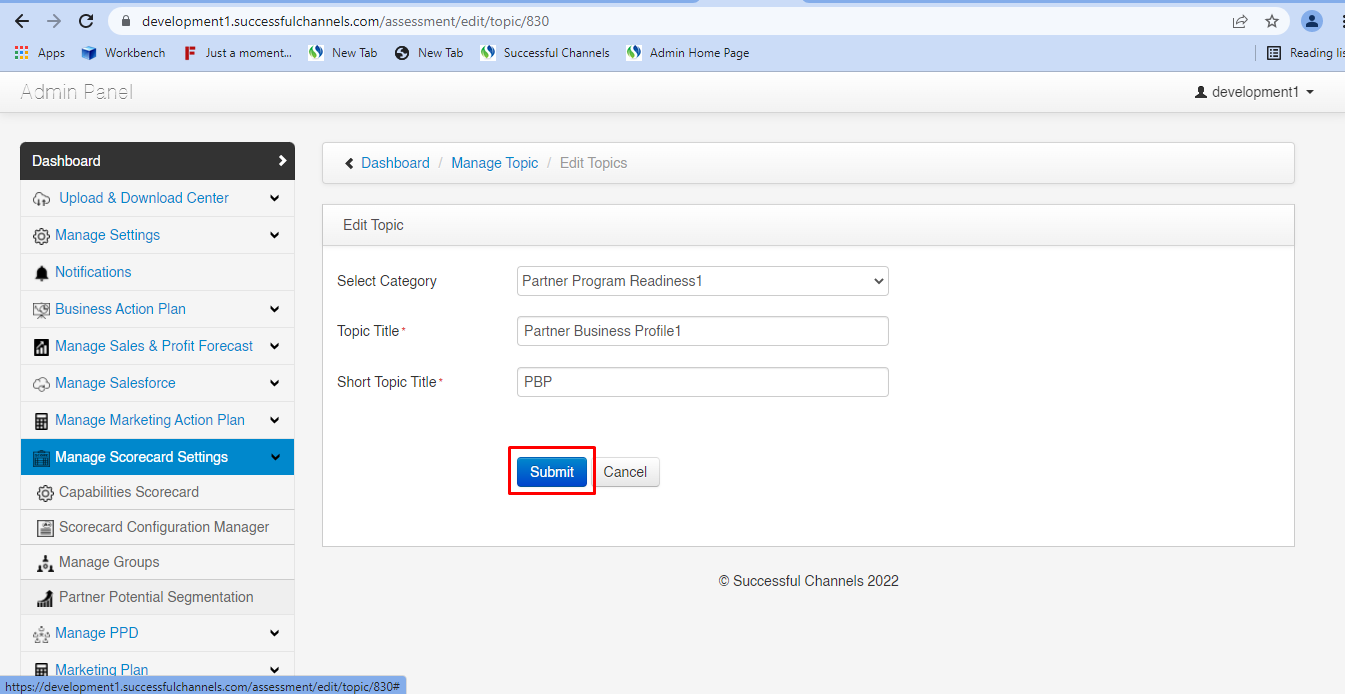 |
| How |
|
| Cancel Button | 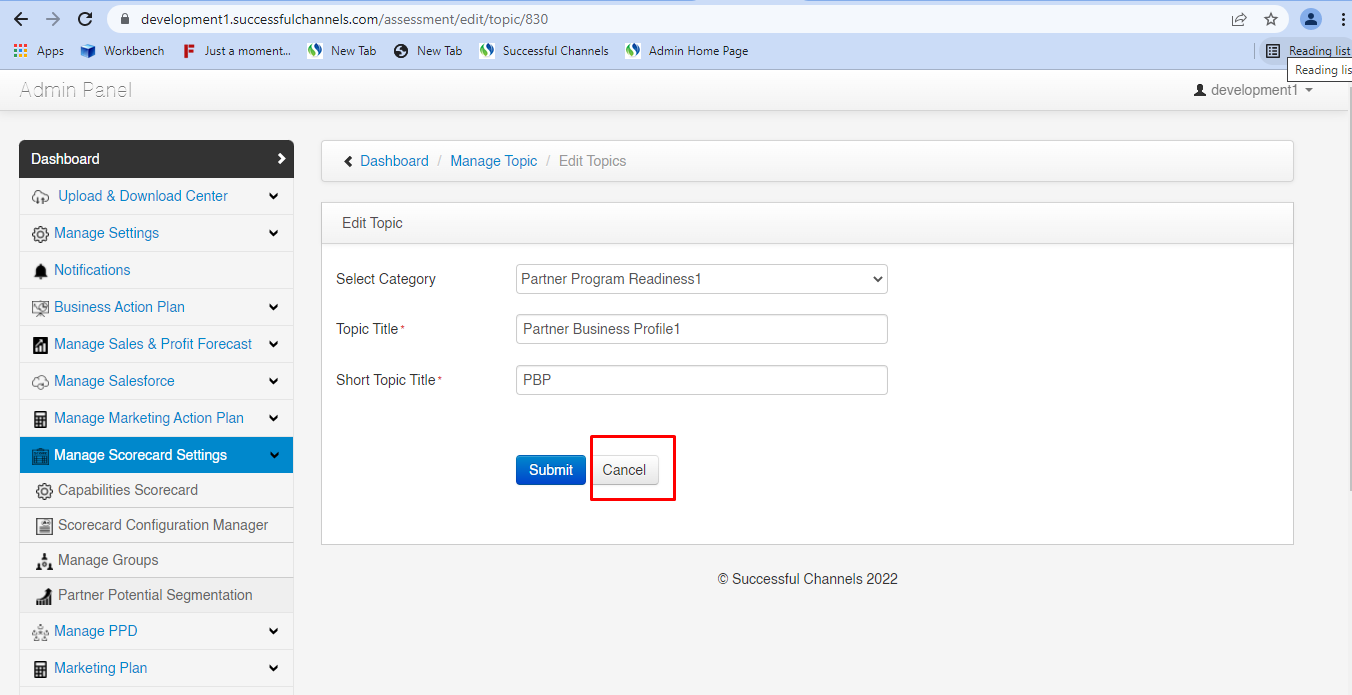 |
| How |
|
| View Questions button | 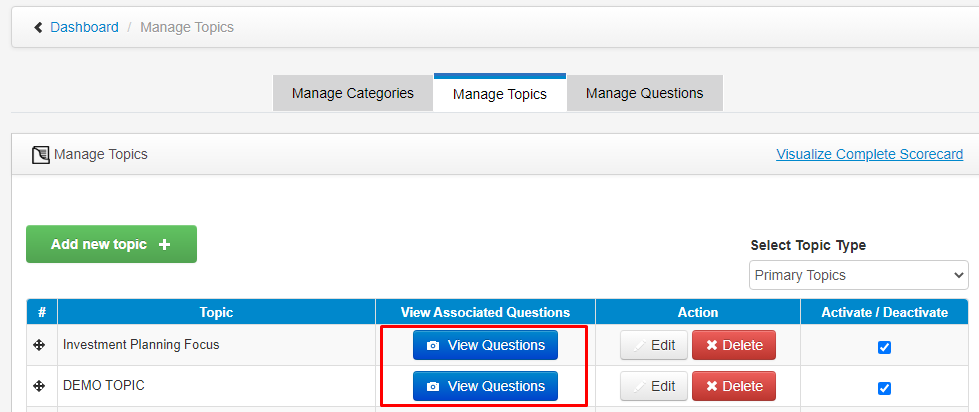 |
| How |
|
| Edit and Delete button | 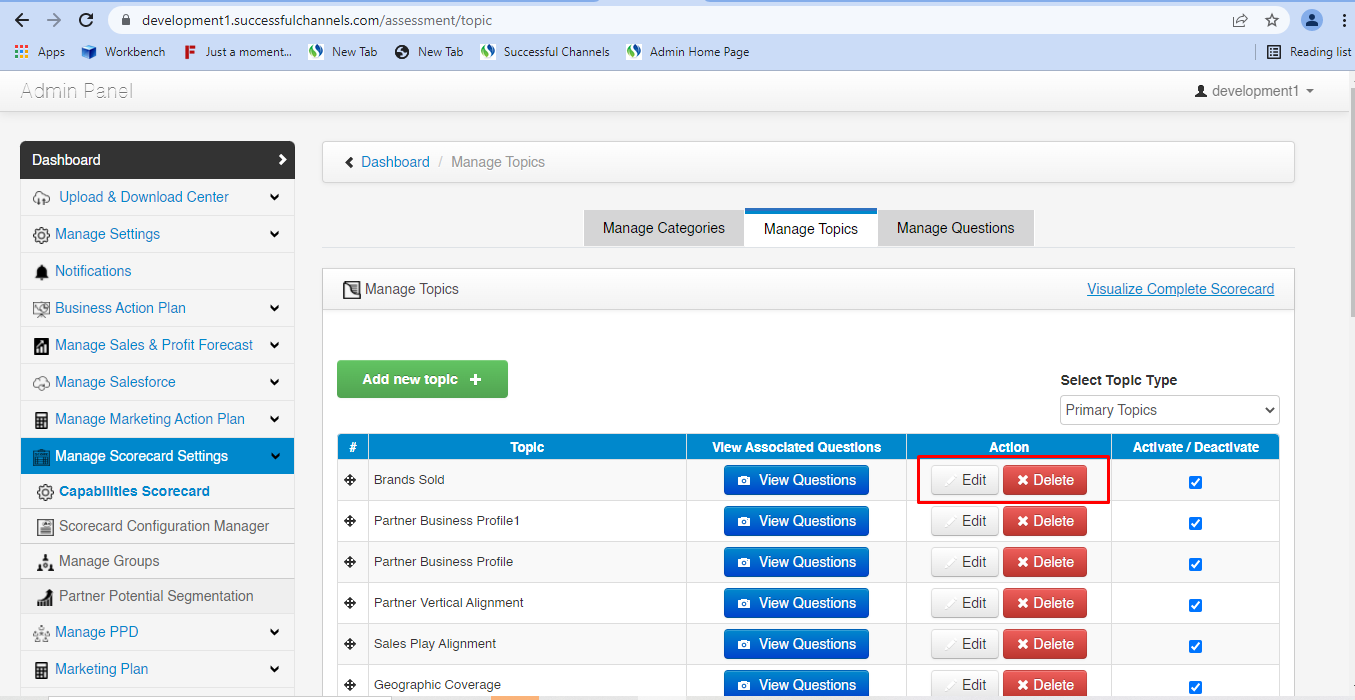 |
| How |
|
| Activate/ Deactivate check box | 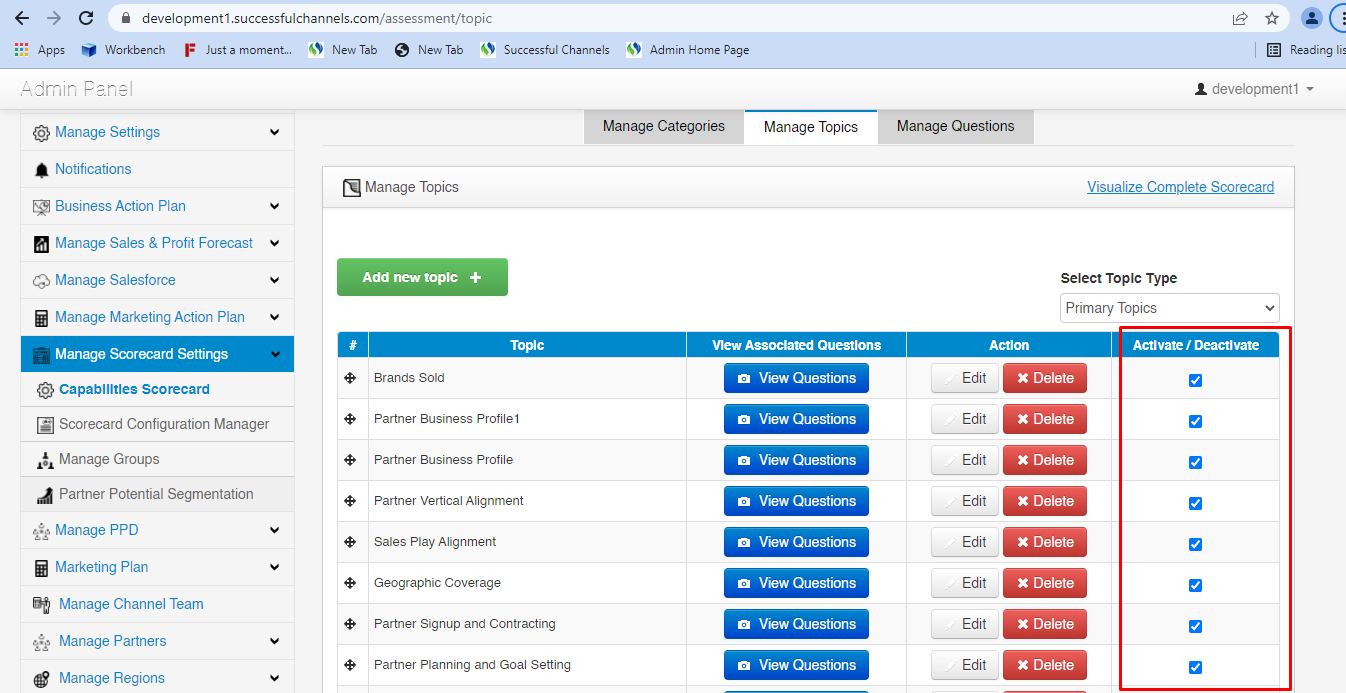 |
| How |
|
| Topic Type dropdown (Primary Topics) |  |
| How |
|
| Topic Type dropdown (Internal Topics) | 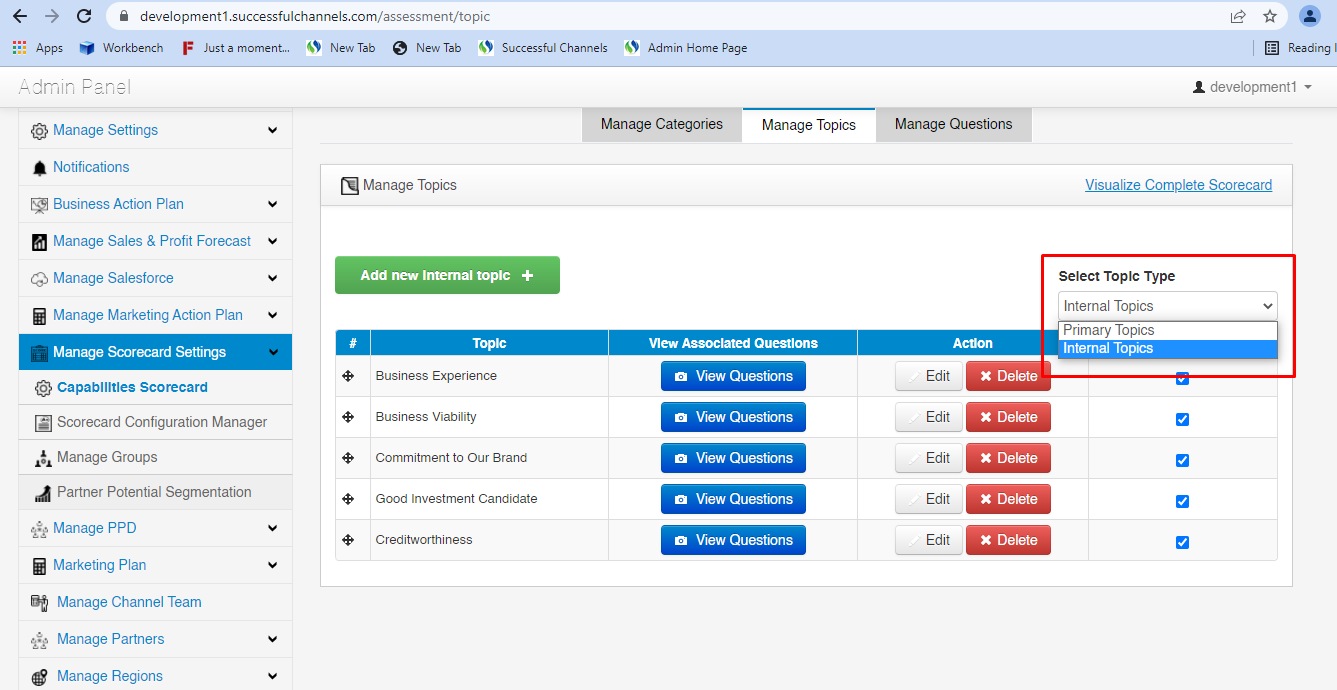 |
| How |
|
| Manage Questions | 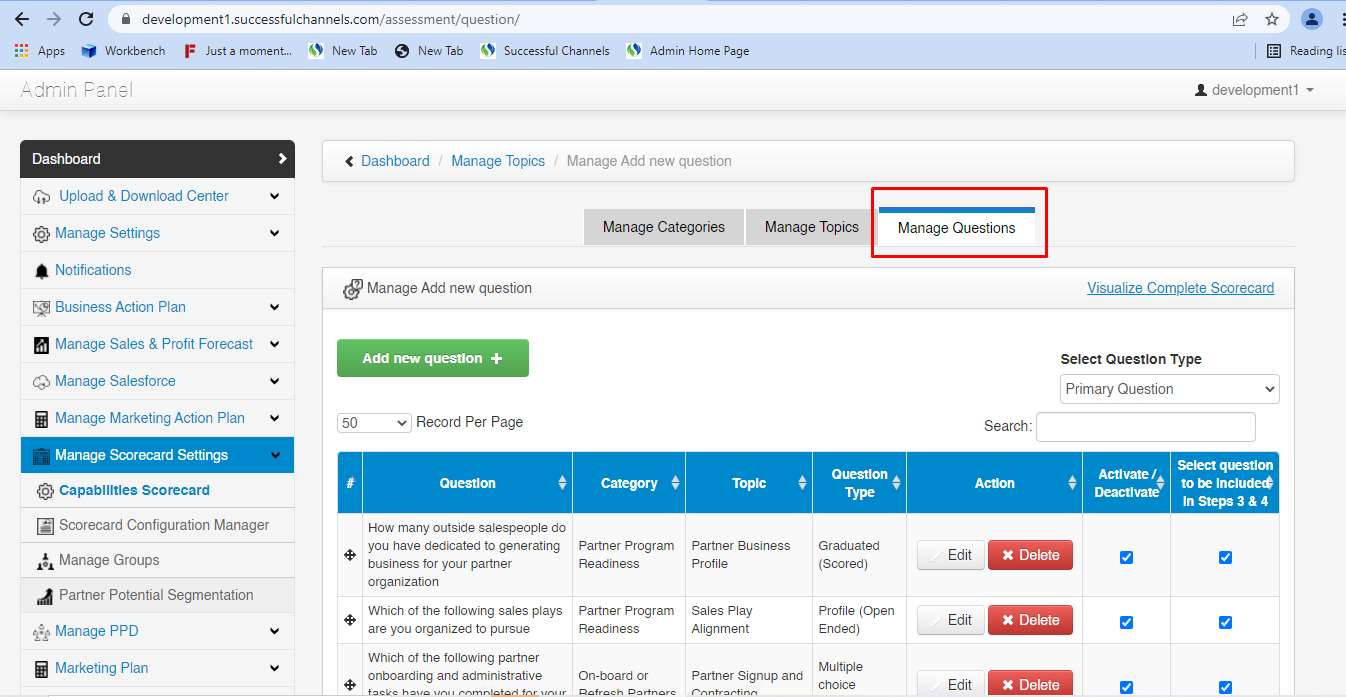 |
| What |
On Manage questions tab it shows the list of all the questions that are added in admin. Questions are always displayed on the basis of selection of type e.g. Primary Questions and Internal Questions . It has also a search box and records per pages dropdown on the right and left side respectively. |
| How |
|
| Add New Question button | 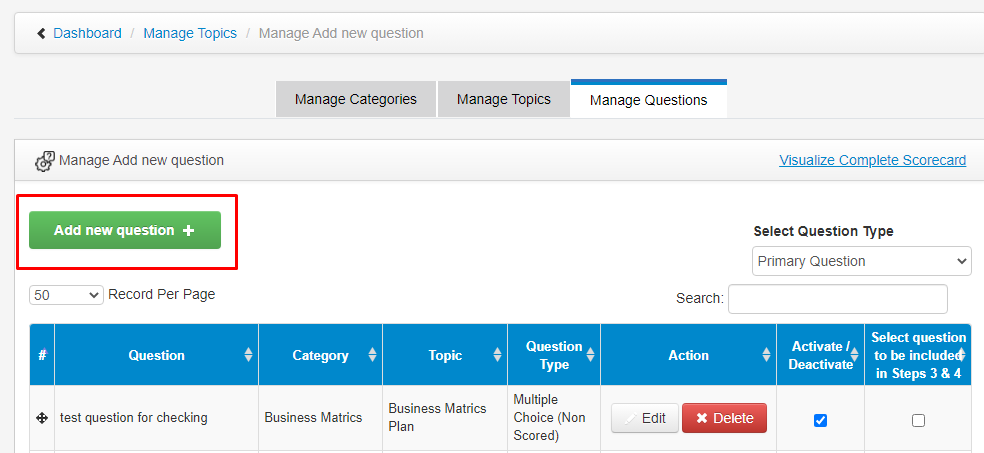 |
| How |
|
| After click add new question button | 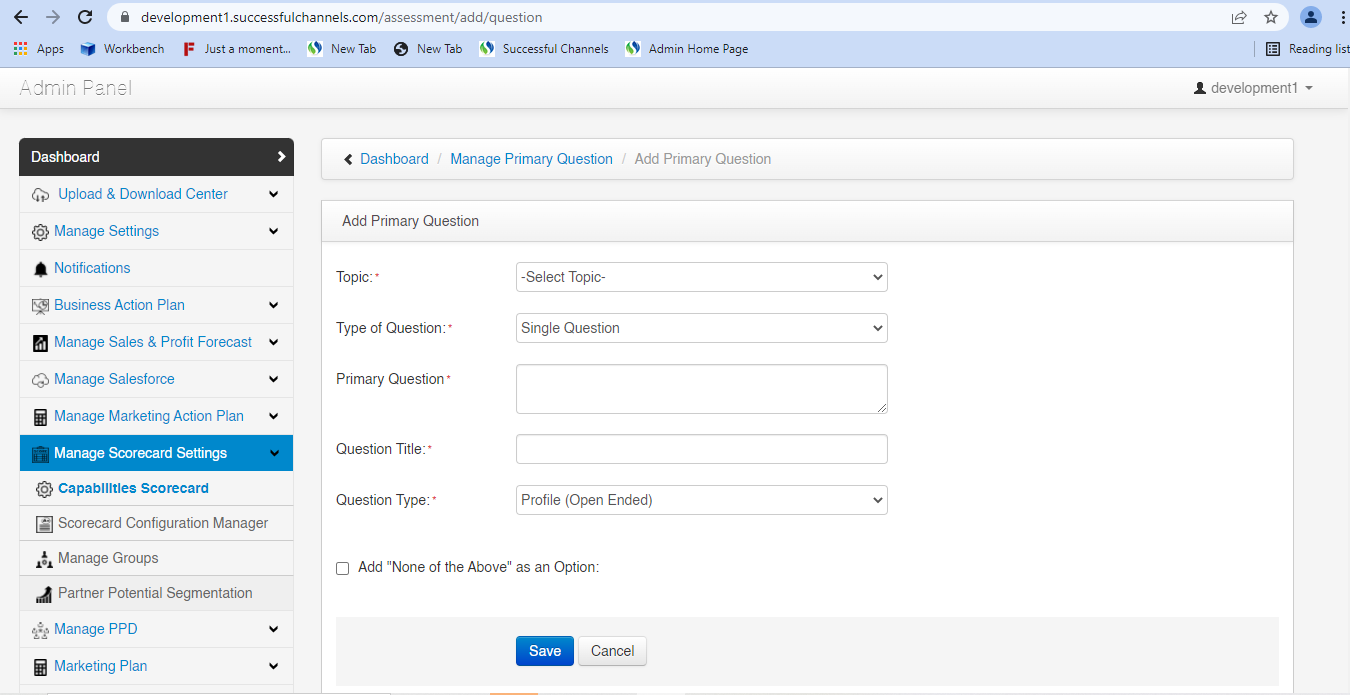 |
| How |
|
| Topic dropdown | 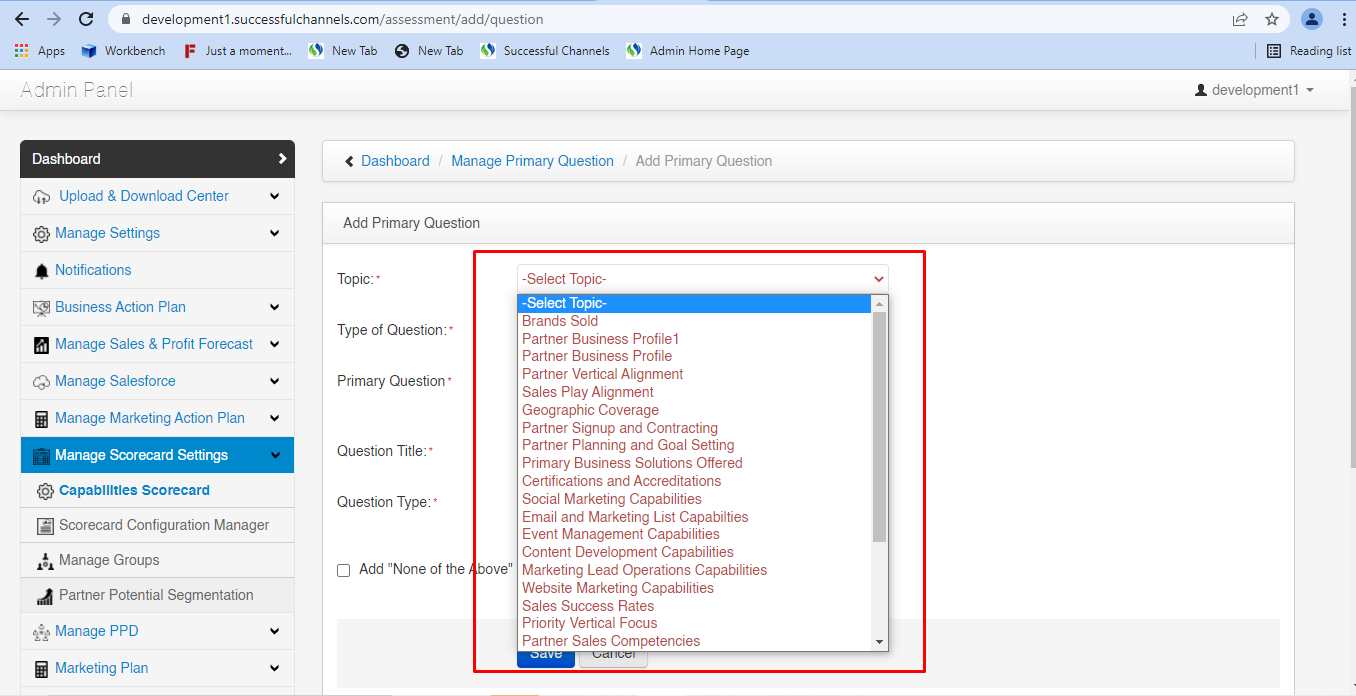 |
| How |
|
| Type of Question dropdown | 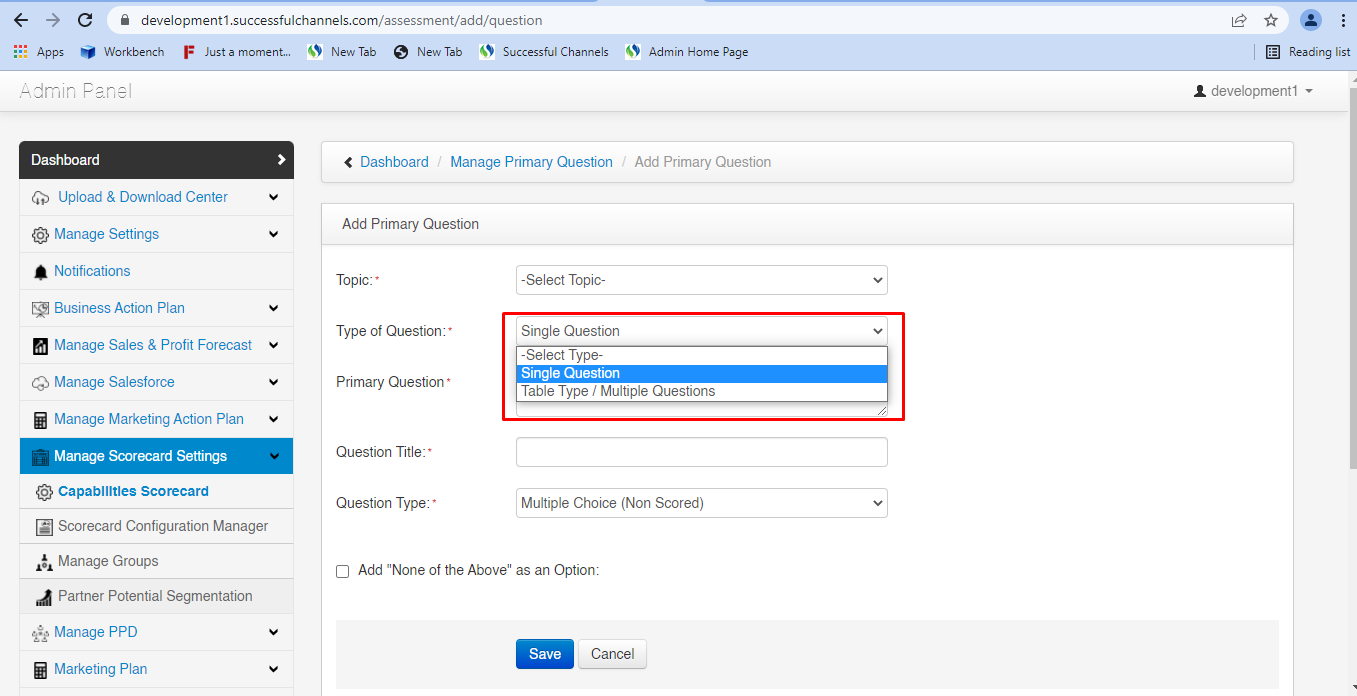 |
| How |
|
| Primary Question text box | 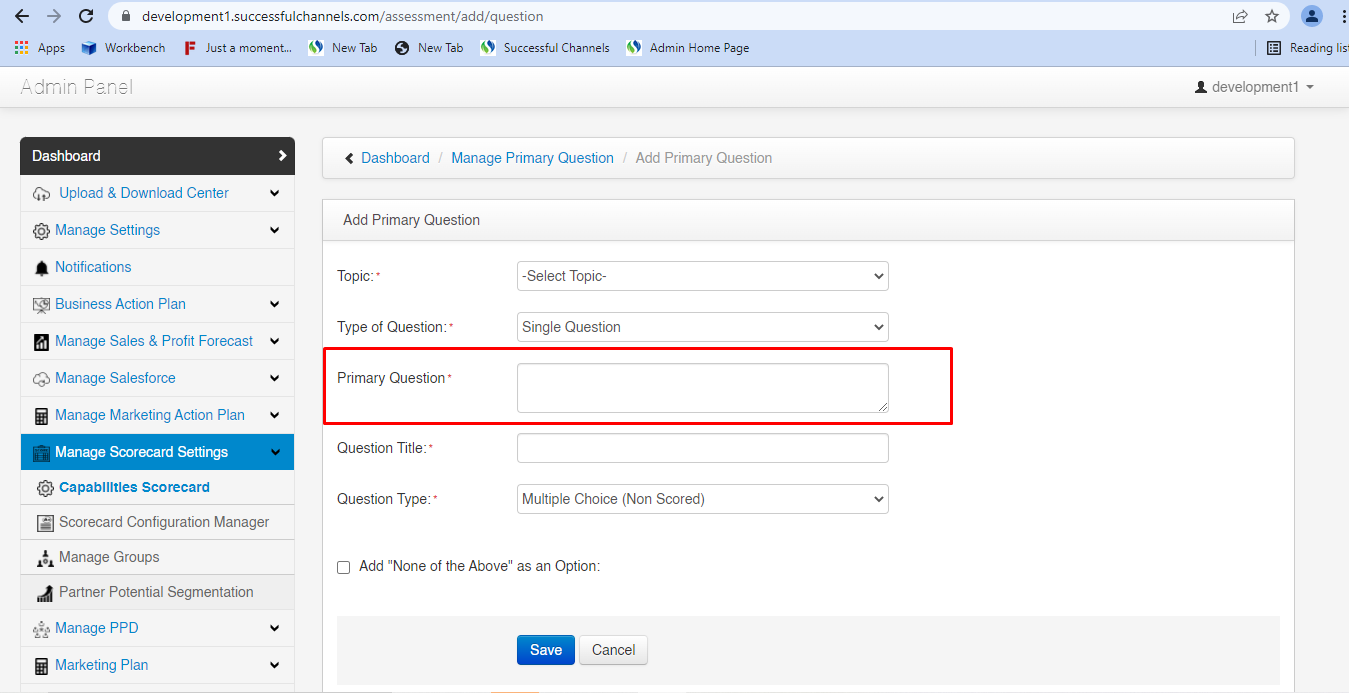 |
| How |
|
| Question Title text box |  |
| How |
|
| Question Type dropdown | 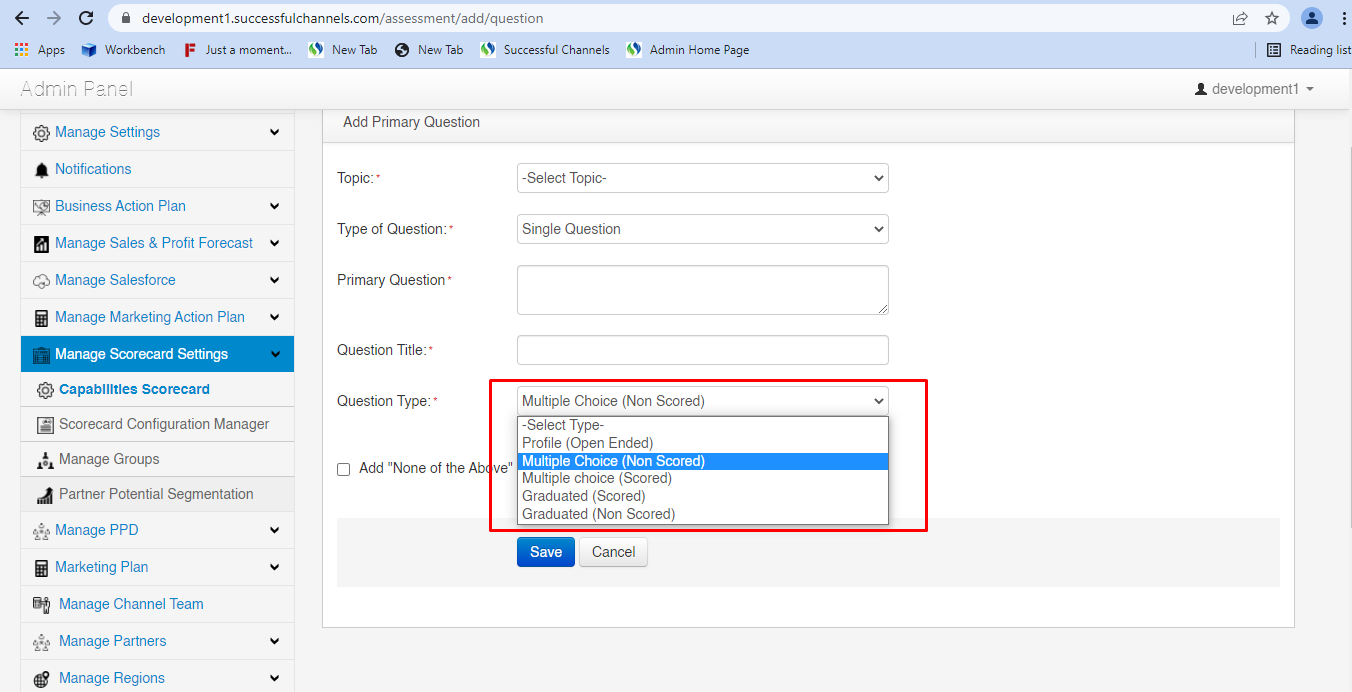 |
| How |
|
| Add “None of the above” as an option check box | 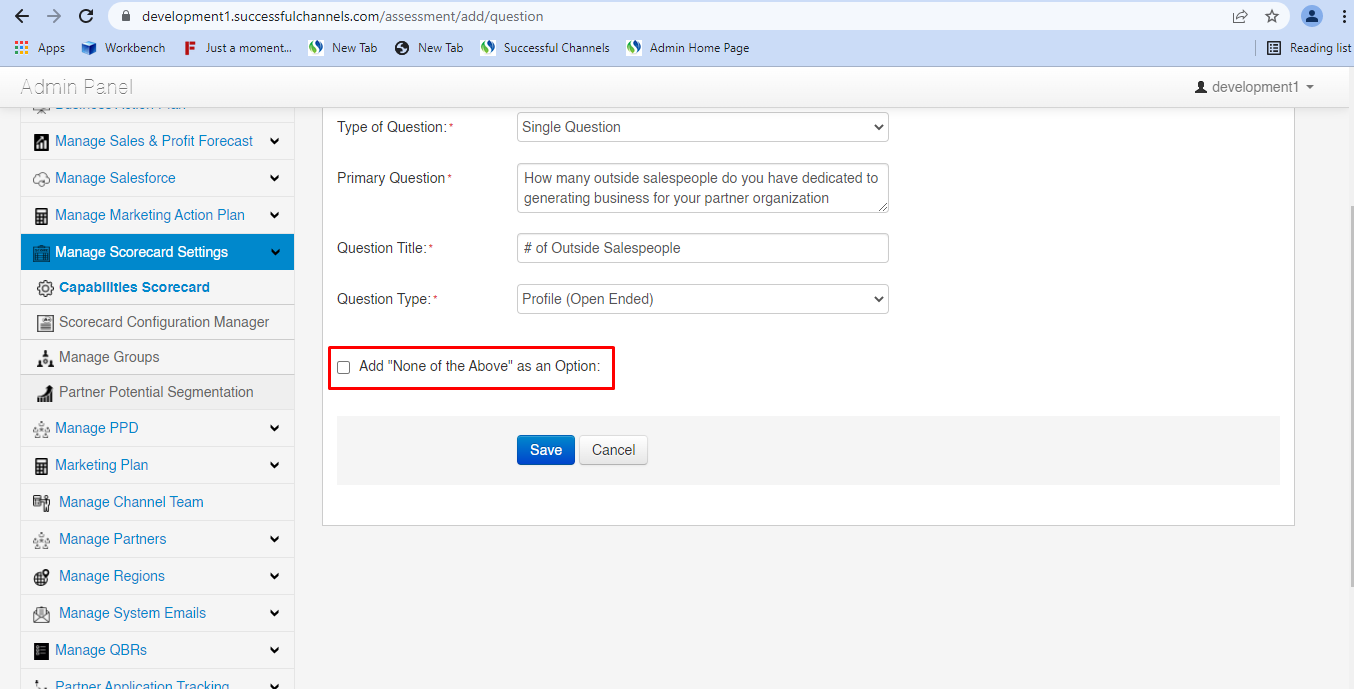 |
| How |
|
| Profile (Open ended) |  |
| How |
|
| Multiple Choice (Non scored) | 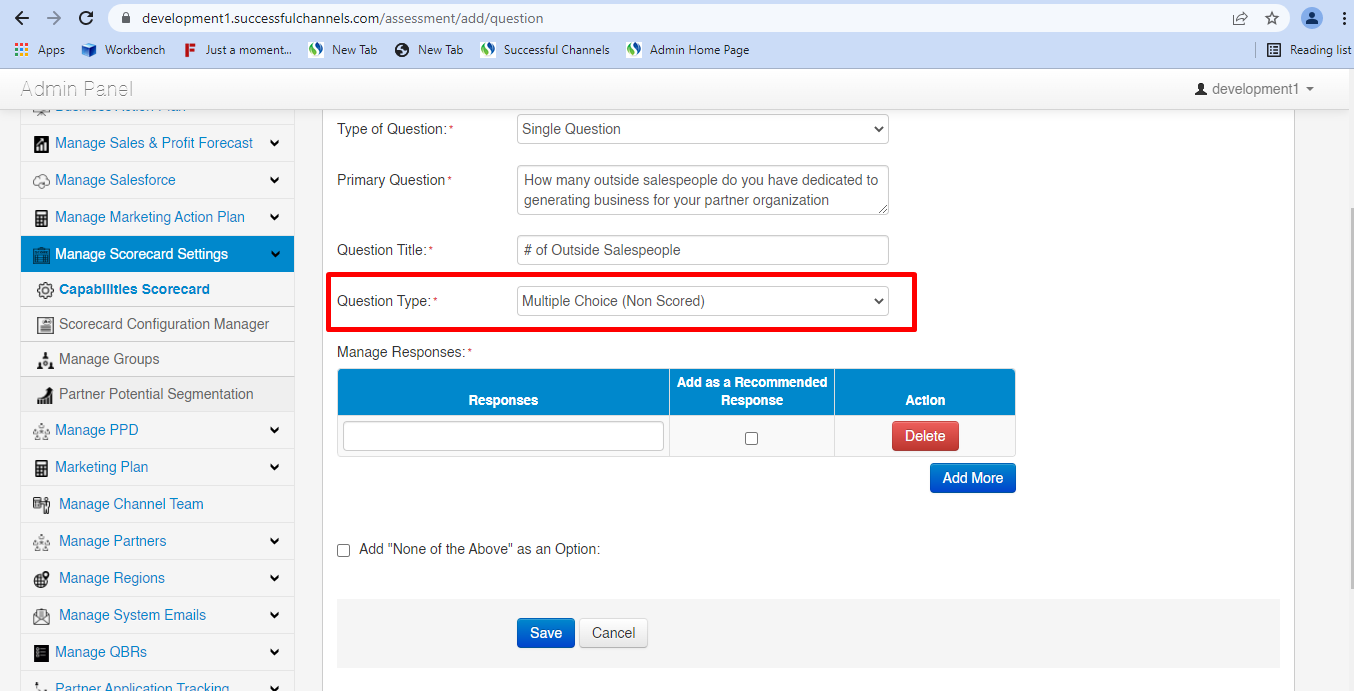 |
| How |
|
| Responses field | 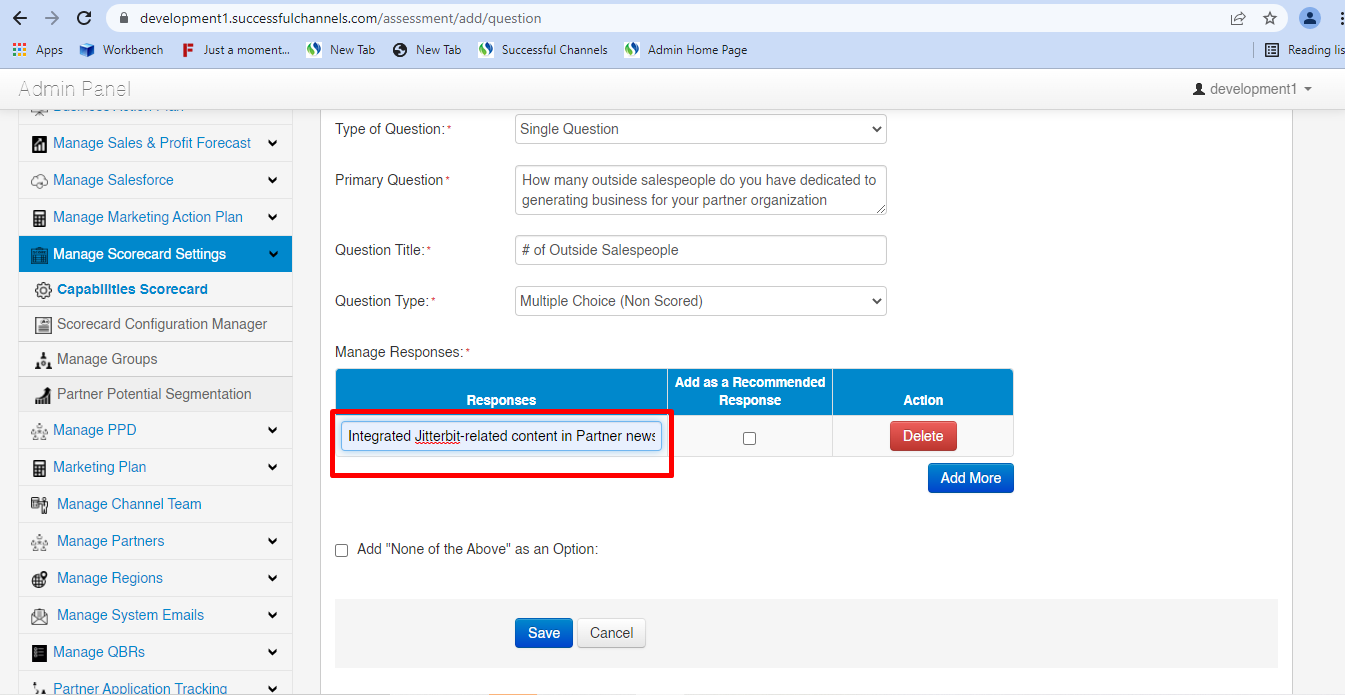 |
| How |
|
| Add as a Recommended Response check box | 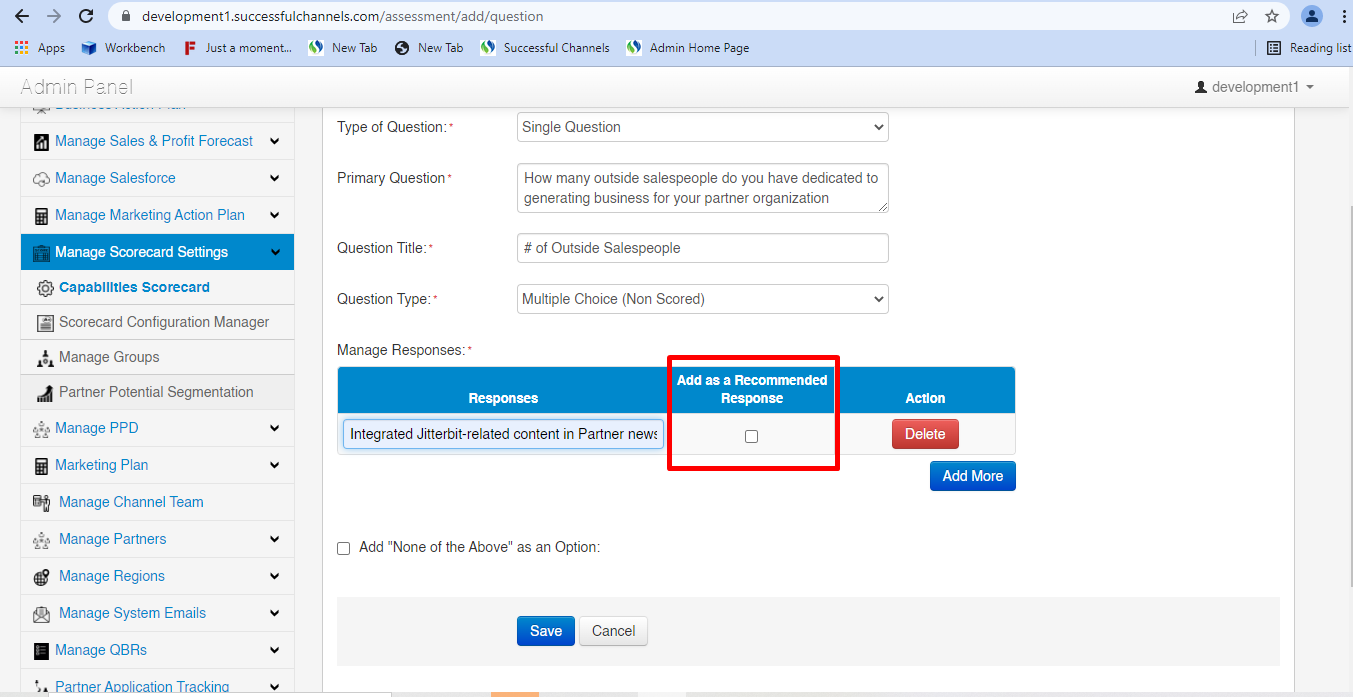 |
| How |
|
| Delete button | 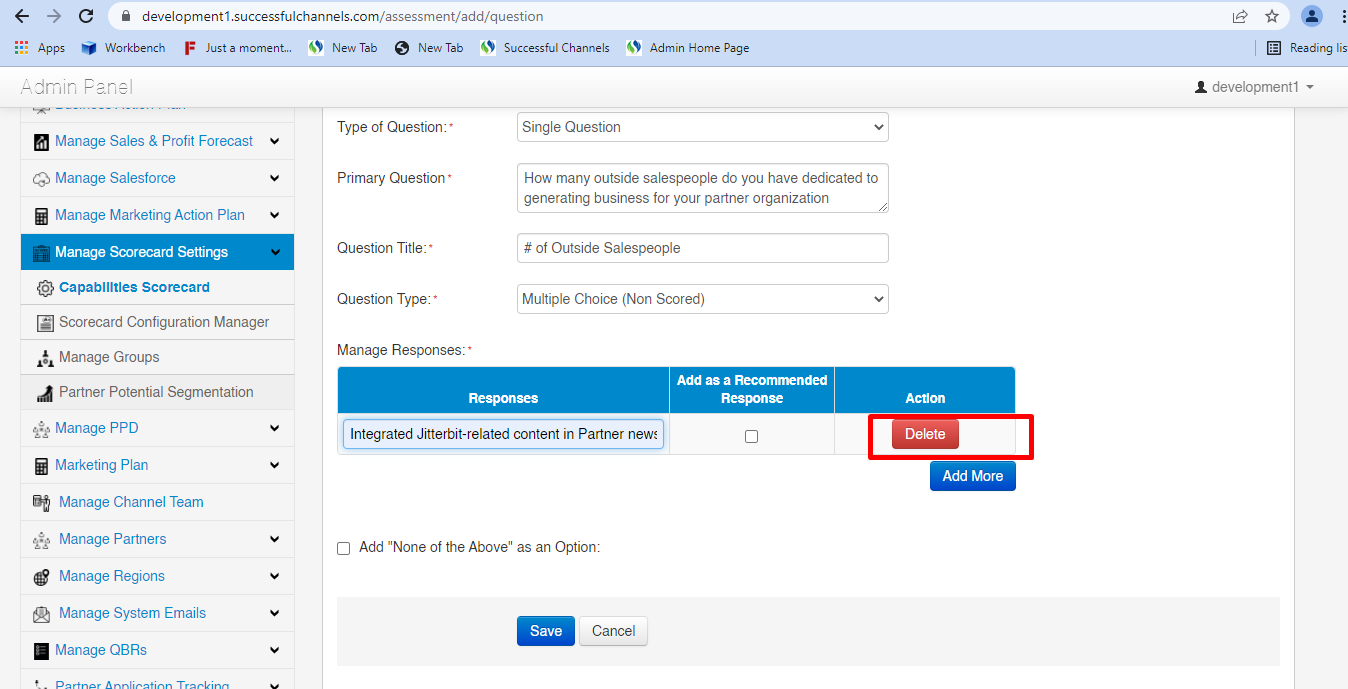 |
| How |
|
| Add More button | 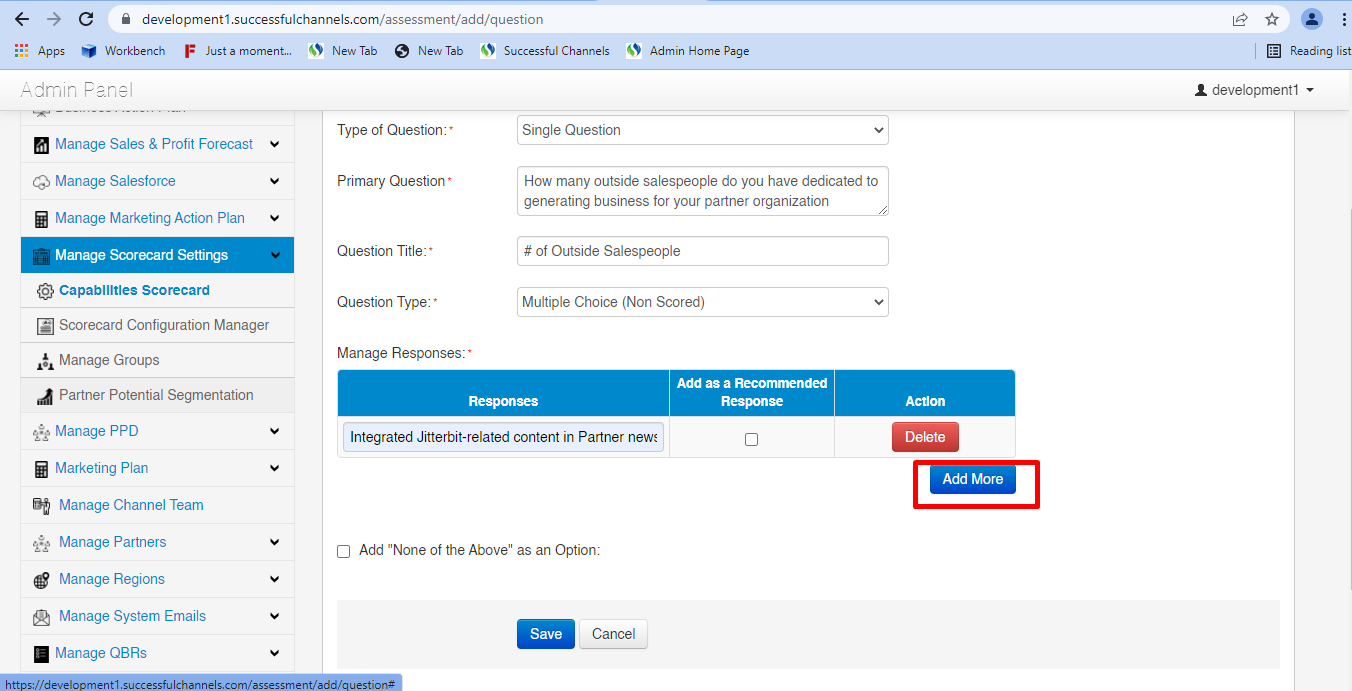 |
| How |
|
| Graduated (Scored) Question type | 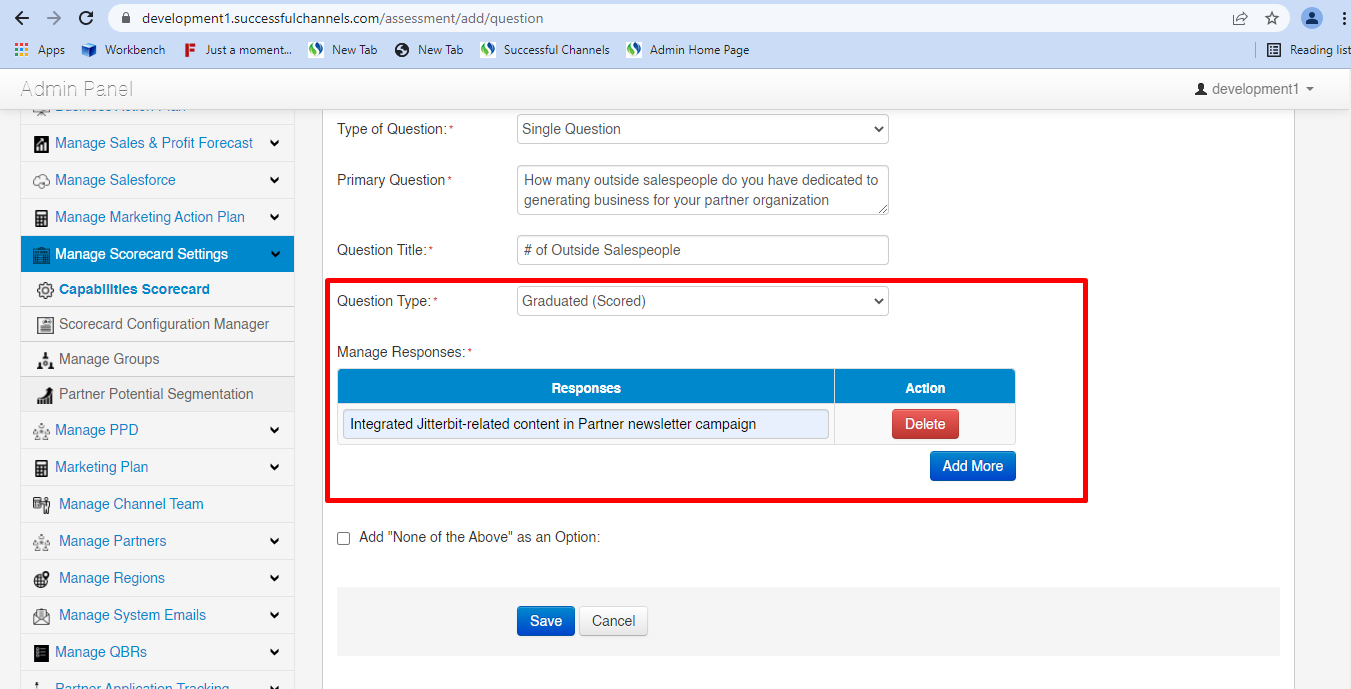 |
| How |
|
| Save Button | 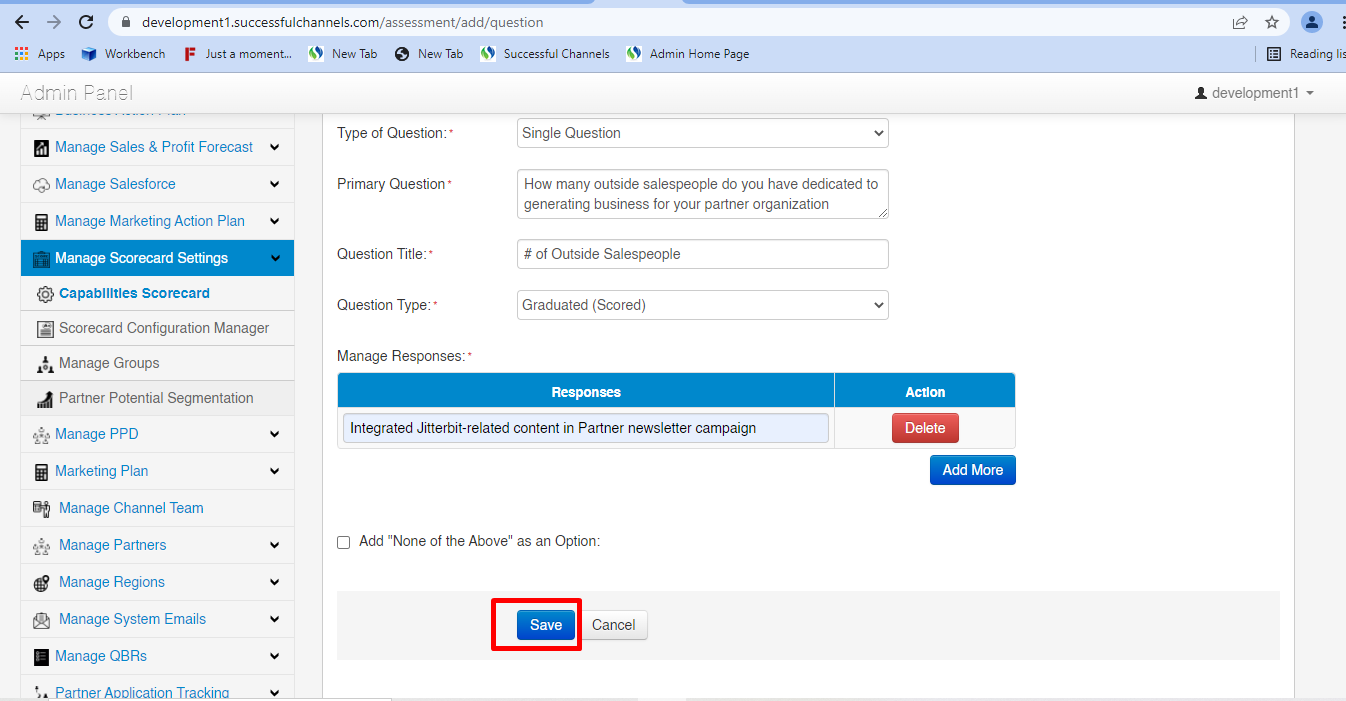 |
| How |
|
| Cancel Button | 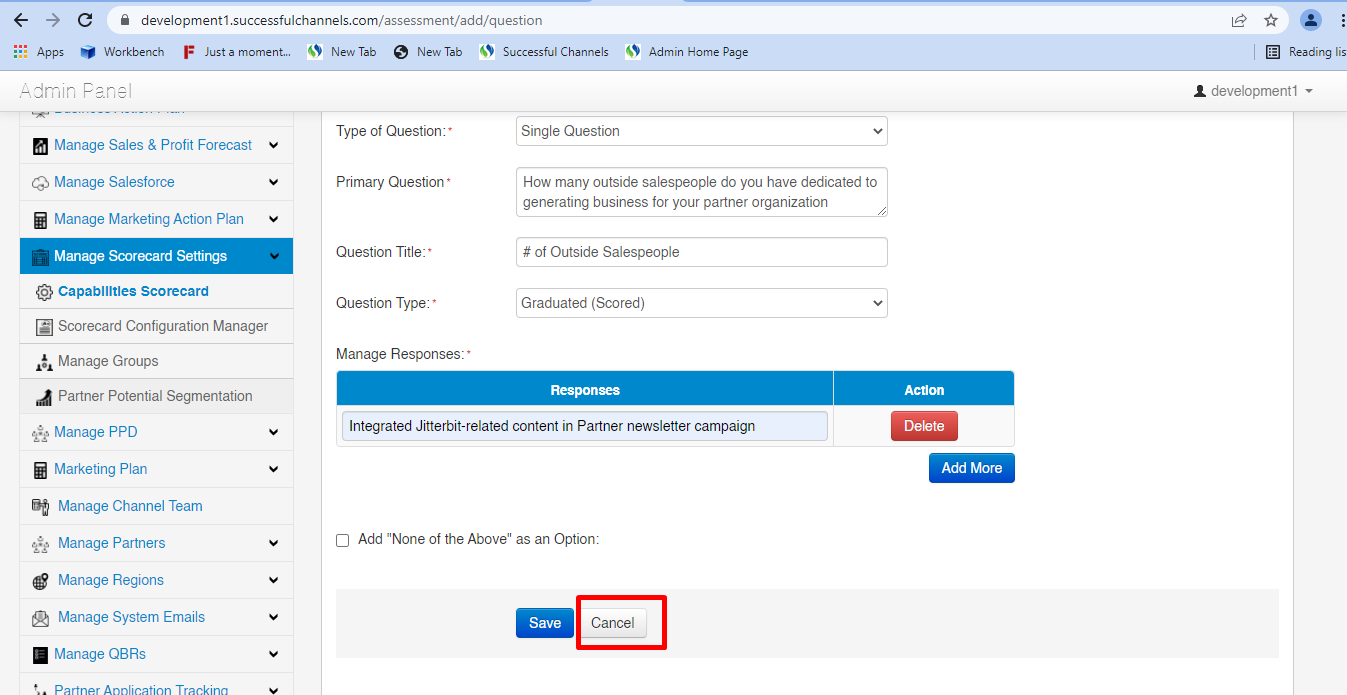 |
| How |
|
| Edit and Delete button | 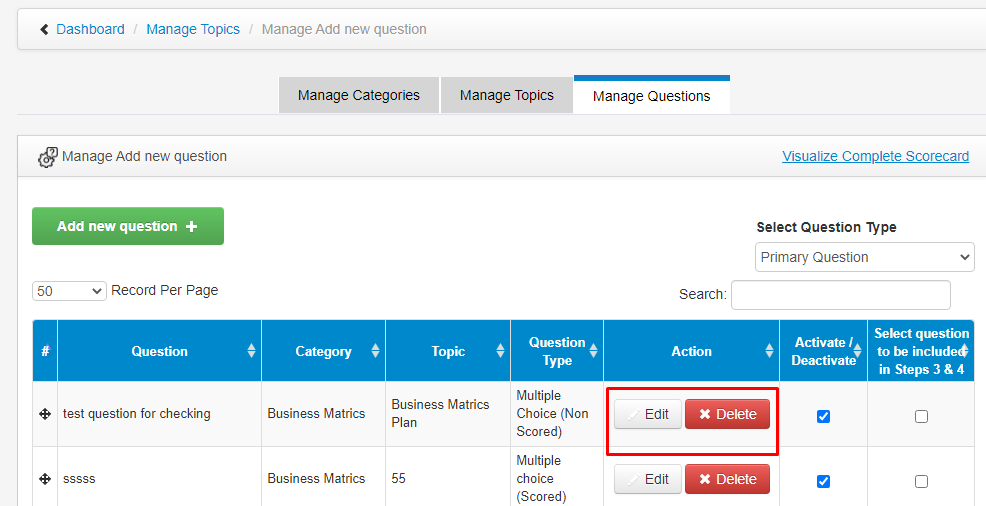 |
| How it works |
|
| Activate/ Deactivate check box | 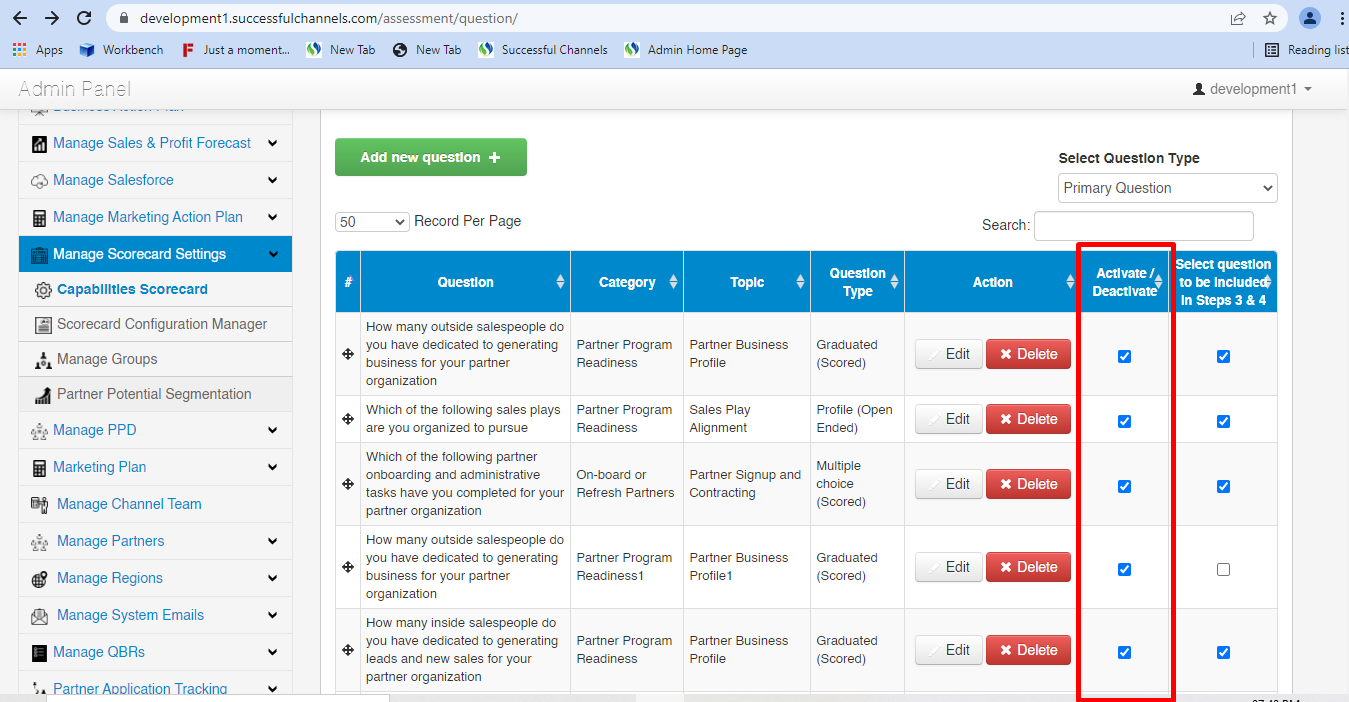 |
| How it works |
|
| Select question to be included in steps 3 & 4 | 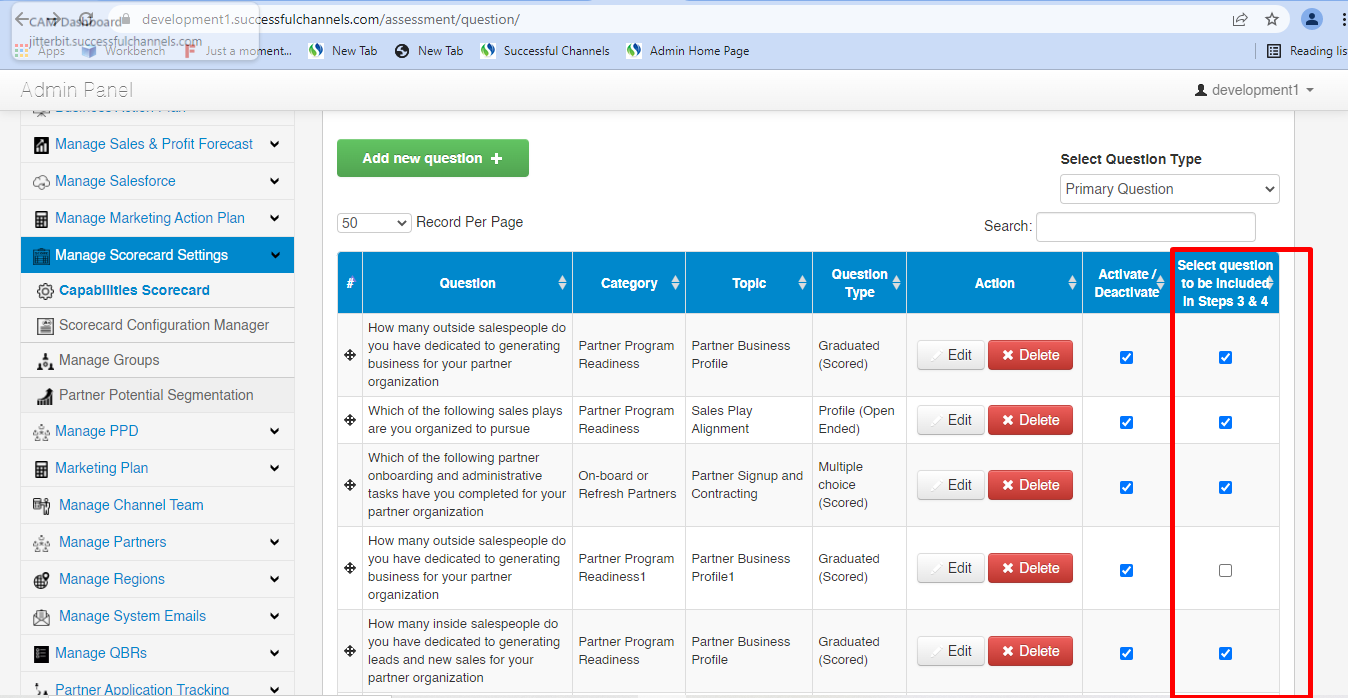 |
| How it works |
|
| Question Type dropdown (Primary Question) |  |
| How |
|
| Question Type dropdown (Internal Question) | 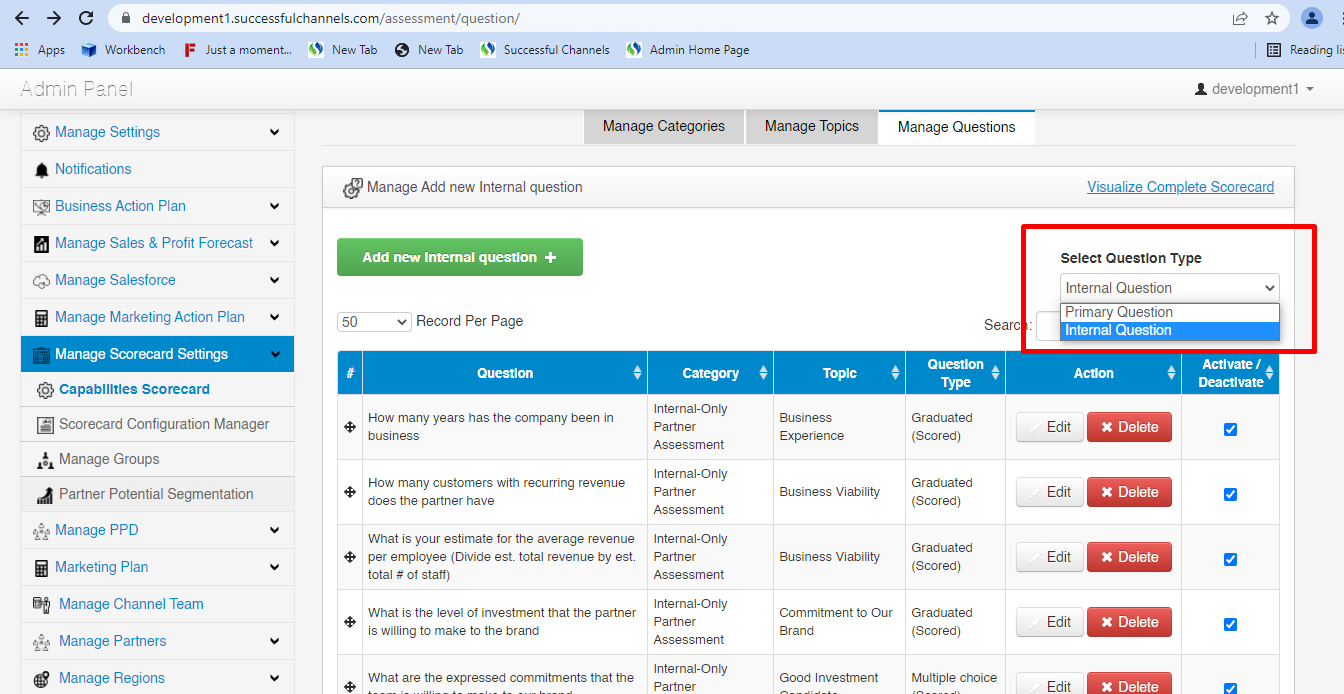 |
| How |
|
| Search Box | 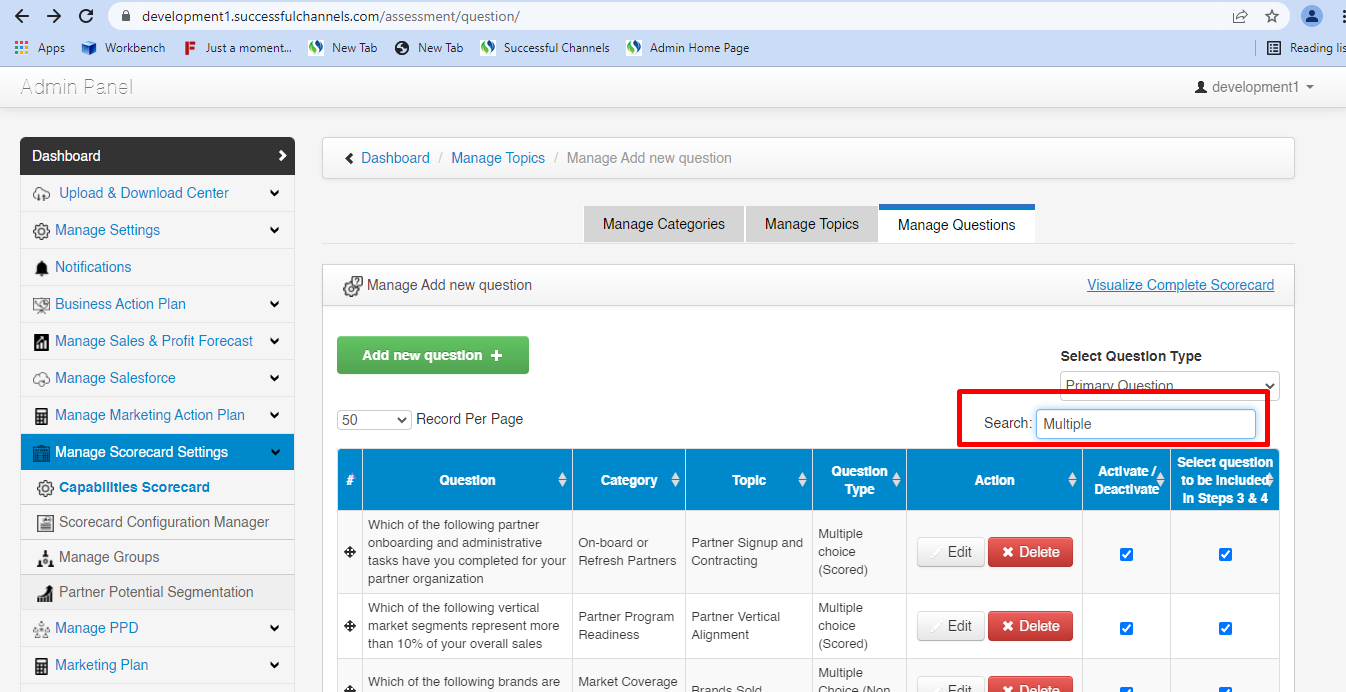 |
| How |
|
| Records per page dropdown | 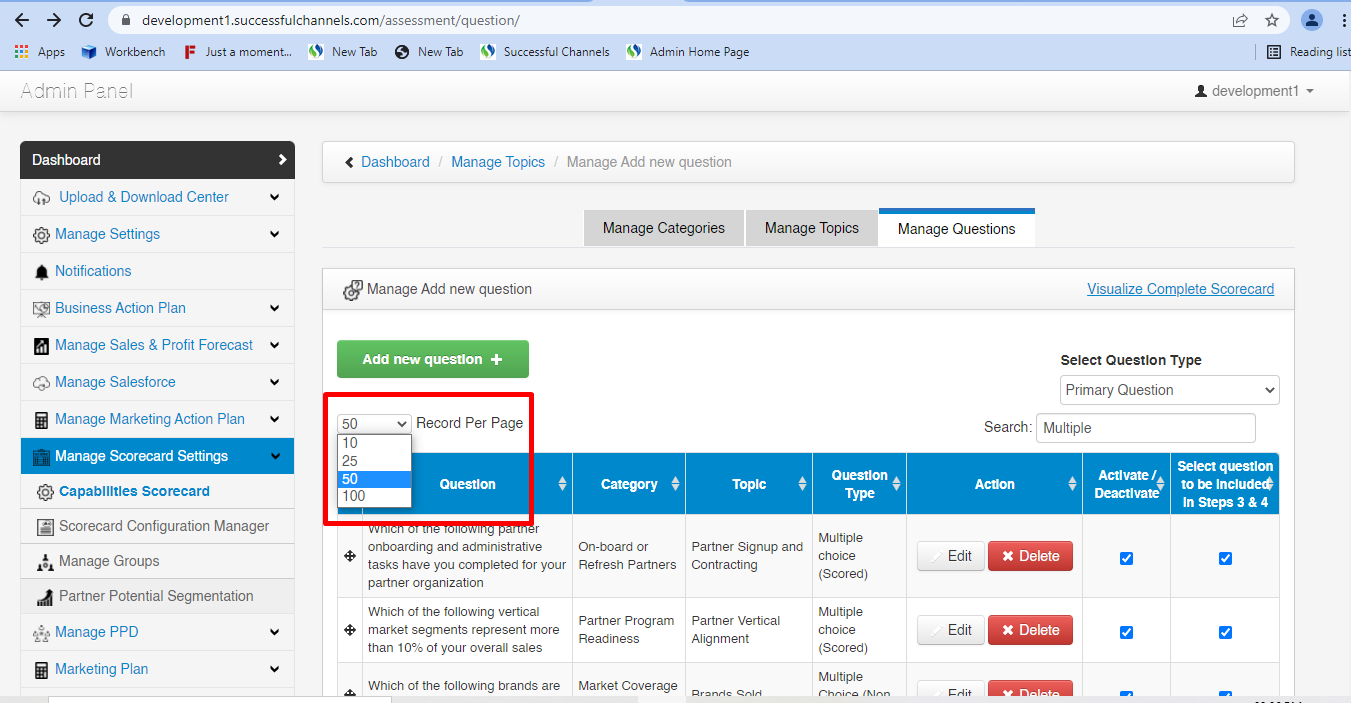 |
| How |
|
| Visualize Complete Scorecard | 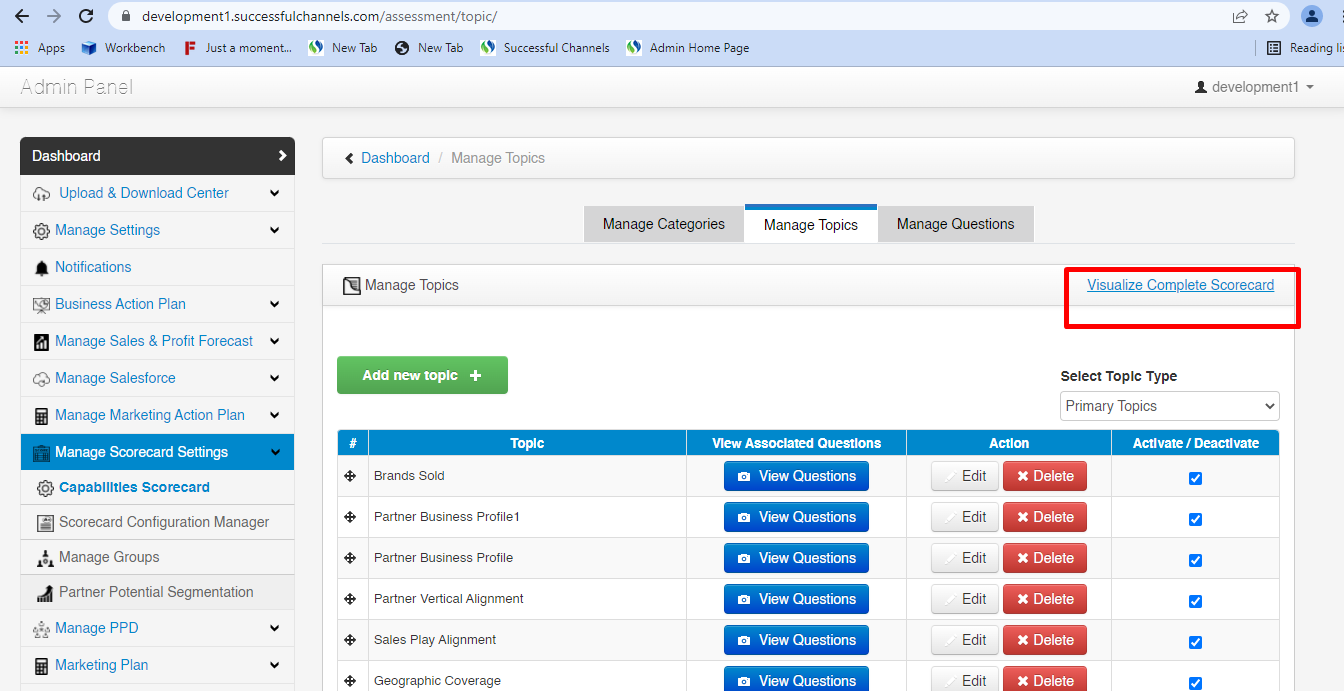 |
| What | Visualize Complete Scorecard shows the list of all the categories, topics, questions, question type,question id,response sequence id and question responses in a single click. |
| How |
There are multiple columns showing the different data given as following:-
|
| After clicking on “Visualize Complete Scorecard” button | 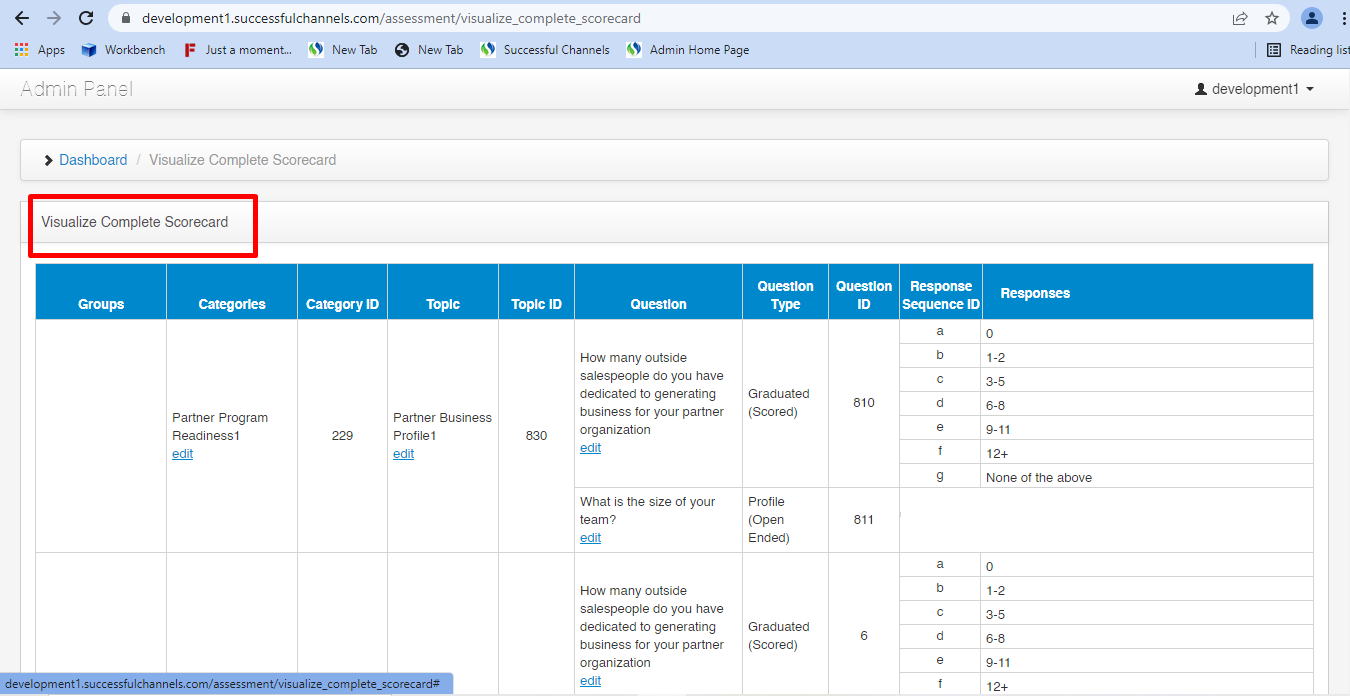 |
| How |
|
| Edit button on every column |  |
| How it works |
|
| Manage Scorecard Page Display | 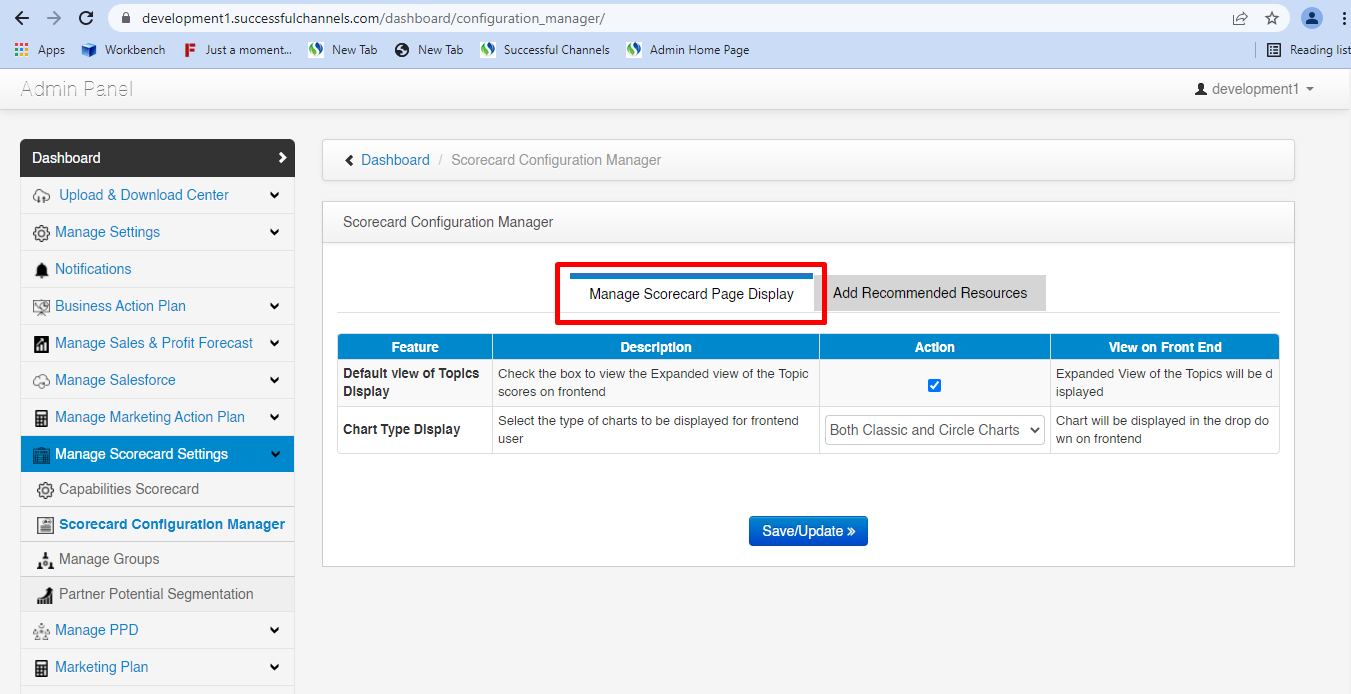 |
| How |
|
| Default view of Topics Display check box |  |
| How |
|
| Chart Type Display | 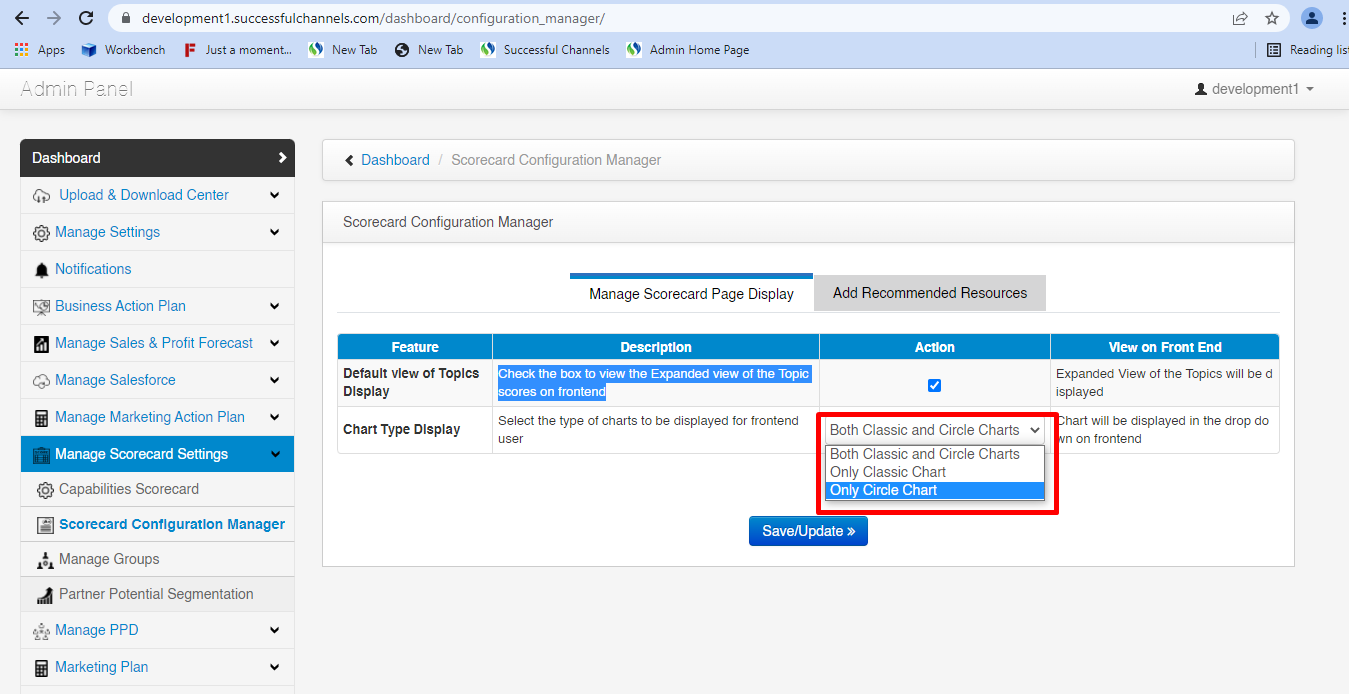 |
| How |
|
| Save/ Update button | 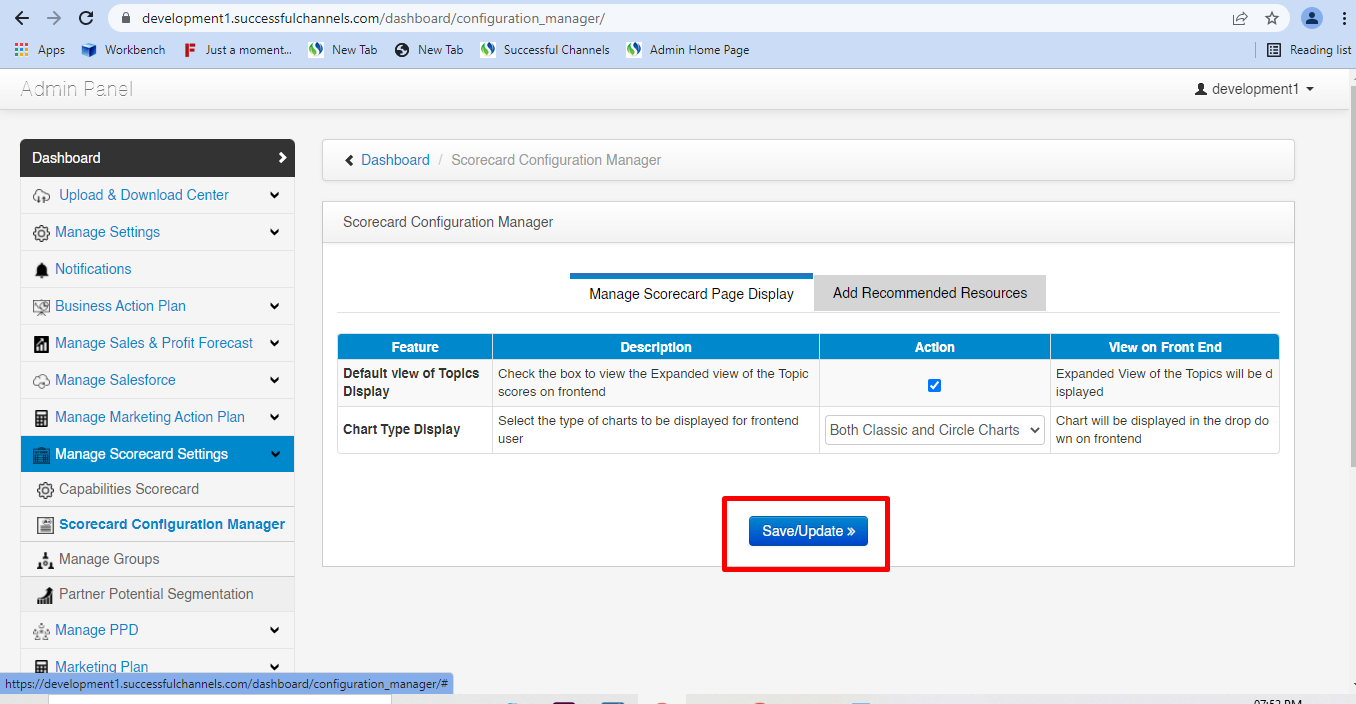 |
| How |
|
| Add Recommended Resources | 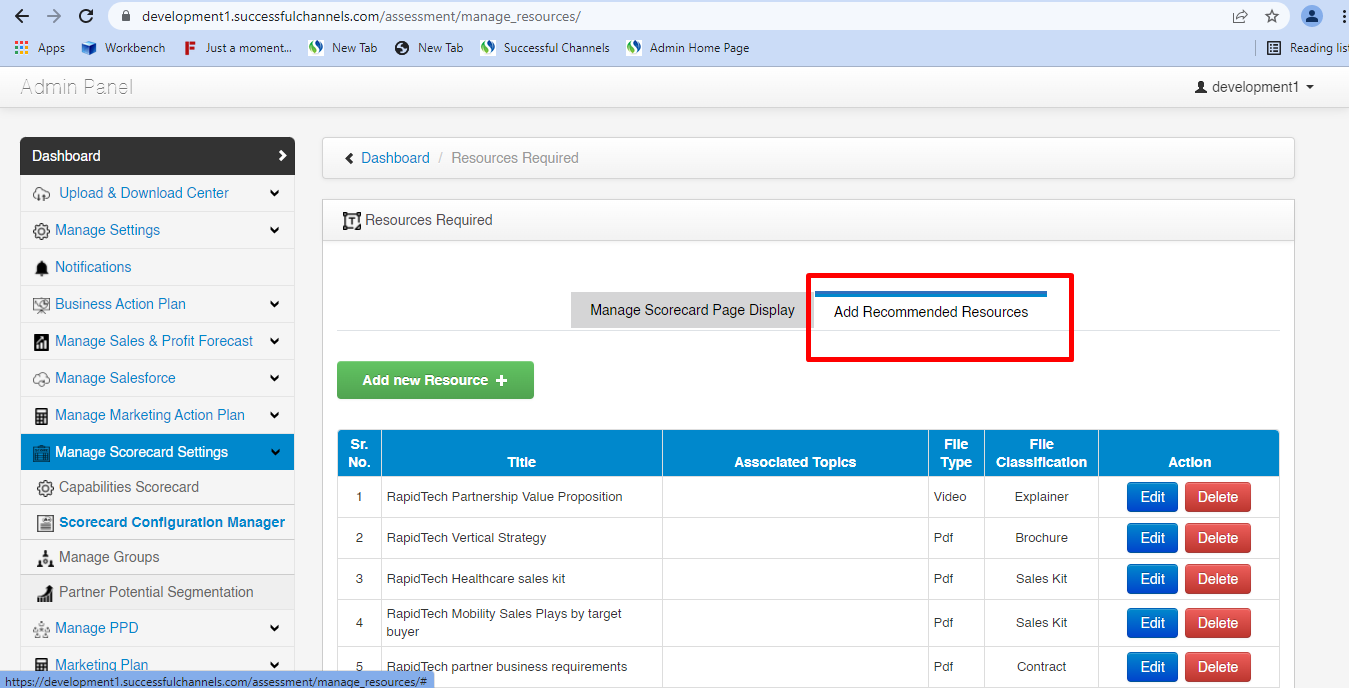 |
| How |
|
| Add New Resource Button | 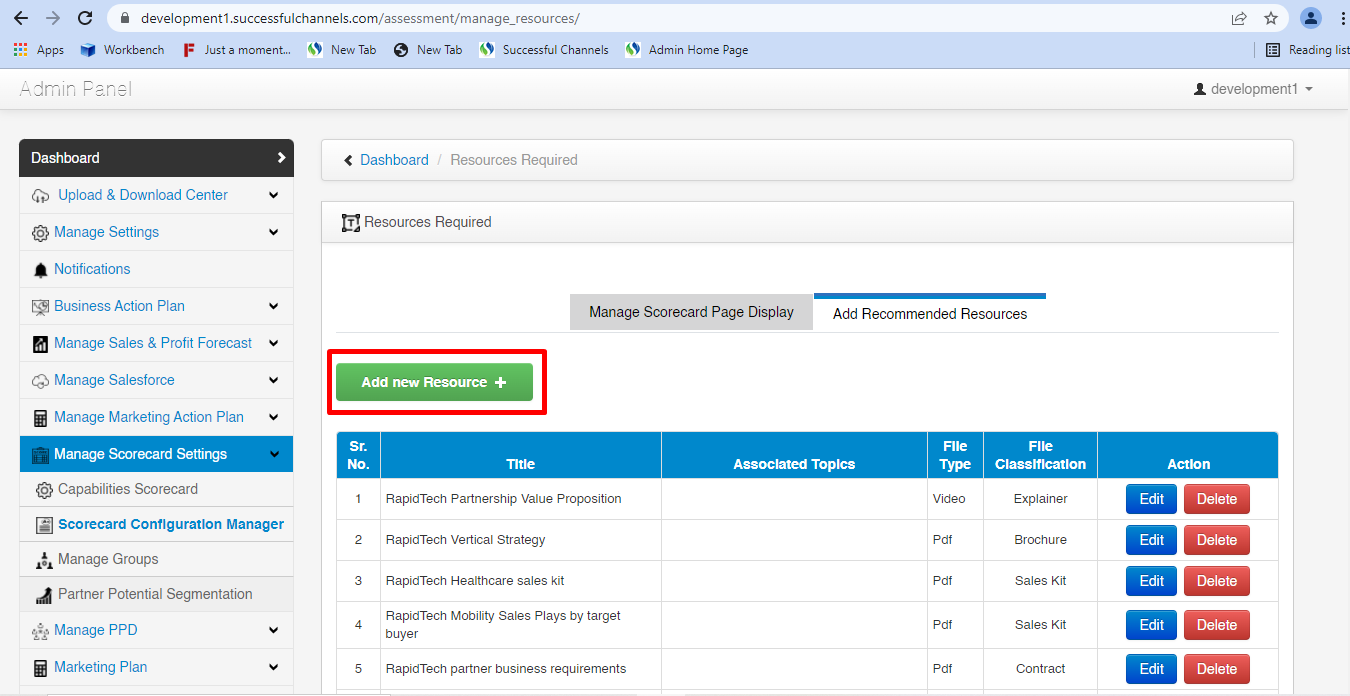 |
| How |
|
| After clicking Add New Resource Button | 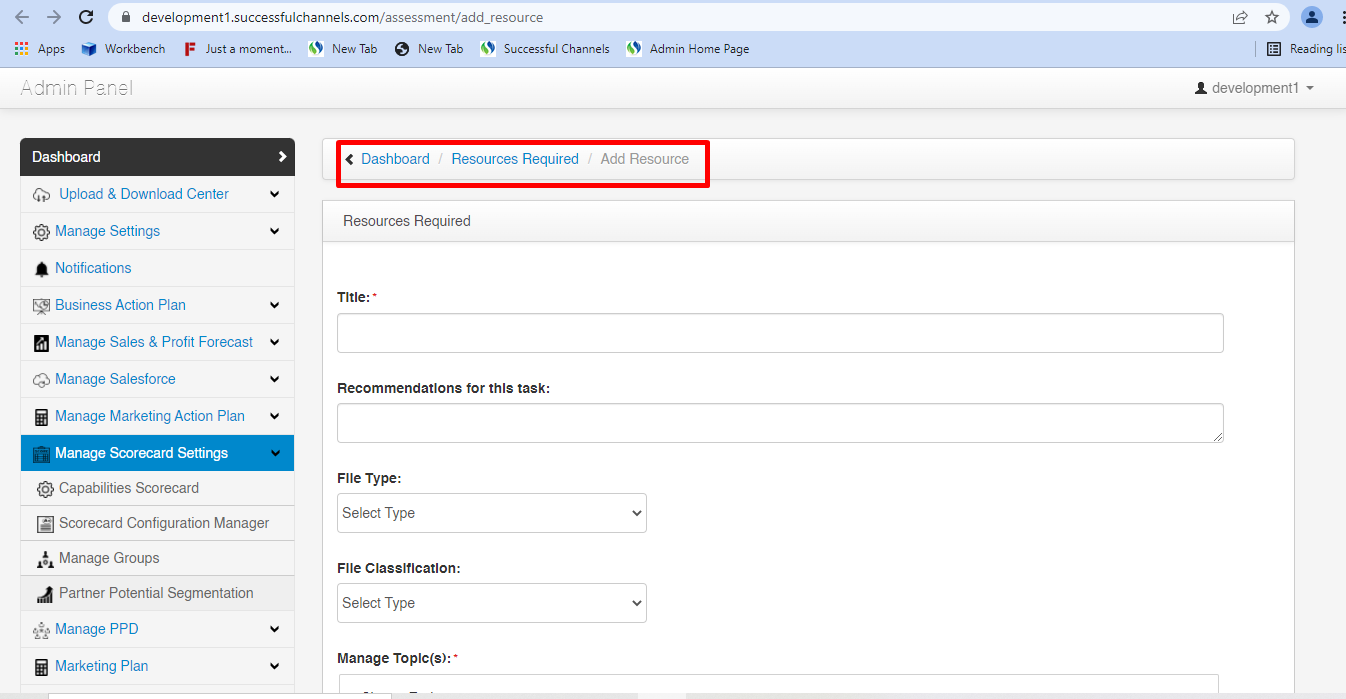 |
| How |
|
| Title input field | 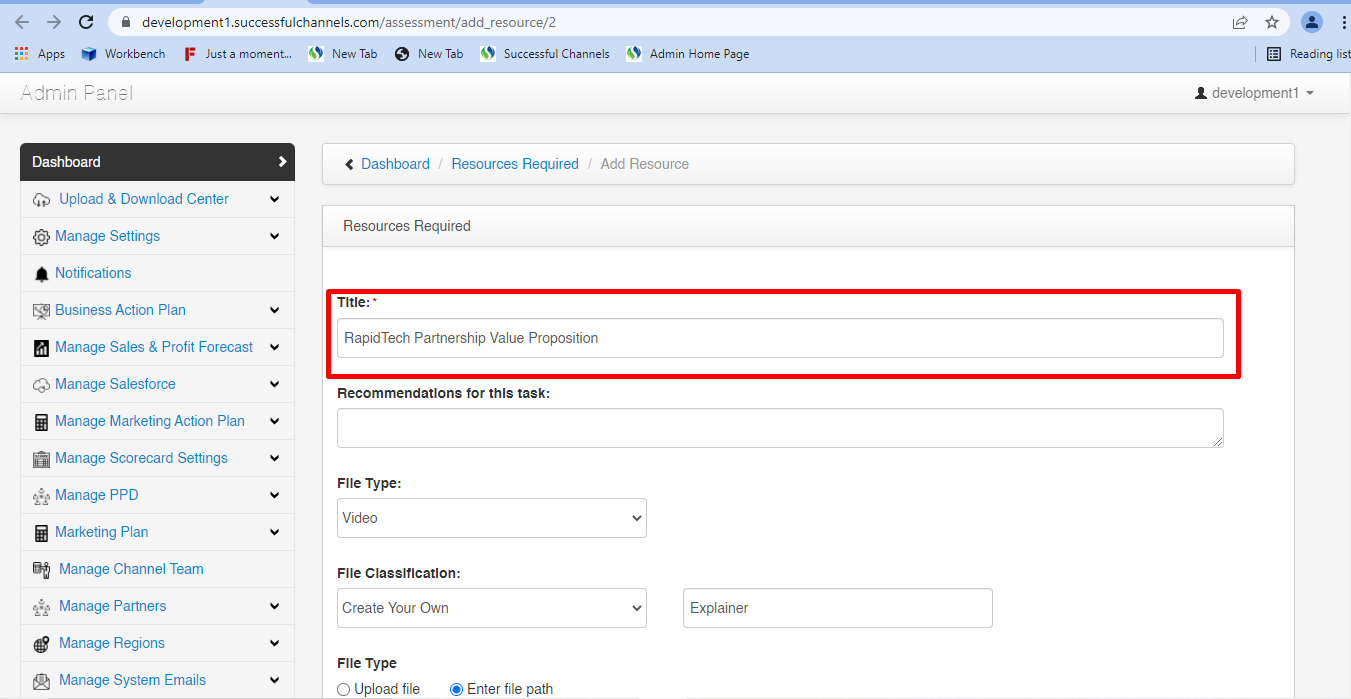 |
| How |
|
| Recommendations for this task | 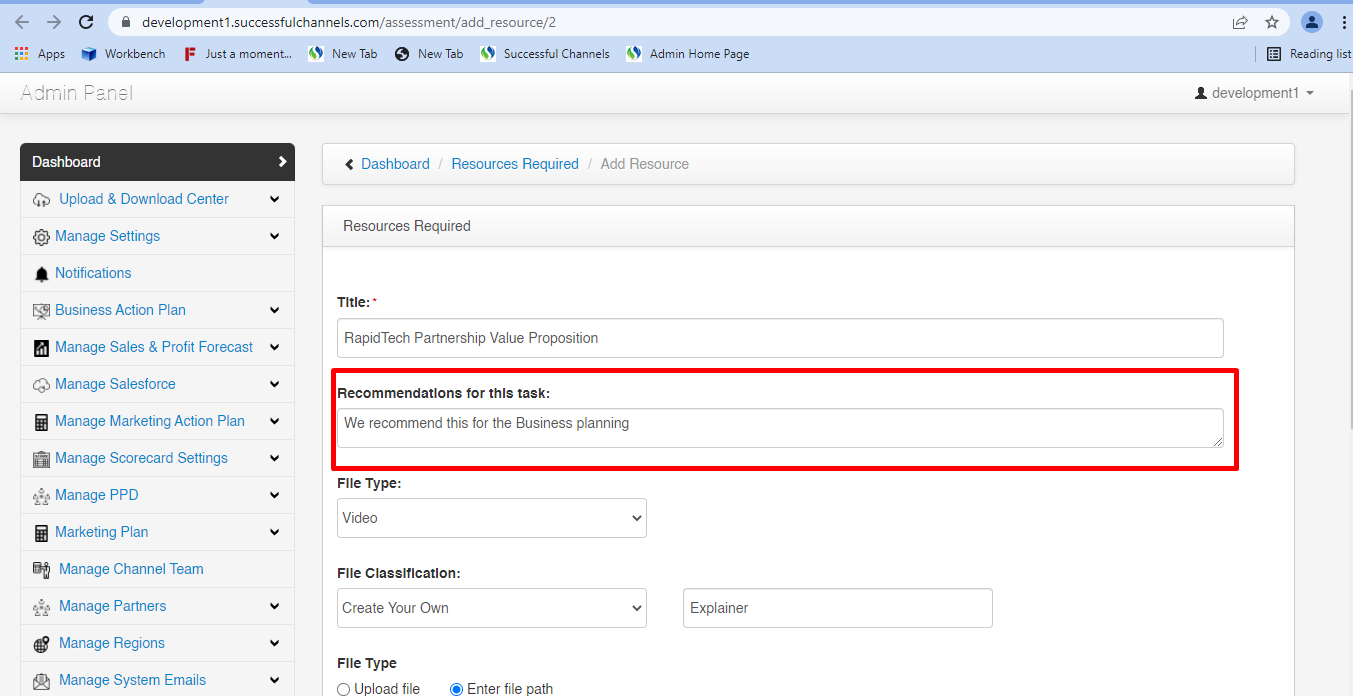 |
| How |
|
| File type | 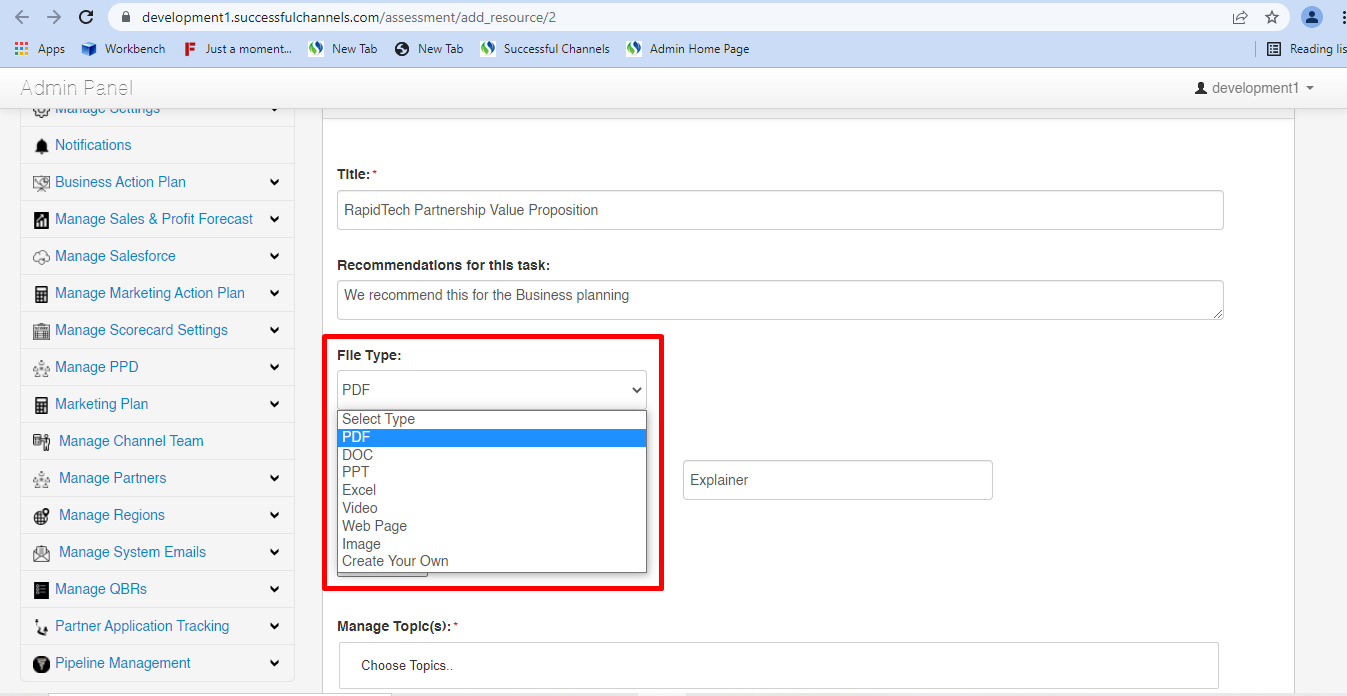 |
| How |
|
| PDF file type | 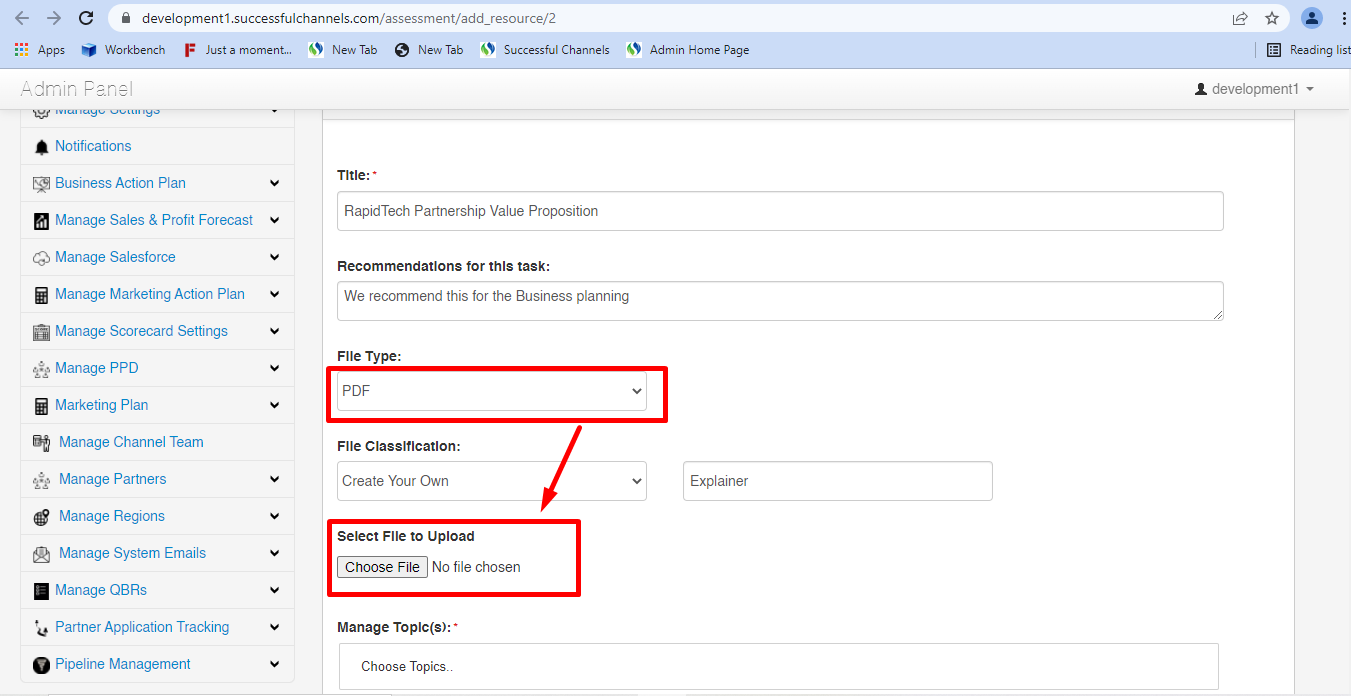 |
| How |
|
| Video file type | 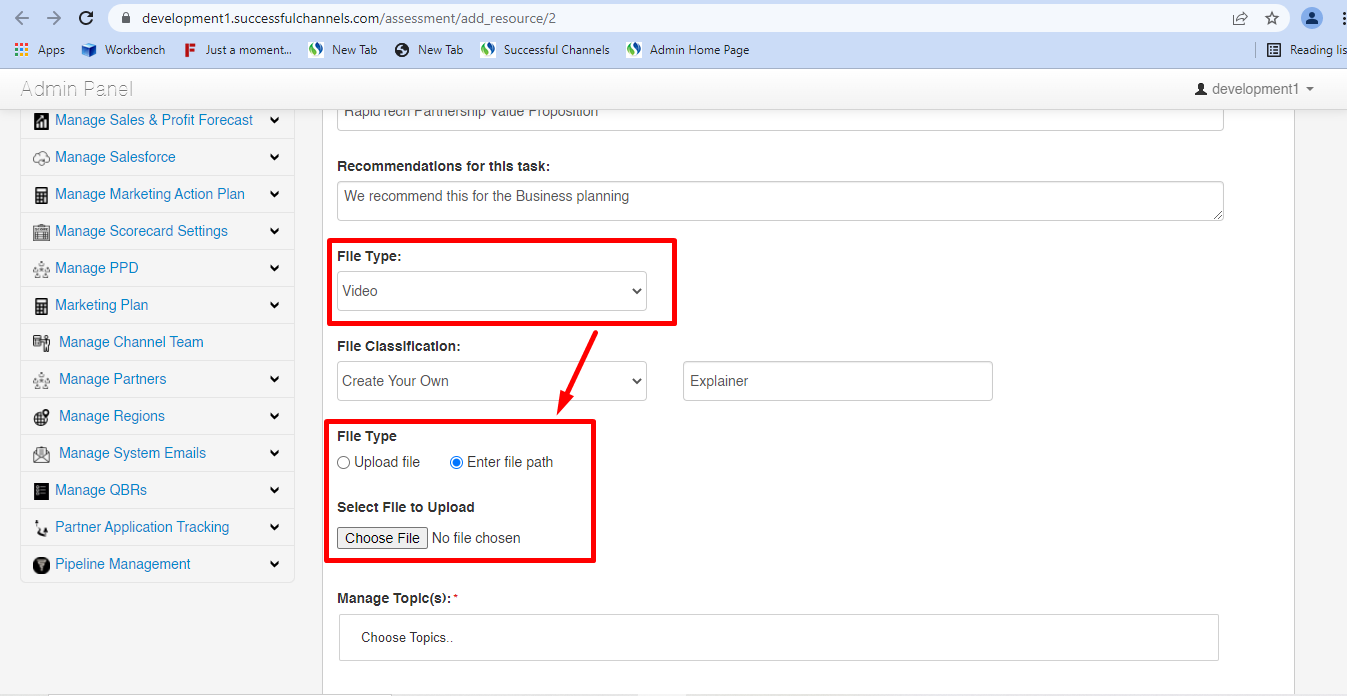 |
| How |
|
| Upload file type | 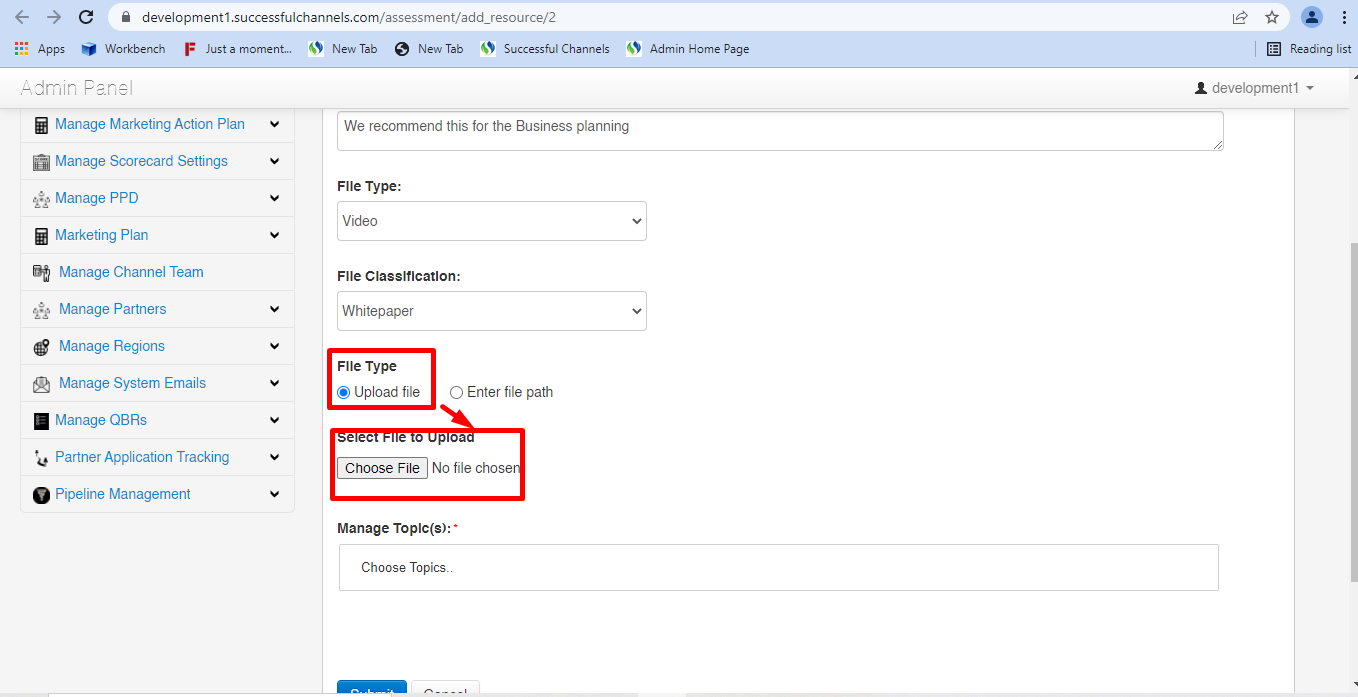 |
| How |
|
| Enter file path | 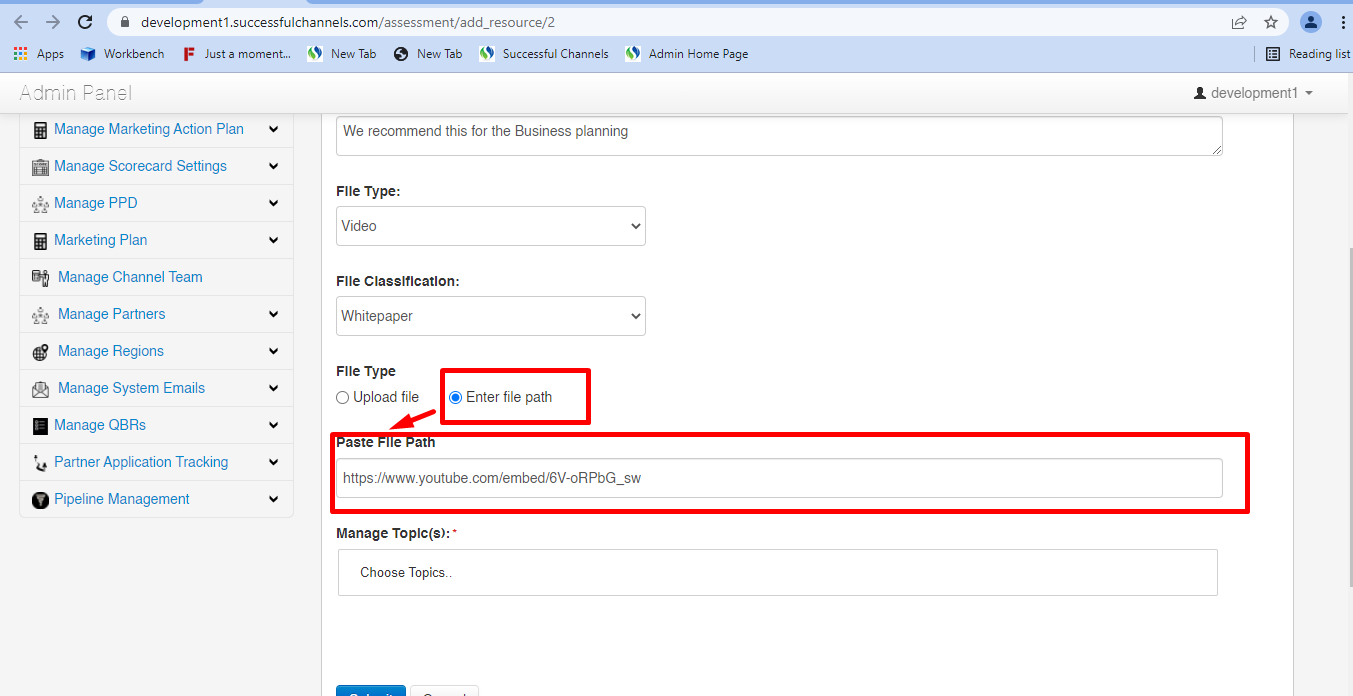 |
| How |
|
| Create Your Own File type | 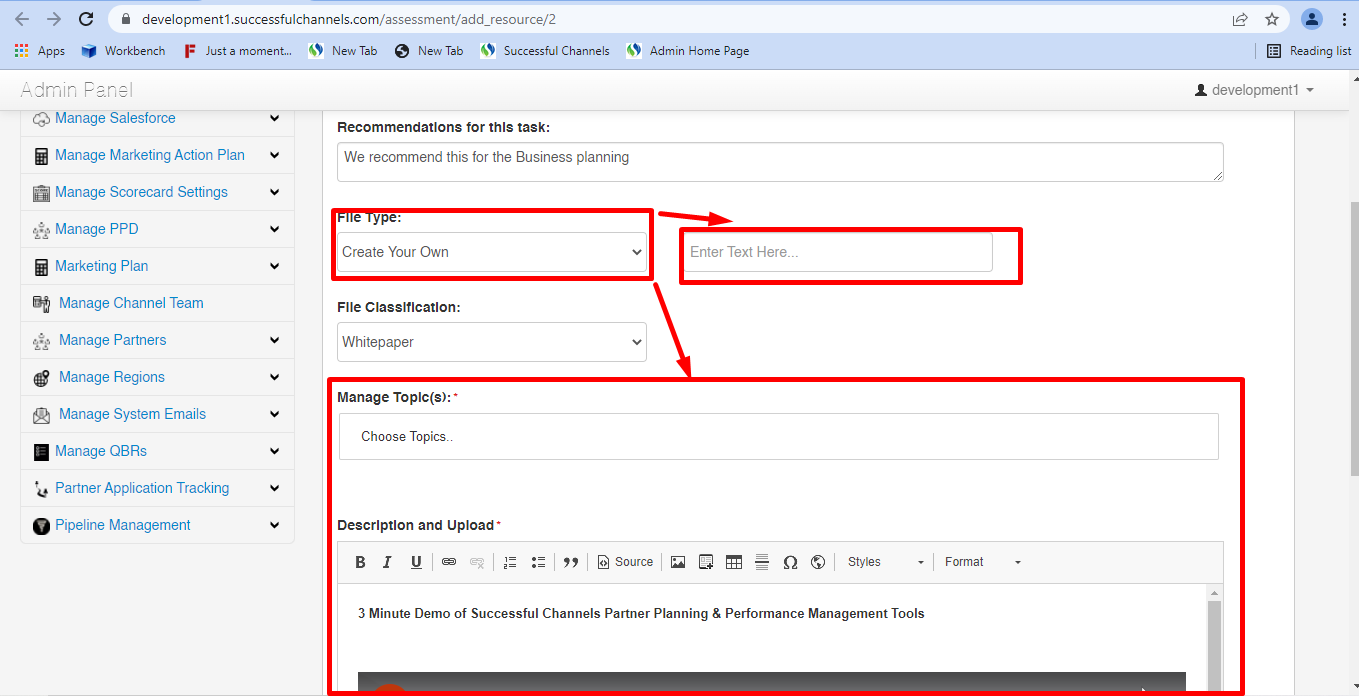 |
| How |
|
| File Classification |  |
| How |
|
| Create Your own file classification | 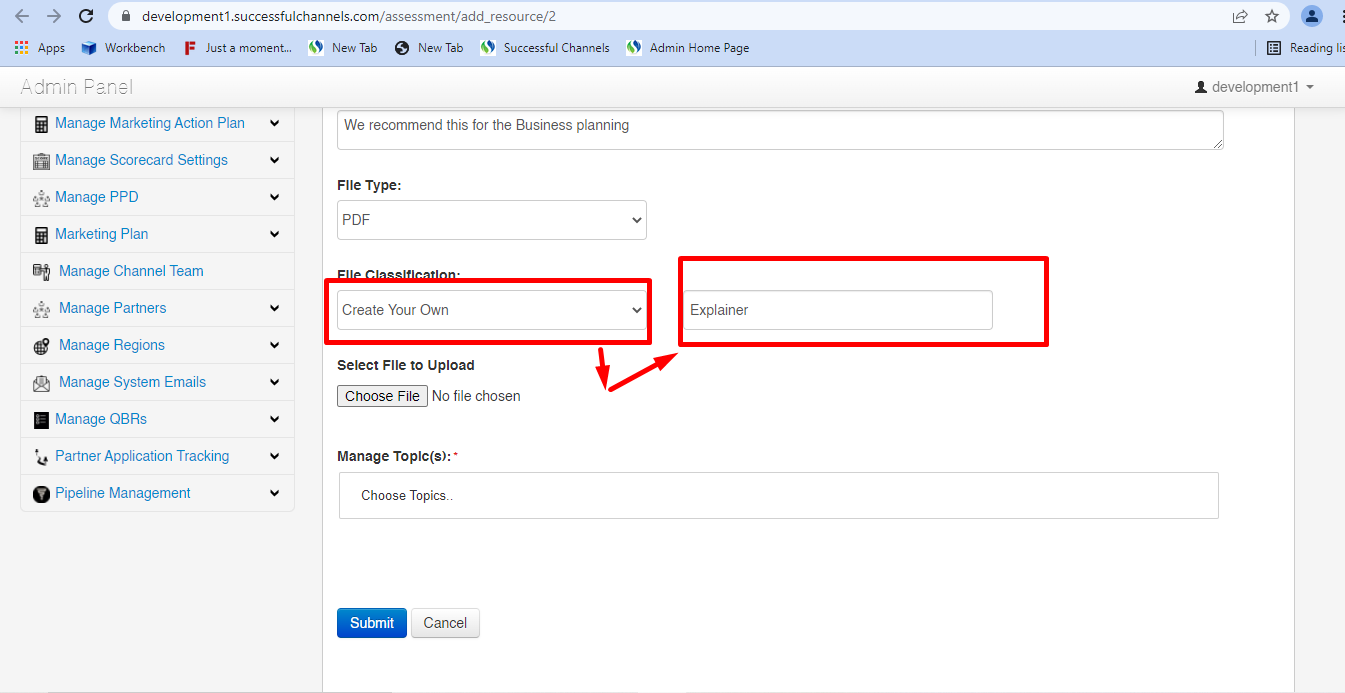 |
| How |
|
| Manage Topics | 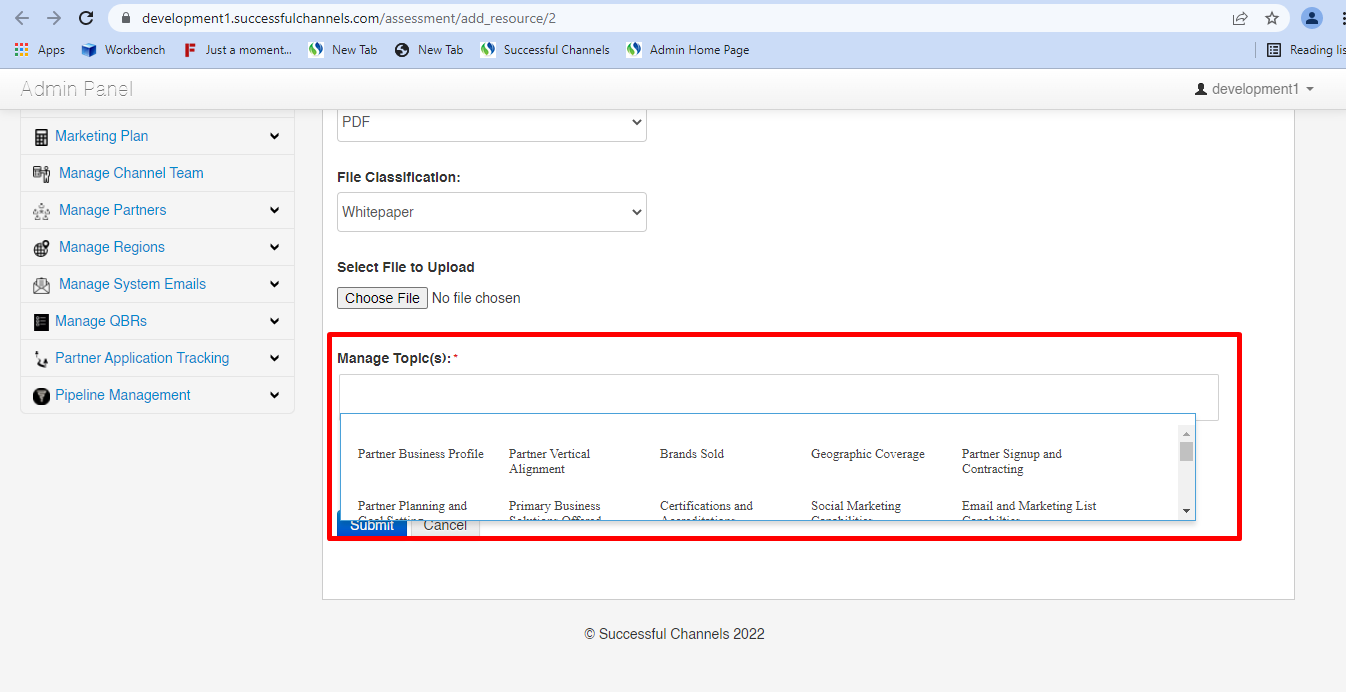 |
| How |
|
| Submit button | 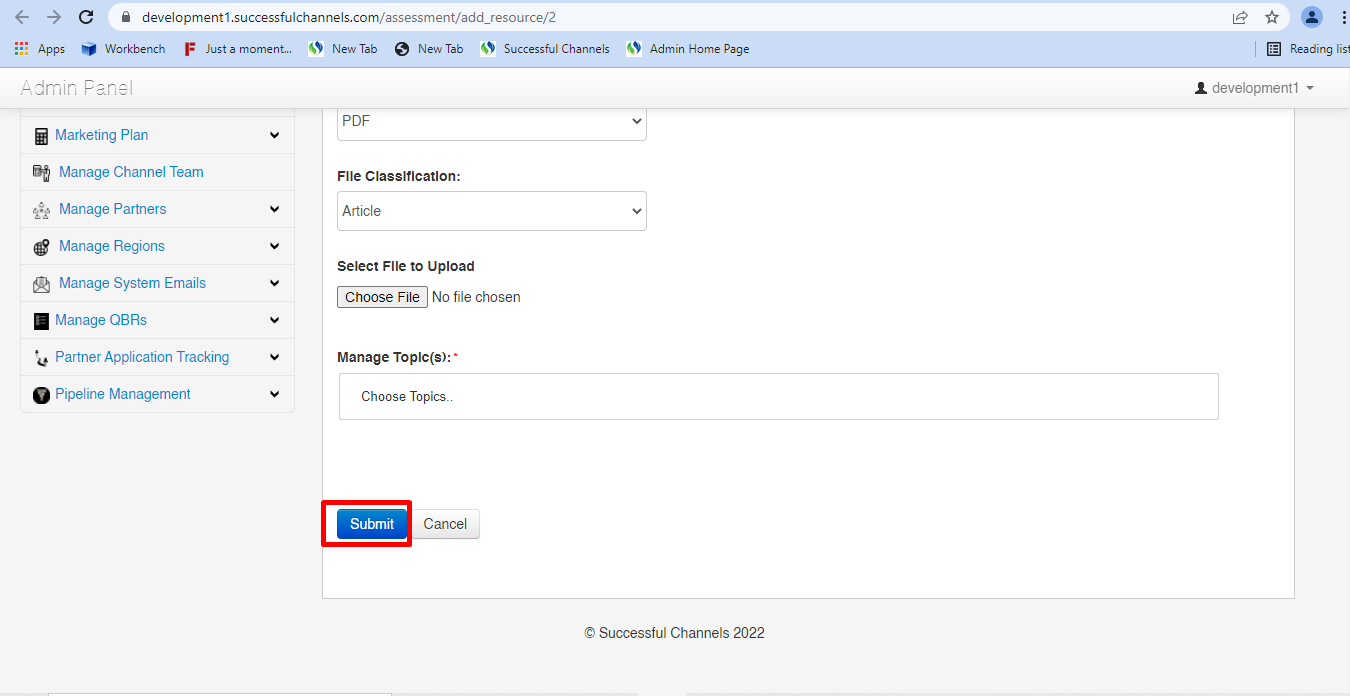 |
| How |
|
| Cancel Button | 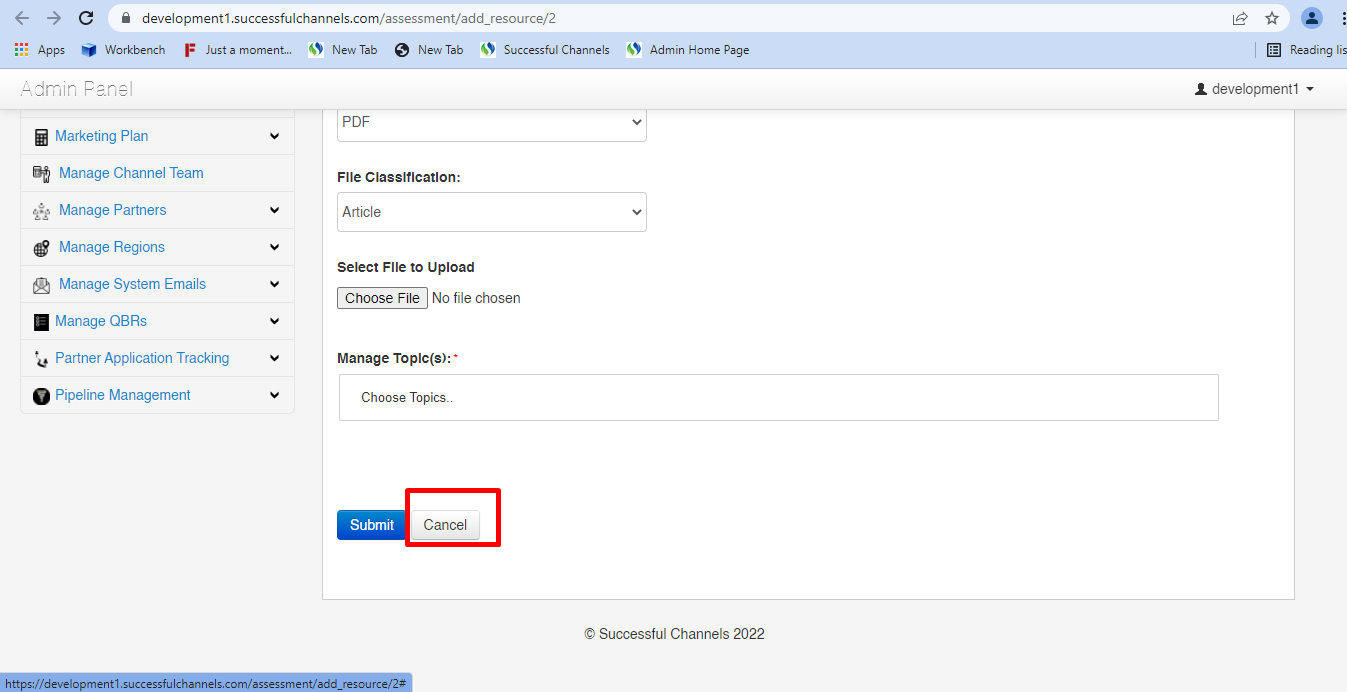 |
| How |
|
| Edit and Delete Button | 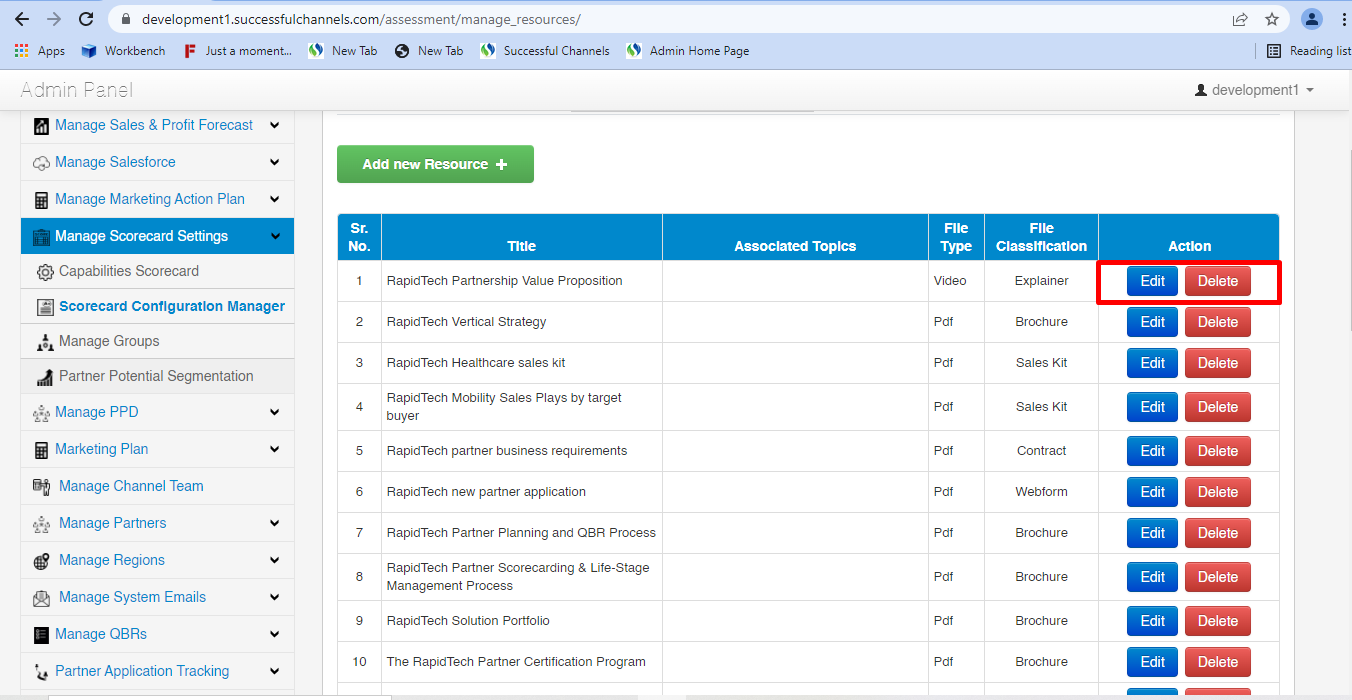 |
| How |
|
| Manage Groups | 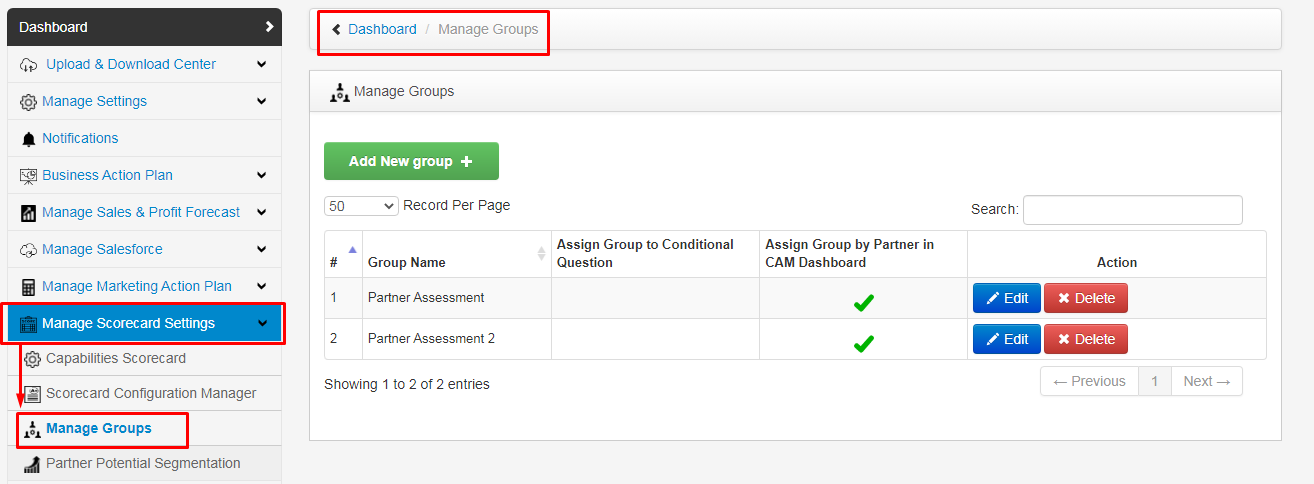 |
| How |
The manage groups feature is used to conditionally display the scorecard assessment on the frontend. For example: for some of the partner user wants to display a different set of questions on the frontend & a different set of questions for other partners. To serve that purpose, the Manage Groups feature is used.
|
| Add New Group button |  |
| How |
|
| After clicking on the “Add New Group” button | 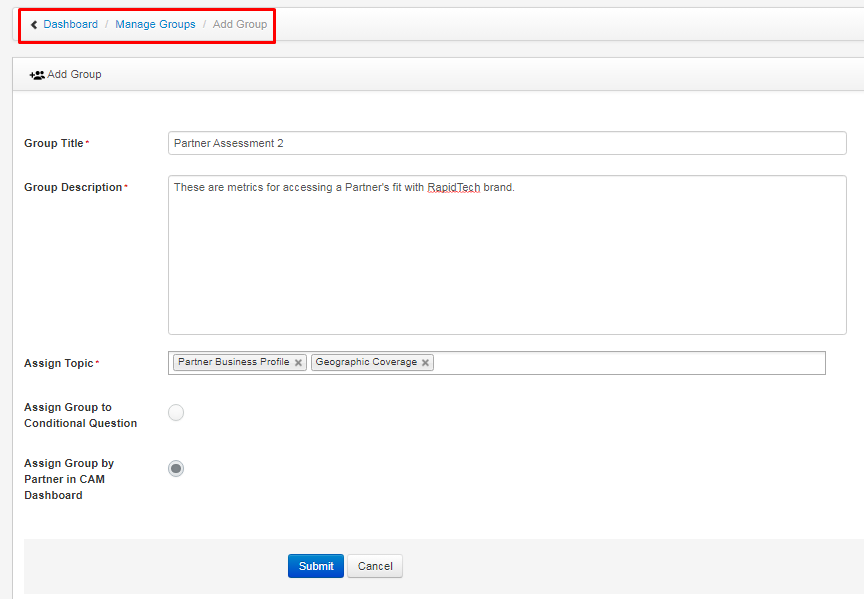 |
| How |
|
| Assign Topic field | 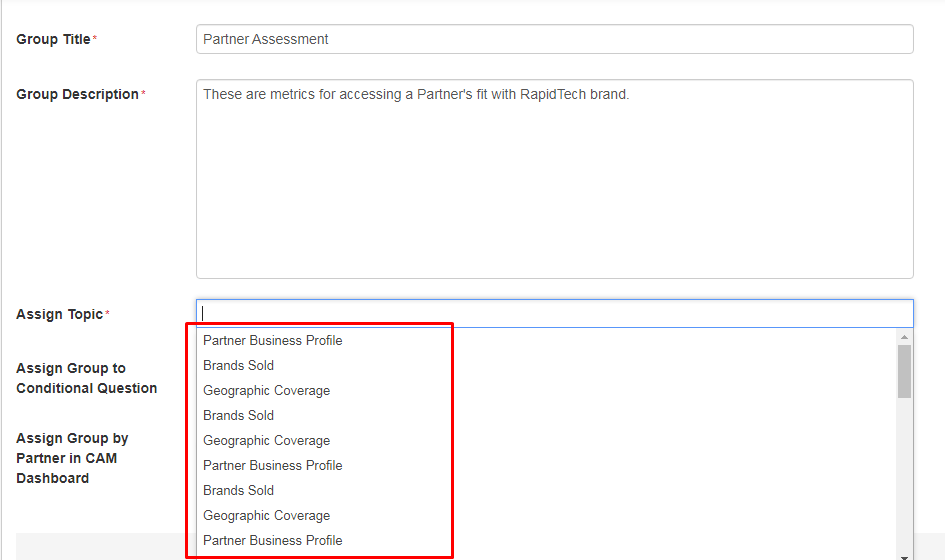 |
| How |
|
| Submit Button | 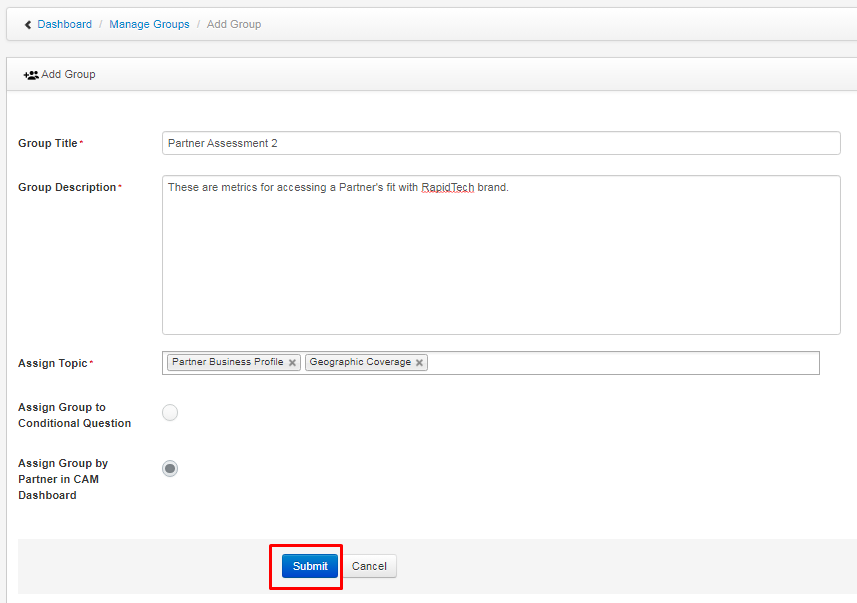 |
| How |
|
| Cancel Button |  |
| How |
|
| Search Bar | 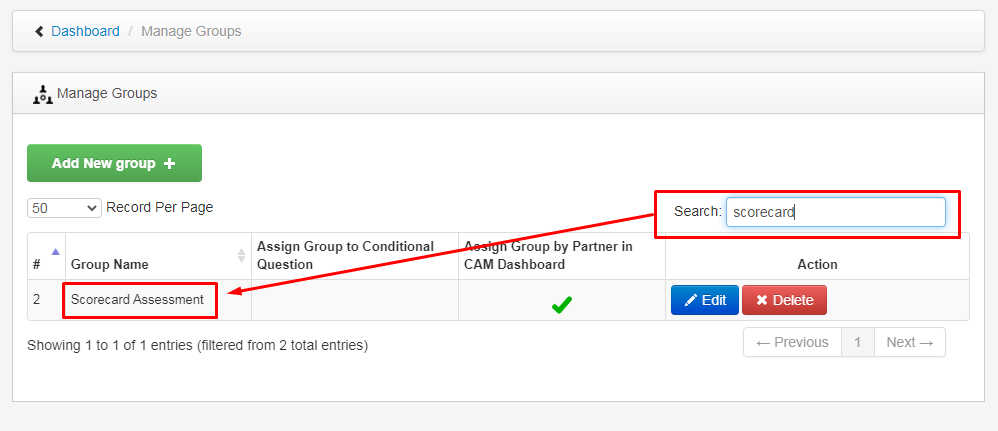 |
| How |
|
| Record per page dropdown | 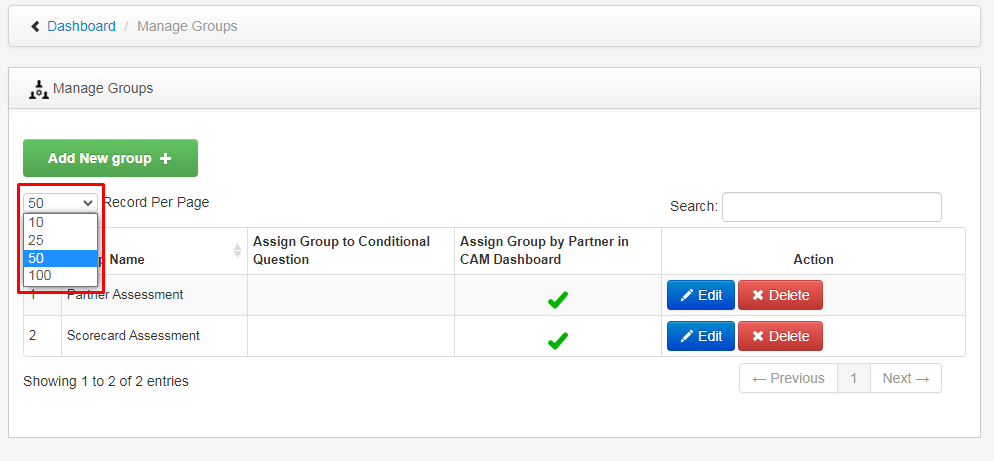 |
| How |
|
| Edit Button | |
| After clicking the edit button | 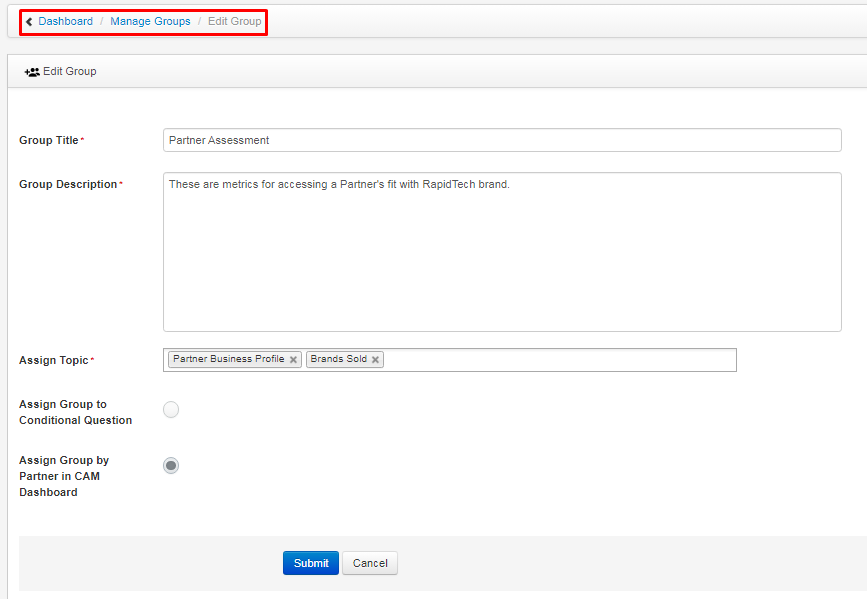 |
| How |
|
| Delete Button | 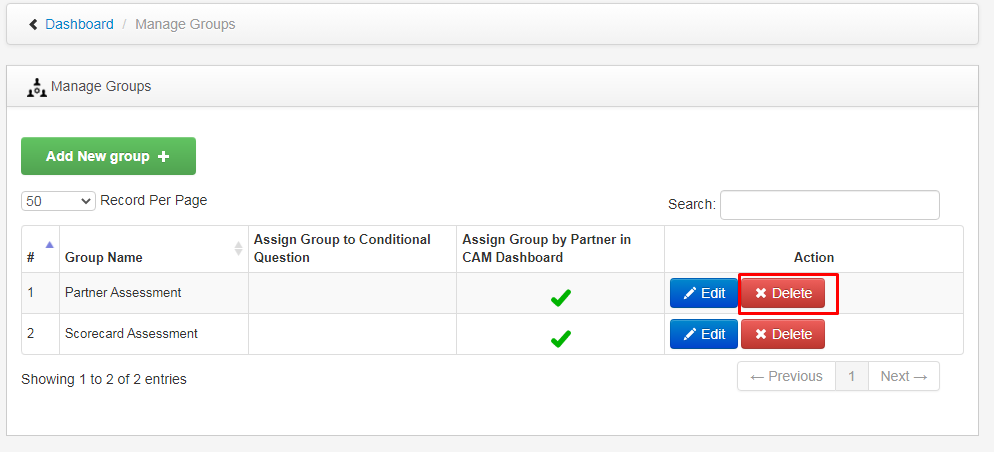 |
| How |
|
| After clicking on the delete button | 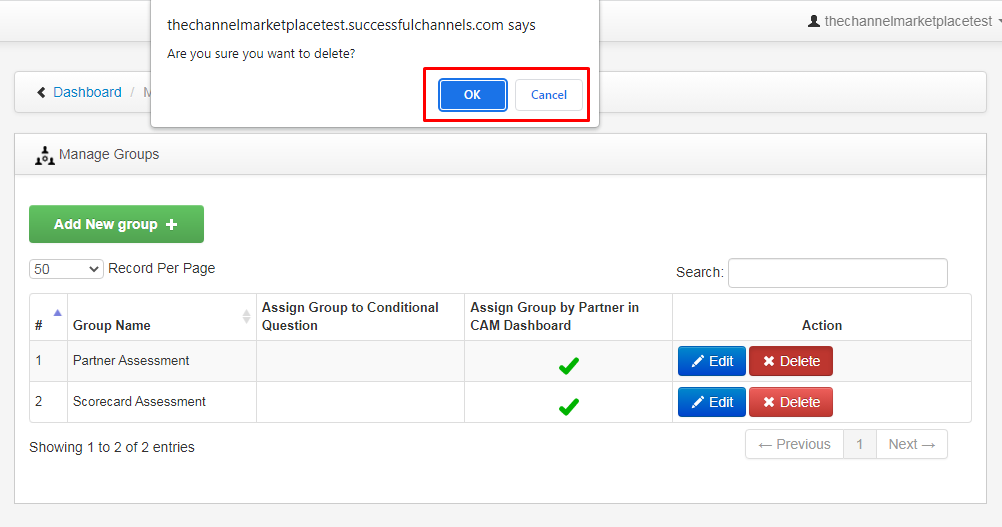 |
| How |
|
| Pagination |  |
| How |
|
| Conditional Administration | 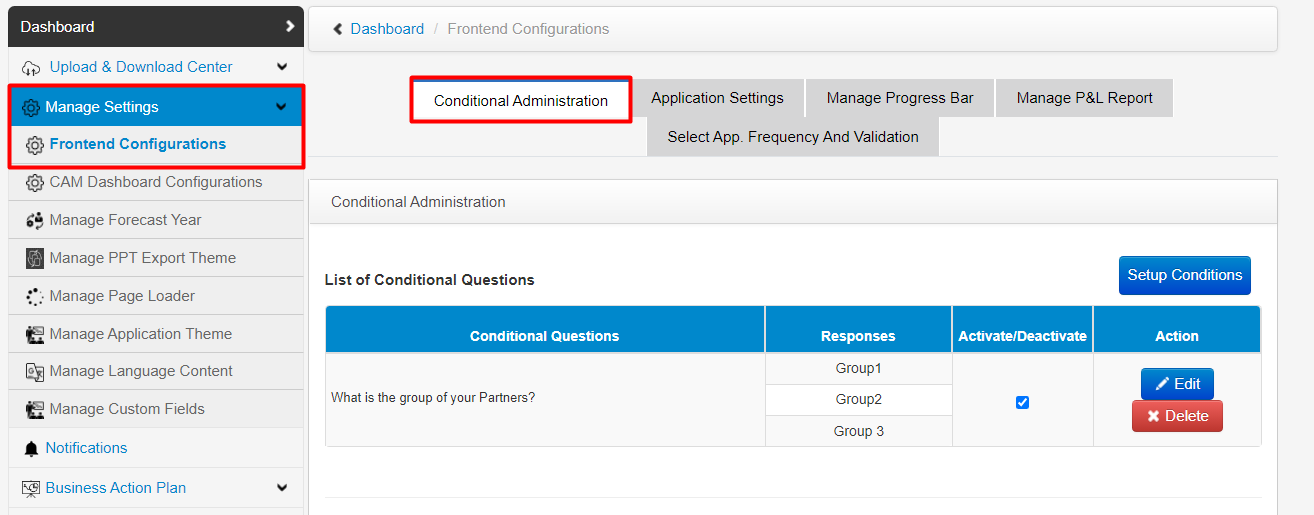 |
| What |
|
| Setup Conditions button | 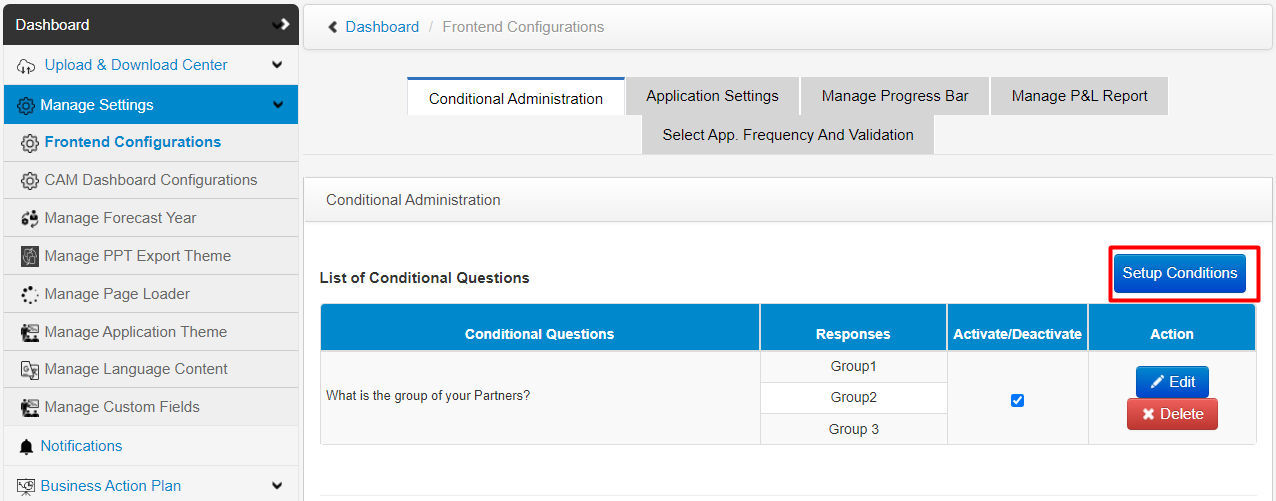 |
| How |
|
| After clicking on the “Setup Conditions” button |  |
| How |
|
| Save Button | 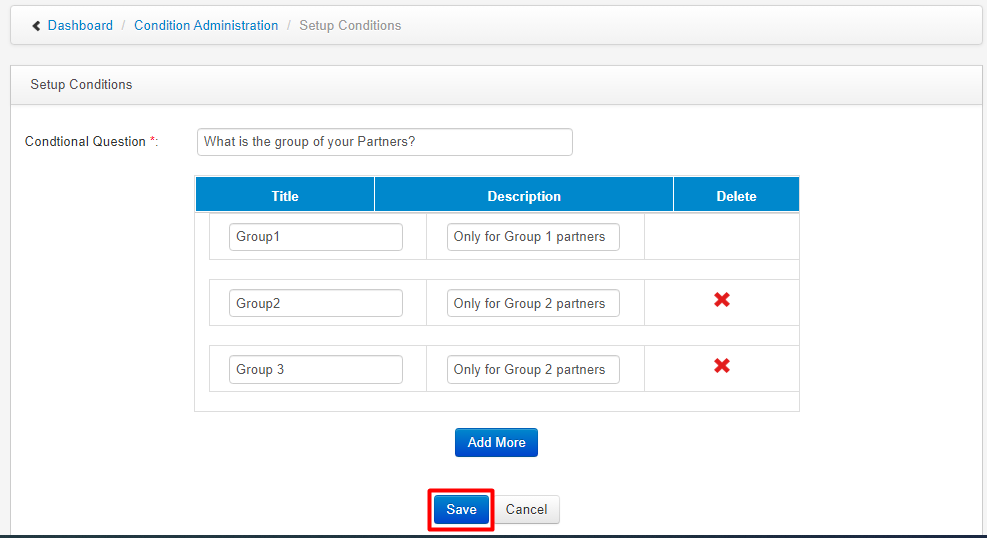 |
| How |
|
| Cancel Button | 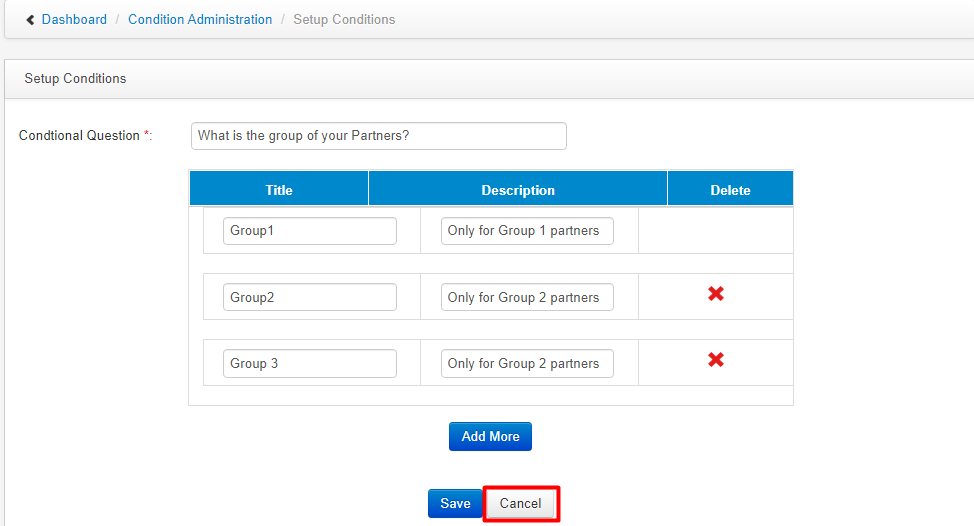 |
| How |
|
| Activate/Deactivate checkbox | 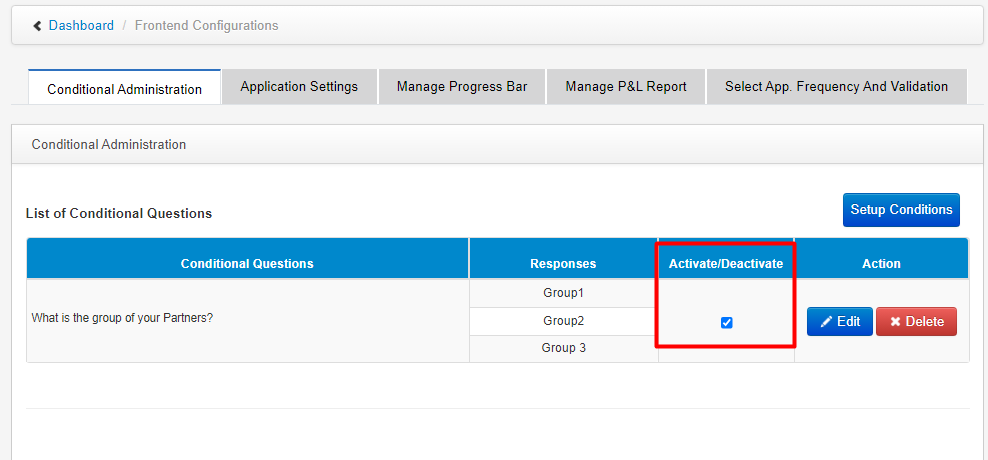 |
| How |
|
| Edit button | 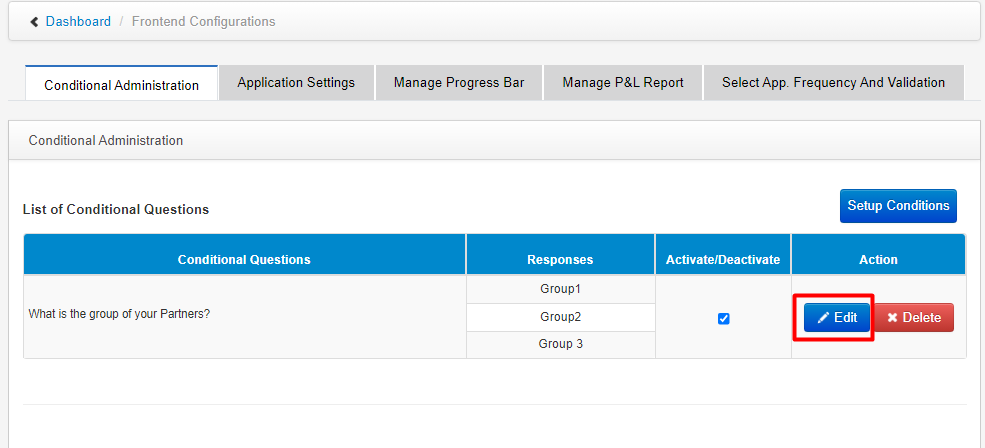 |
| How |
|
| After clicking on the edit button |  |
| How |
|
| Delete Button | 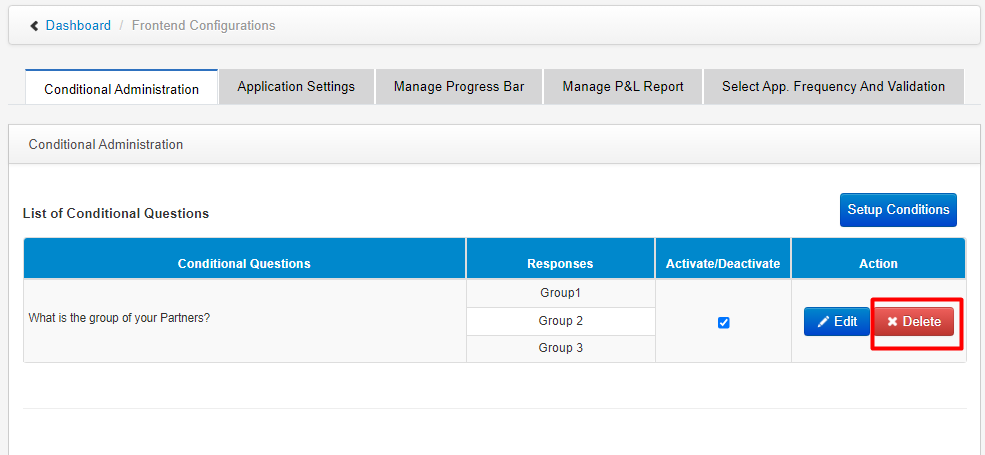 |
| How |
|
| Set the conditional flow | 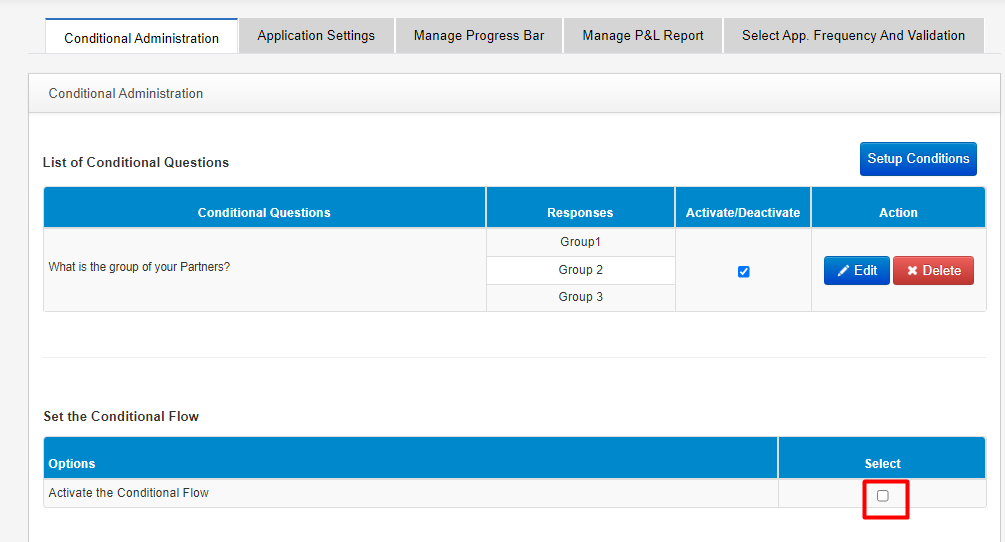 |
| How |
|
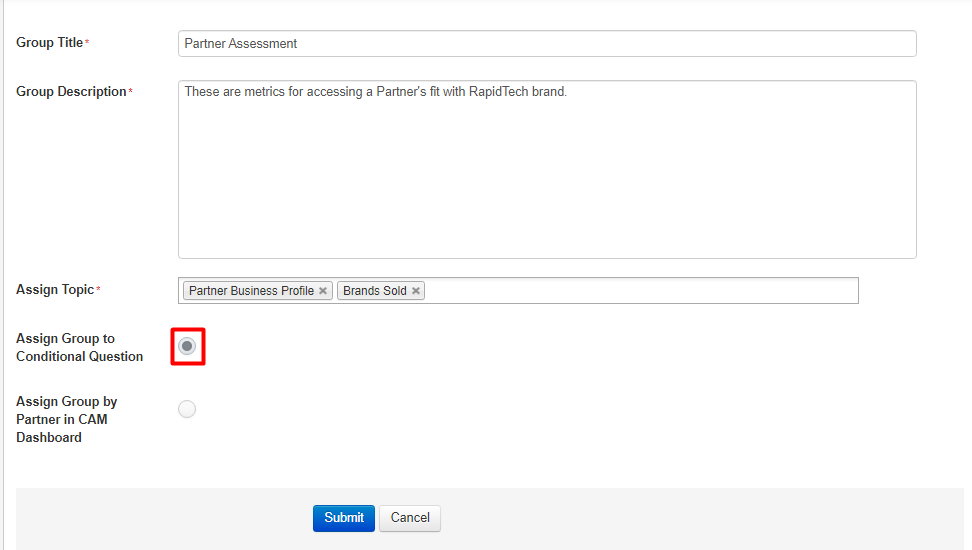
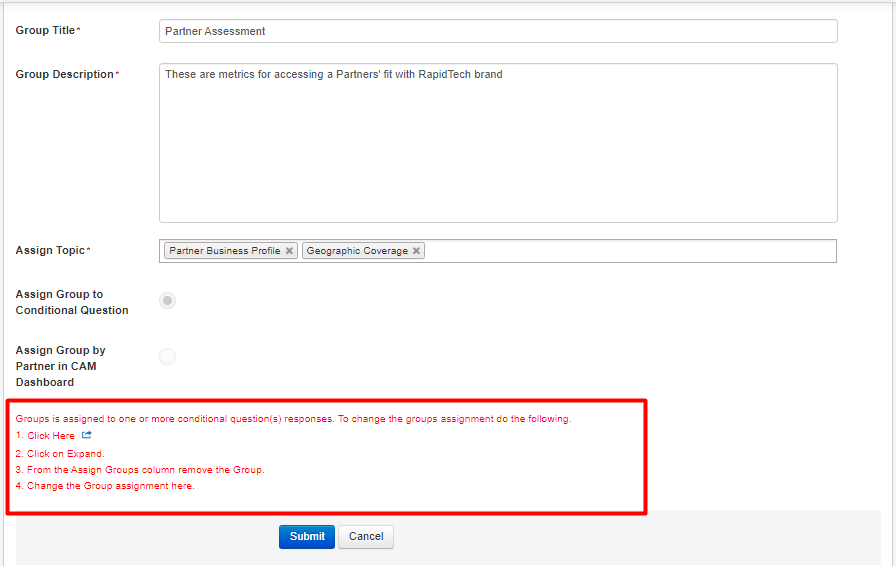
| Assign Group to Conditional Question (Manage Groups) | 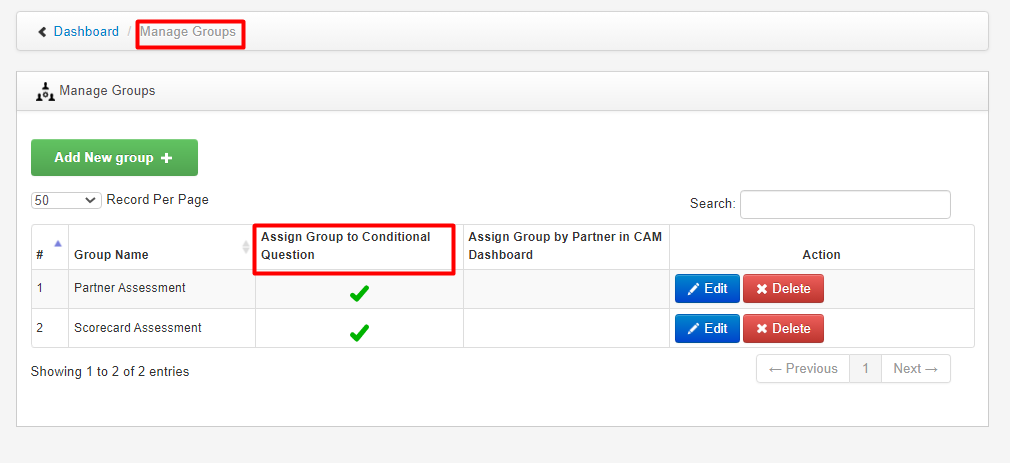 |
| What |
Groups are sets of topics. For example: for some of the partner user wants to display a different set of questions on the frontend & a different set of questions for other partners. To serve that purpose, the Manage Groups feature is used.
|
 |
|
| How |
|
 |
|
| How |
|
| Submit button | 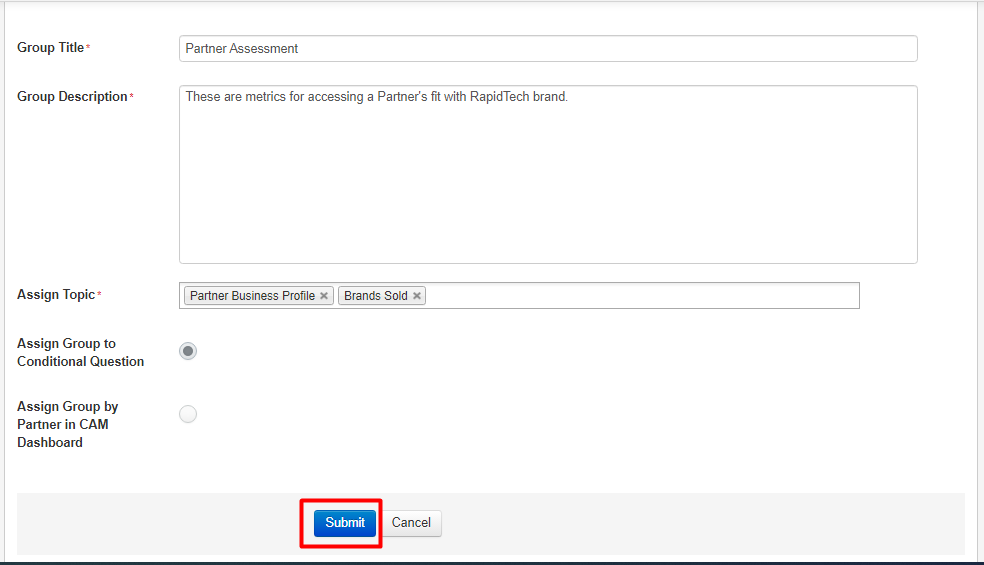 |
| How |
|
| Conditional Groups Activation | 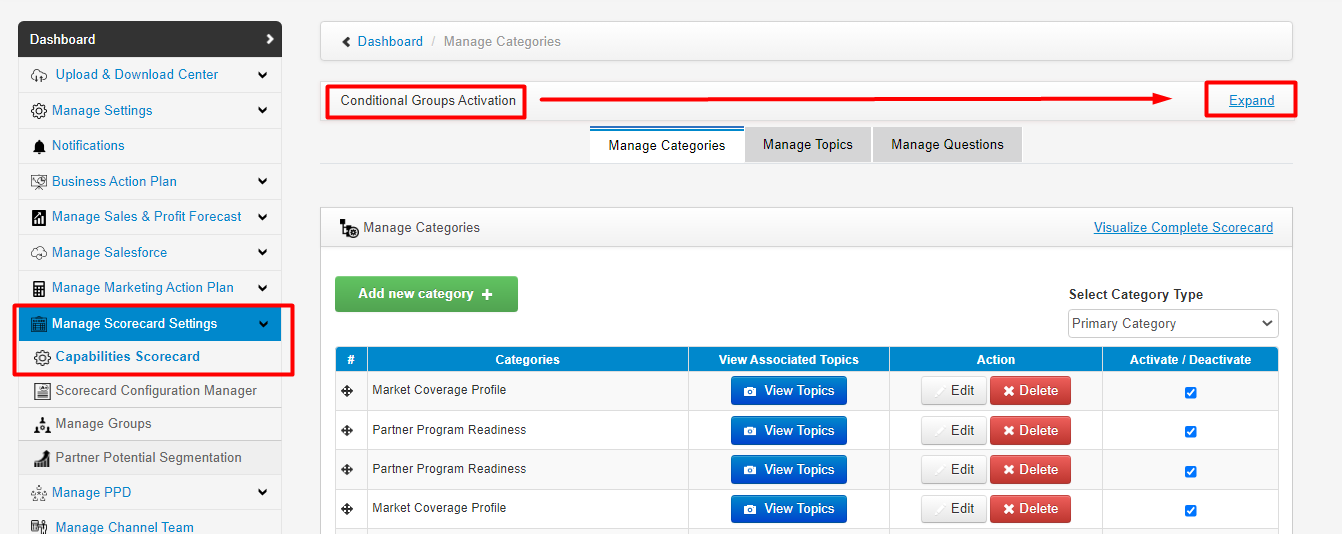 |
| How |
|
| After clicking on Expand link | 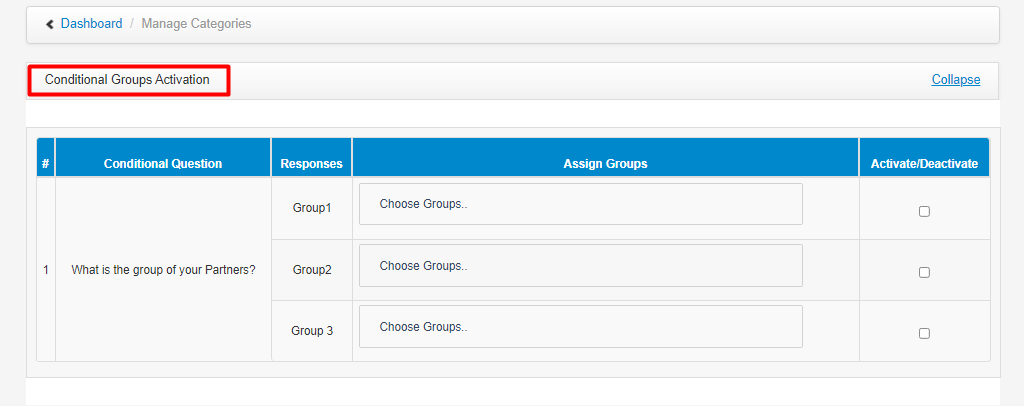 |
| How |
|
| Assign Groups | 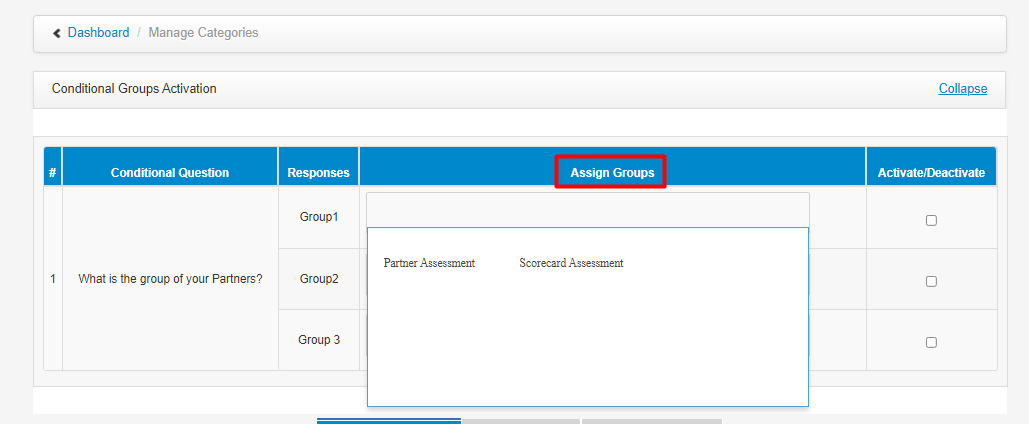 |
| How |
|
| After assigning groups | 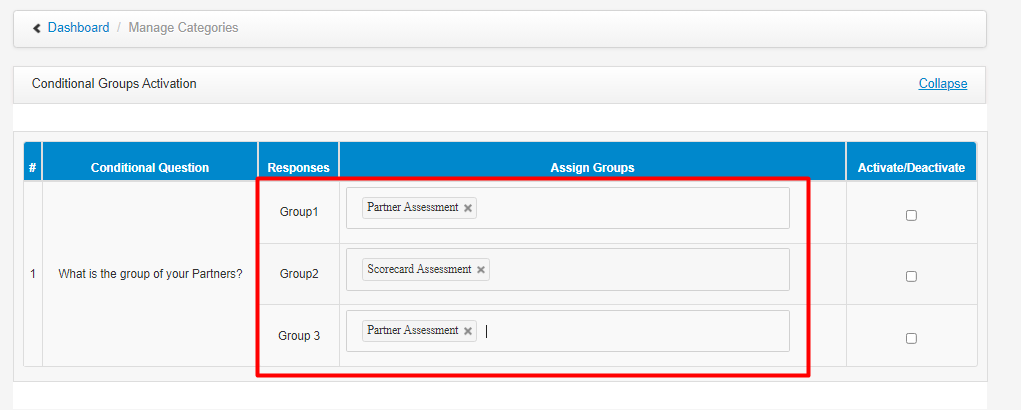 |
| Activate/Deactivate |  |
| How |
|

© 2026 Successful Channels Inc.